Wednesday, January 16, 2013

Swap Pages

Sharing a few pages I made for a swap on 2peas. Using my Kiwi Lane Designs templates helped these pages come together so easily. I think I might attempt making a complete pre-made album for a gift some time this year. It seems definitely doable using the designer templates.


Tuesday, January 15, 2013

Creating with Kiwi Lane Designs & Authentique


Today my first official post as a design team member is up on the Kiwi Lane Designs blog. I'm so excited to share with you what I made using Kiwi Lane's designer templates sets Paisley Park, Adorn, Winter, and Tags and Authentique "Seasons" and "Lovely" paper lines. Be sure to head on over to the blog and check out the scrapbooking ideas.

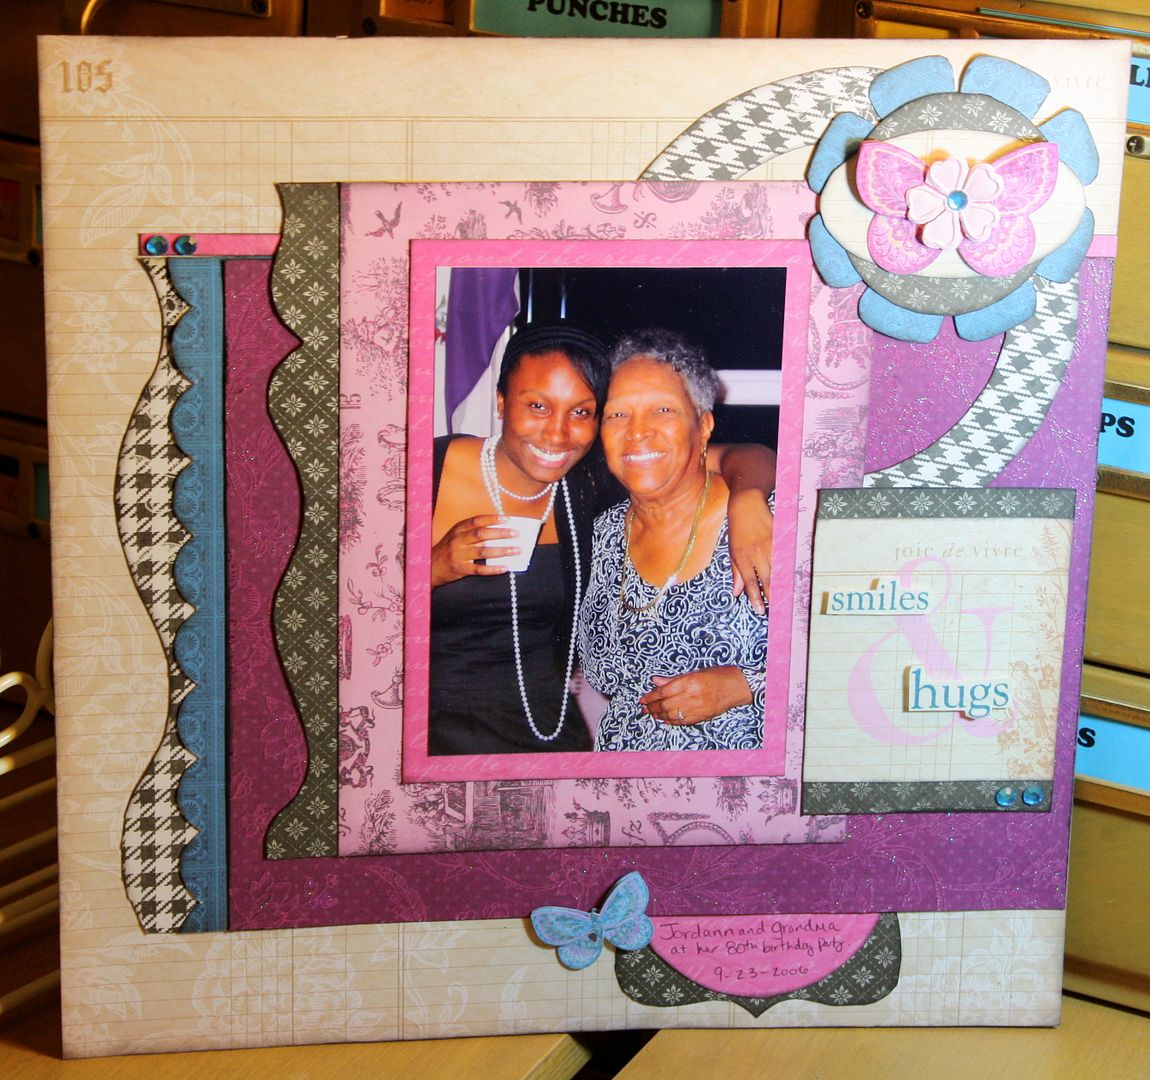
I made three projects for the Kiwi Lane Designs blog but I loved using the Authentique papers with my designer templates so much that I made another little something from the papers. Using the 
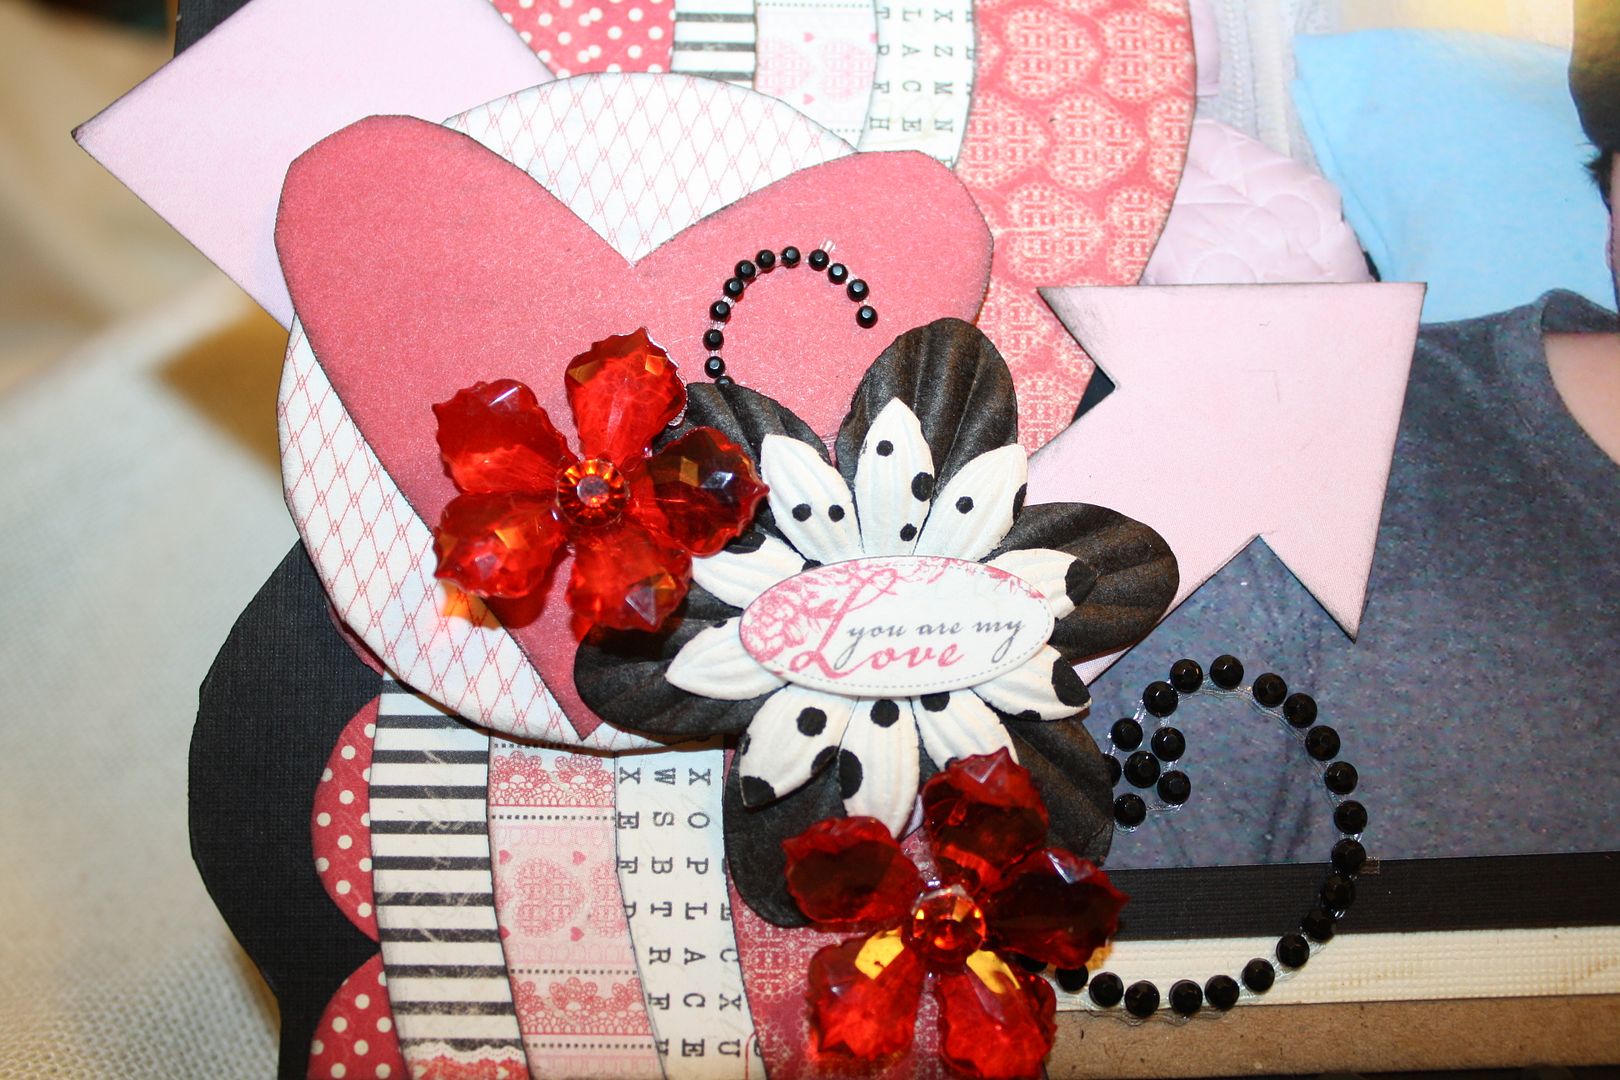
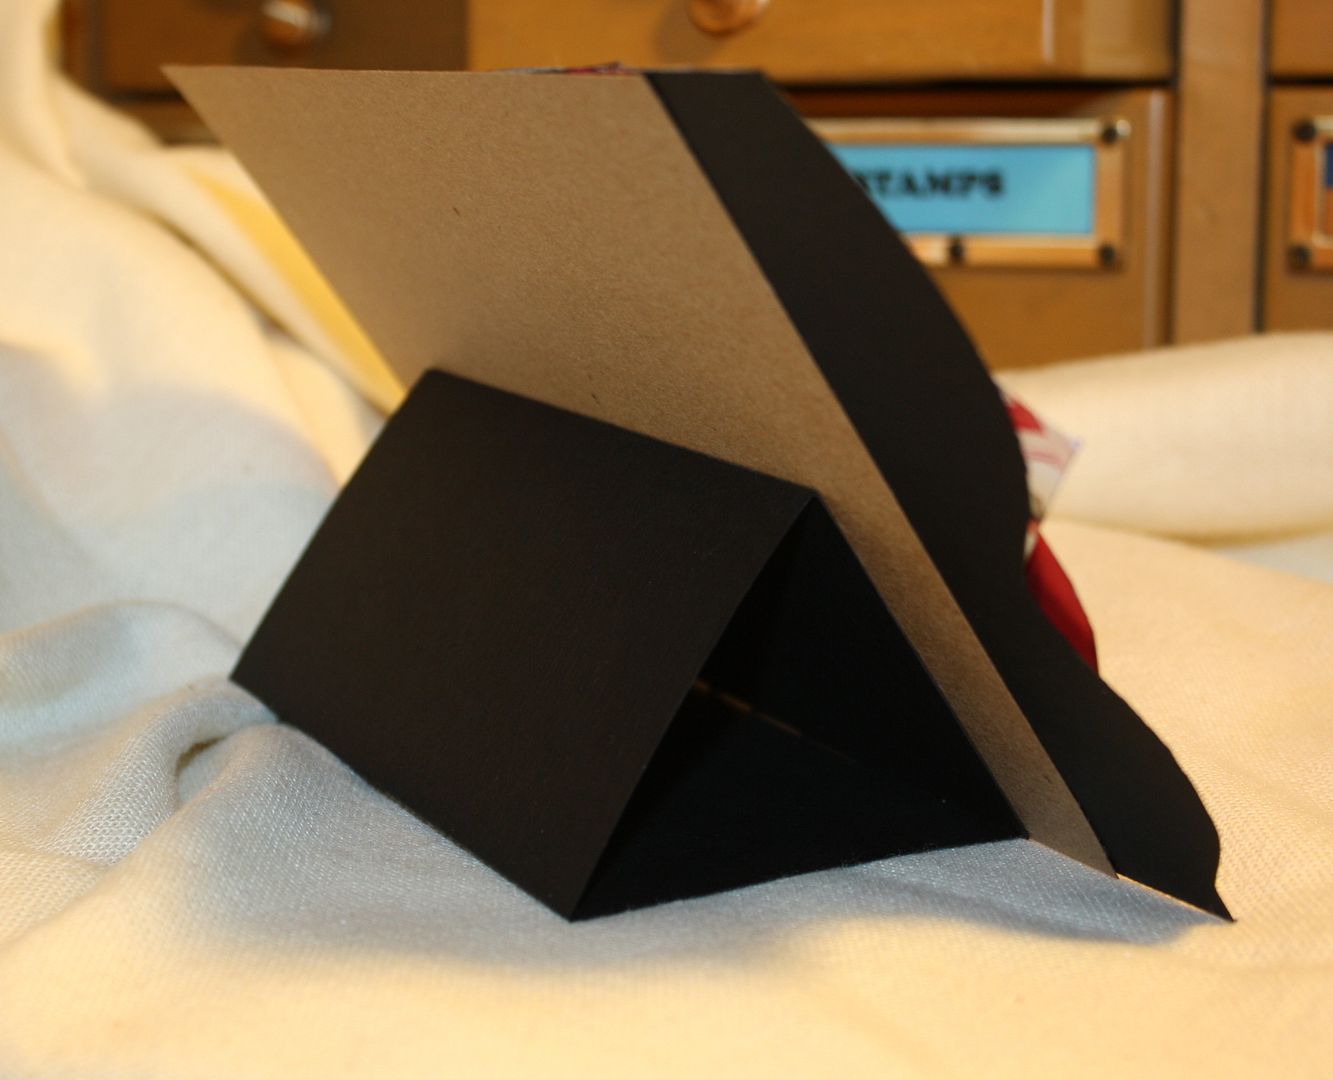
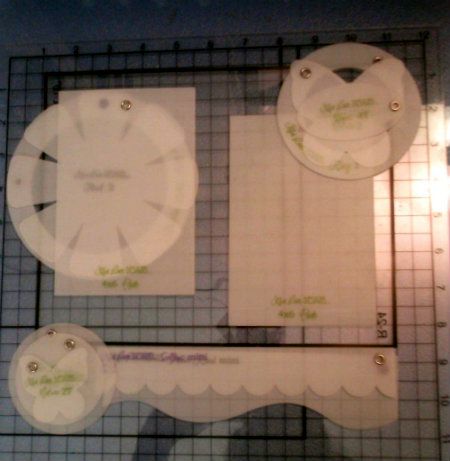
Adorn cardmaking template set, I designed this little mini free standing layout for my desk at work. It measures 5.5x7.5 and I decorated it up with a few stickers from the Authentique "Lovely" collection, some crystal flowers, rhinestones, and of course flowers. The heart on the layout was made using the tree template from the Winter set. Check out the Kiwi Lane Designs blog to see how I made it.


---------------------------------------------------------------------

TIP #3

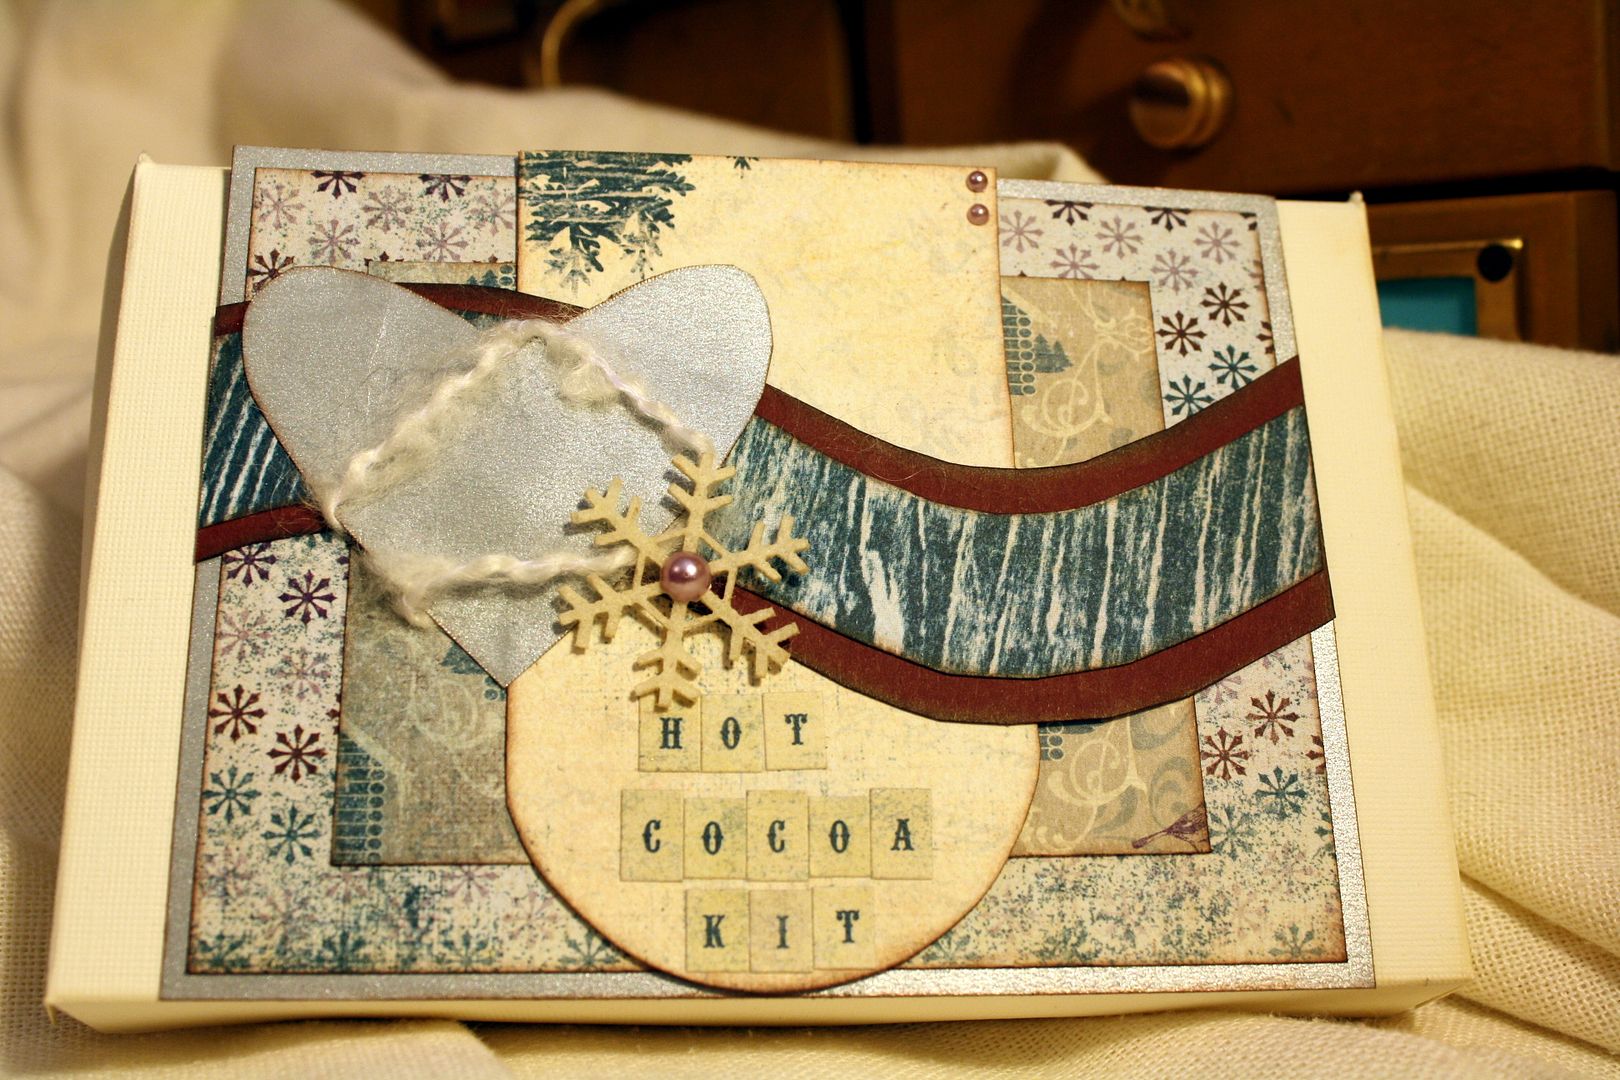
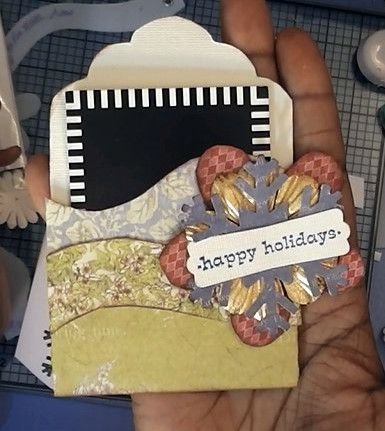
Make a tree embellishment using the points of the snowflake from the Winter template and the scalloped edges of Tags 7. Use a point from the snowflake for the branches/trunk and trace the scalloped top of Tag7 for the leaves.


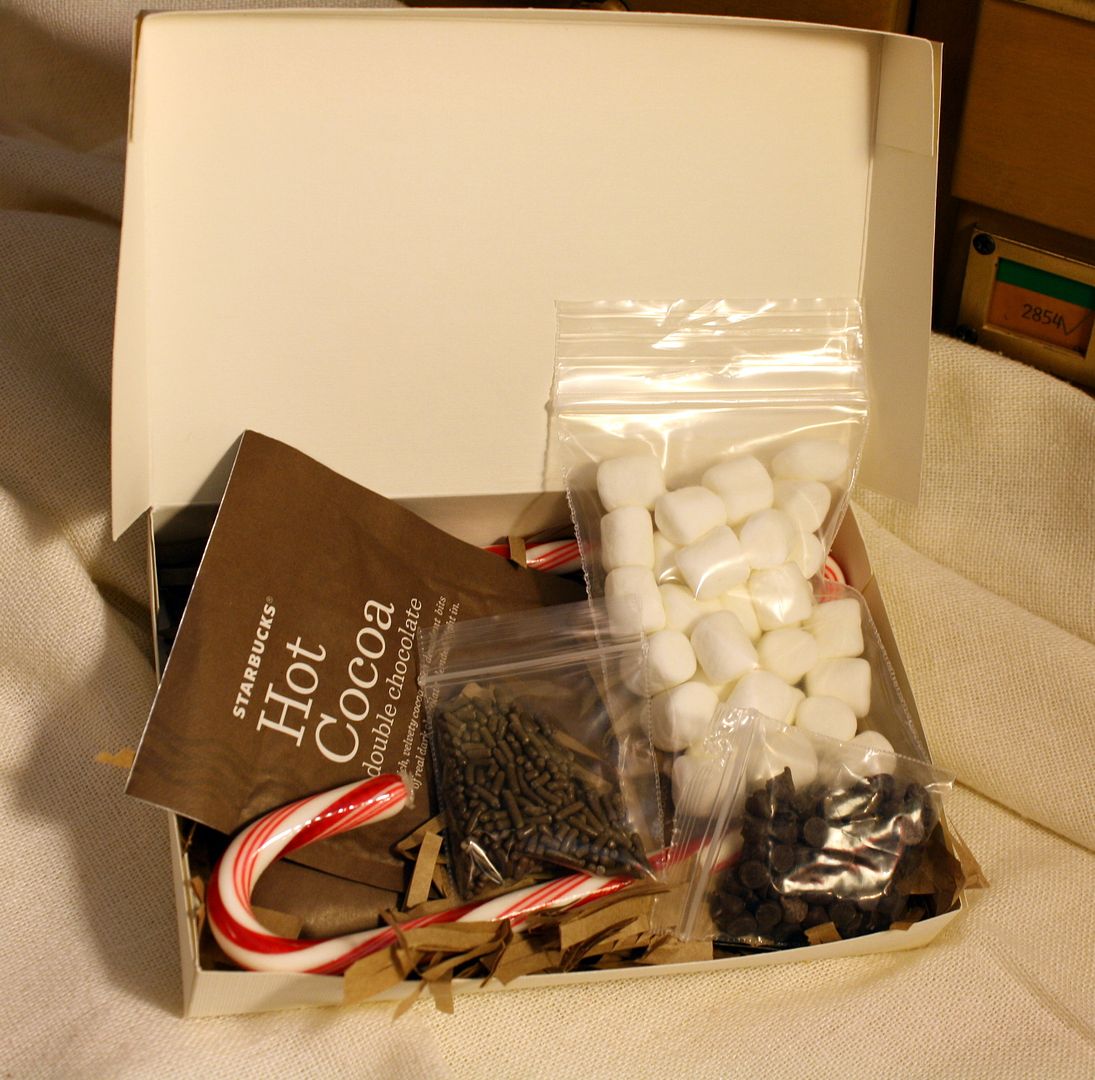
HOW TO MAKE THE BOX FOR THE HOT COCOA KIT


Take one 8.5x11" piece of cardstock and along the long side (11") score at 1", 5", 6" and 10". Then on the 8.5" side score at 1" and 7.5"


Next following the scored marks cut up to the 1" score line on both sides along the 11" inch length of the paper, leaving you with 8 flaps. Fold in all the score lines. Then glue the first 2 flaps on each side to the larger flap to the right. Then glue the next 2 small flaps on each side to the same larger flap to the left, forming the base and the hinge of the box. Finally glue the remaining 2 flaps to the larger flap to the right, forming the lid of the box. 

I am willing to make a video of these instructions if anyone needs a more detailed example.

Thanks for reading!

--------------------------


Saturday, January 12, 2013

Blog Giveaway at Kokona Moon

My friend has an awesome giveaway on her blog just in time for Valentine's Day. She's giving away a cardmaking kit filled with tons of Gina's Designs chipboard.

All you have to do is become a follower of her blog and post a comment...simple as that. Winner will be announced 1/21. Be sure to check it out and good luck!


Monday, January 07, 2013

New for 2013! Before & After

Since I LOVE using my KLD templates to design my layouts, I thought I would share my process on my blog and on YouTube whenever I make pages. I already have a couple videos up on YouTube where you can watch me creating, but I wanted to also include a few Before & After shots of pages here. So be on the look out for future posts (and videos) tagged Before & After to see how I use the templates in my designs.

BEFORE


AFTER 
Templates used - Rings 3, Shapes 7T & 4T; Bracket 2T; Scallops mini 1A; Abbie Road mini 3A; Madison Ave mini 3B; Floral 2T; photo mats 4.5x6.5 & 4x6; 3x4; Rings1


BEFORE


AFTER
Templates used: Florals 3; 4x6 Photo mats; Rings 1,2,3; Mini Scallps 1A; Nature 2T: Mini Abbie Road 2B; Shapes 7T, 8T, 4T; Nature 2

Sunday, January 06, 2013

Gift Card Holder out of a tag

I posted this video tutorial on youtube to use at Xmas time for a last minute gift idea. But I tend to give monetary gifts all year long for birthdays and such. So I thought I would feature the video on my blog now, even though the holidays are behind us. The techniques can be used for any occasion.

 Kiwi Lane Templates used - Tags 7, 2" strip (card size), Sentiments 2A, Adorn 1B, Tiny Accents 2. Papers - Prima - Londonberry and Martha Stewart Holiday stack, Punch: EK & EK for Stampin Up