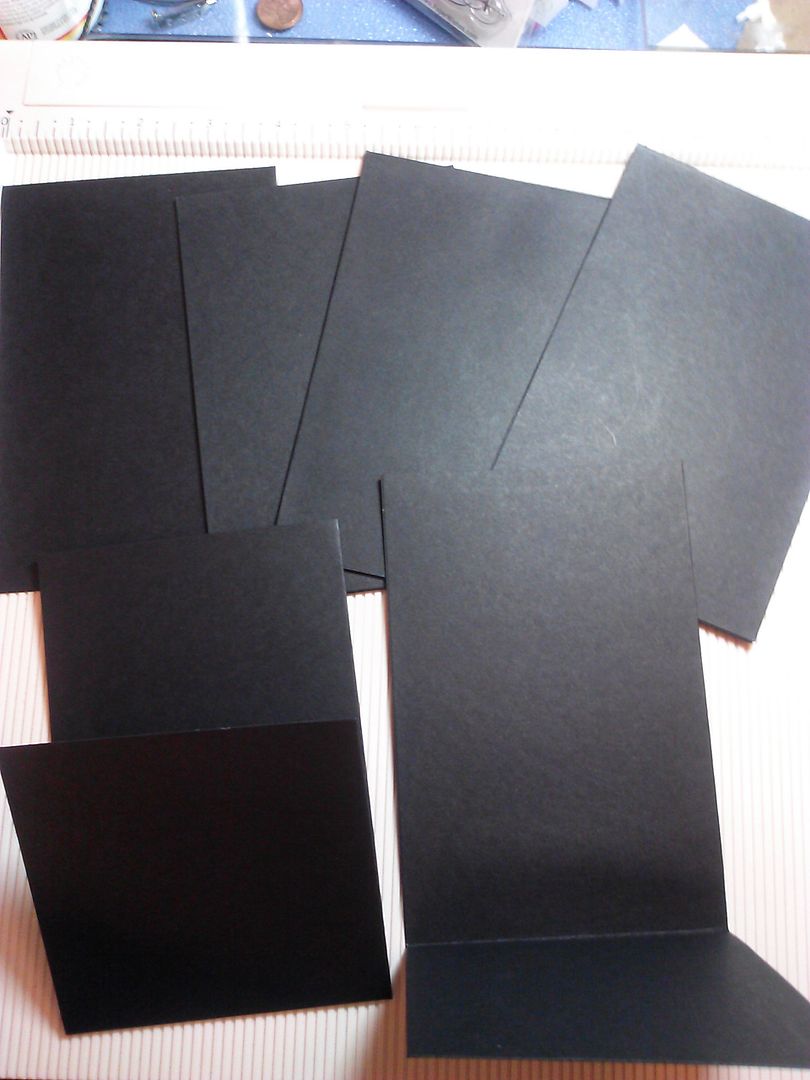
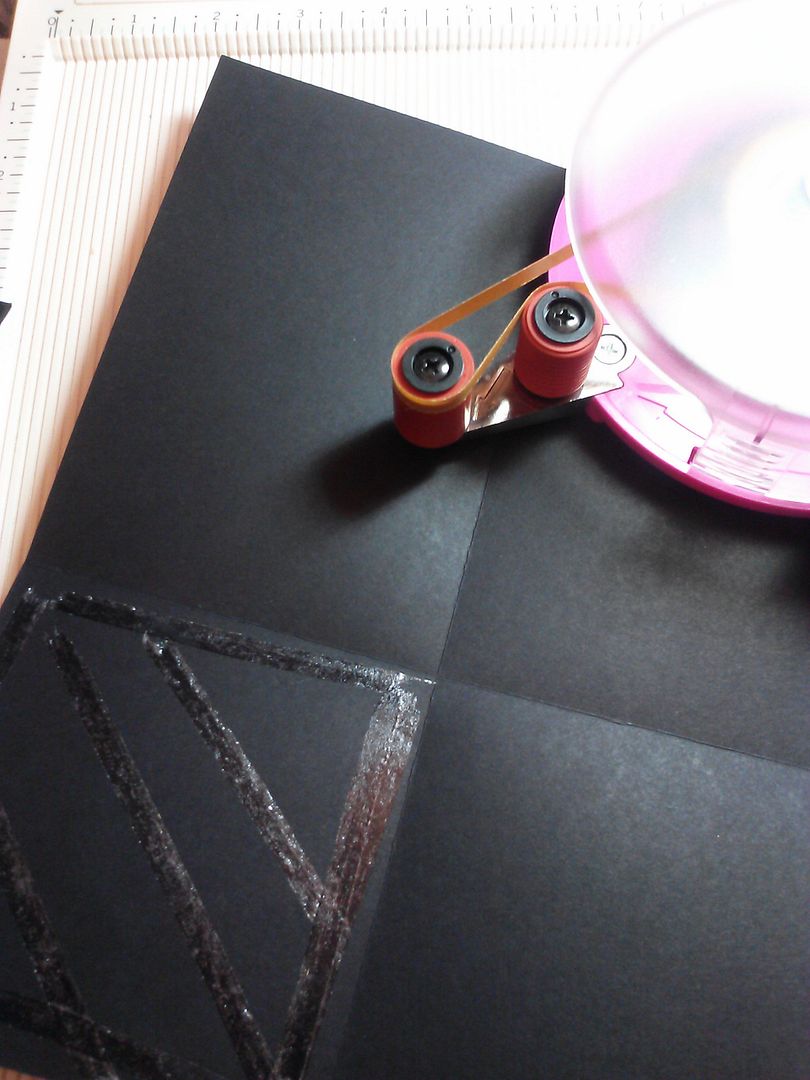
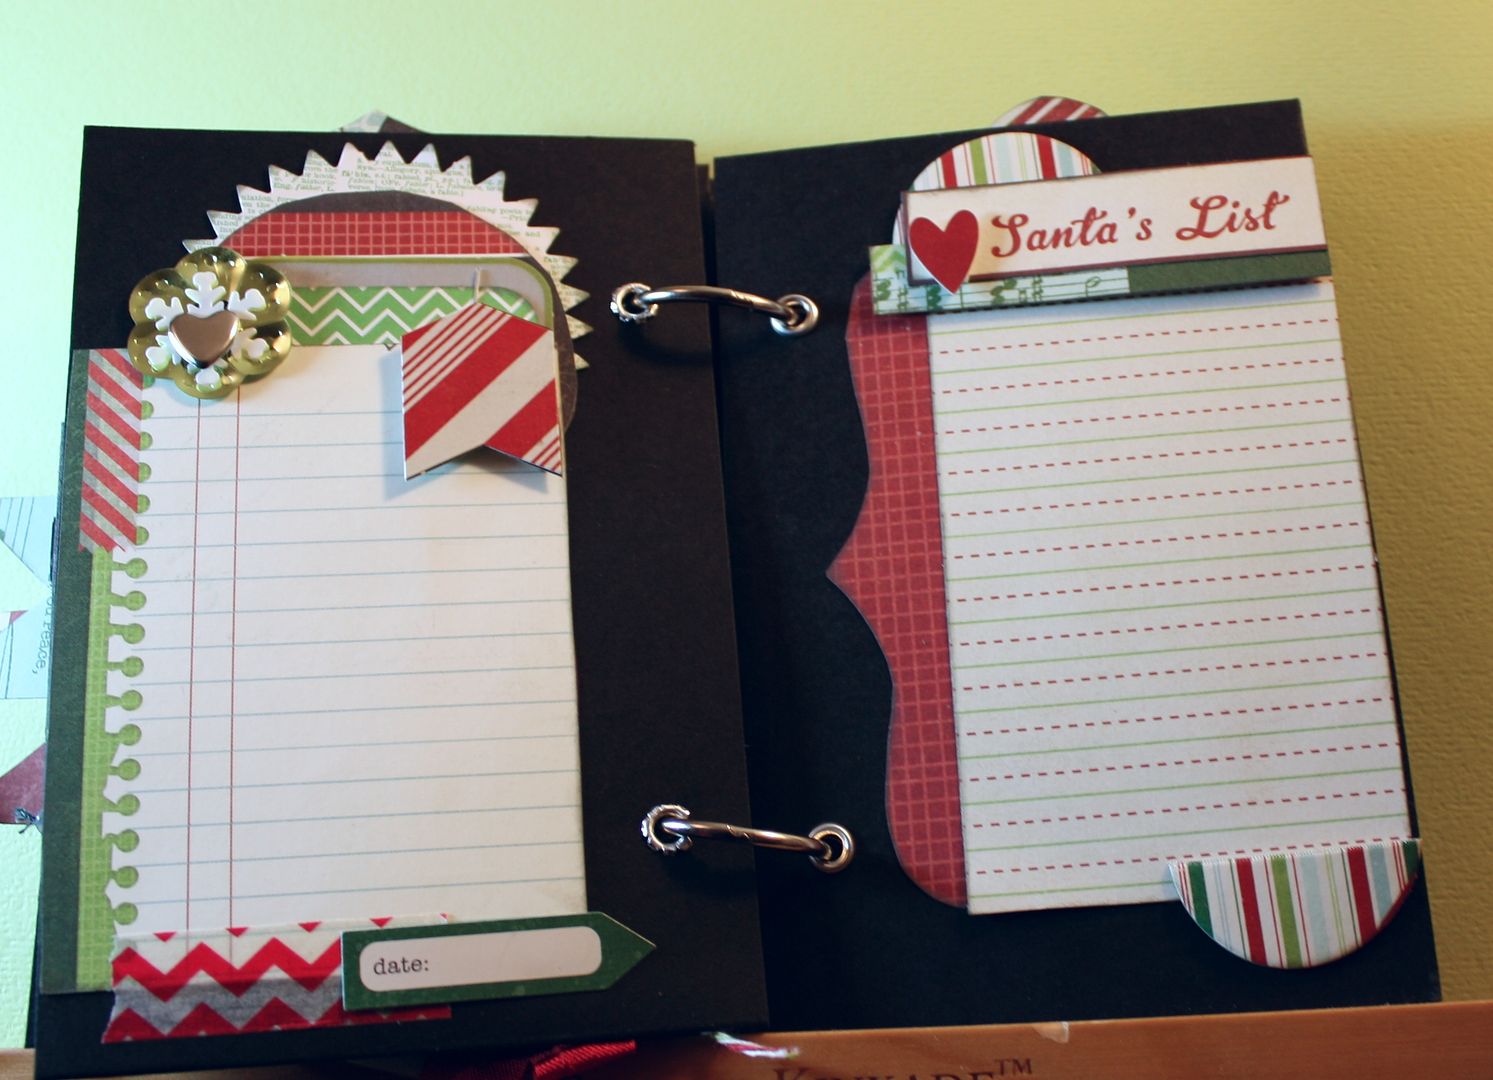
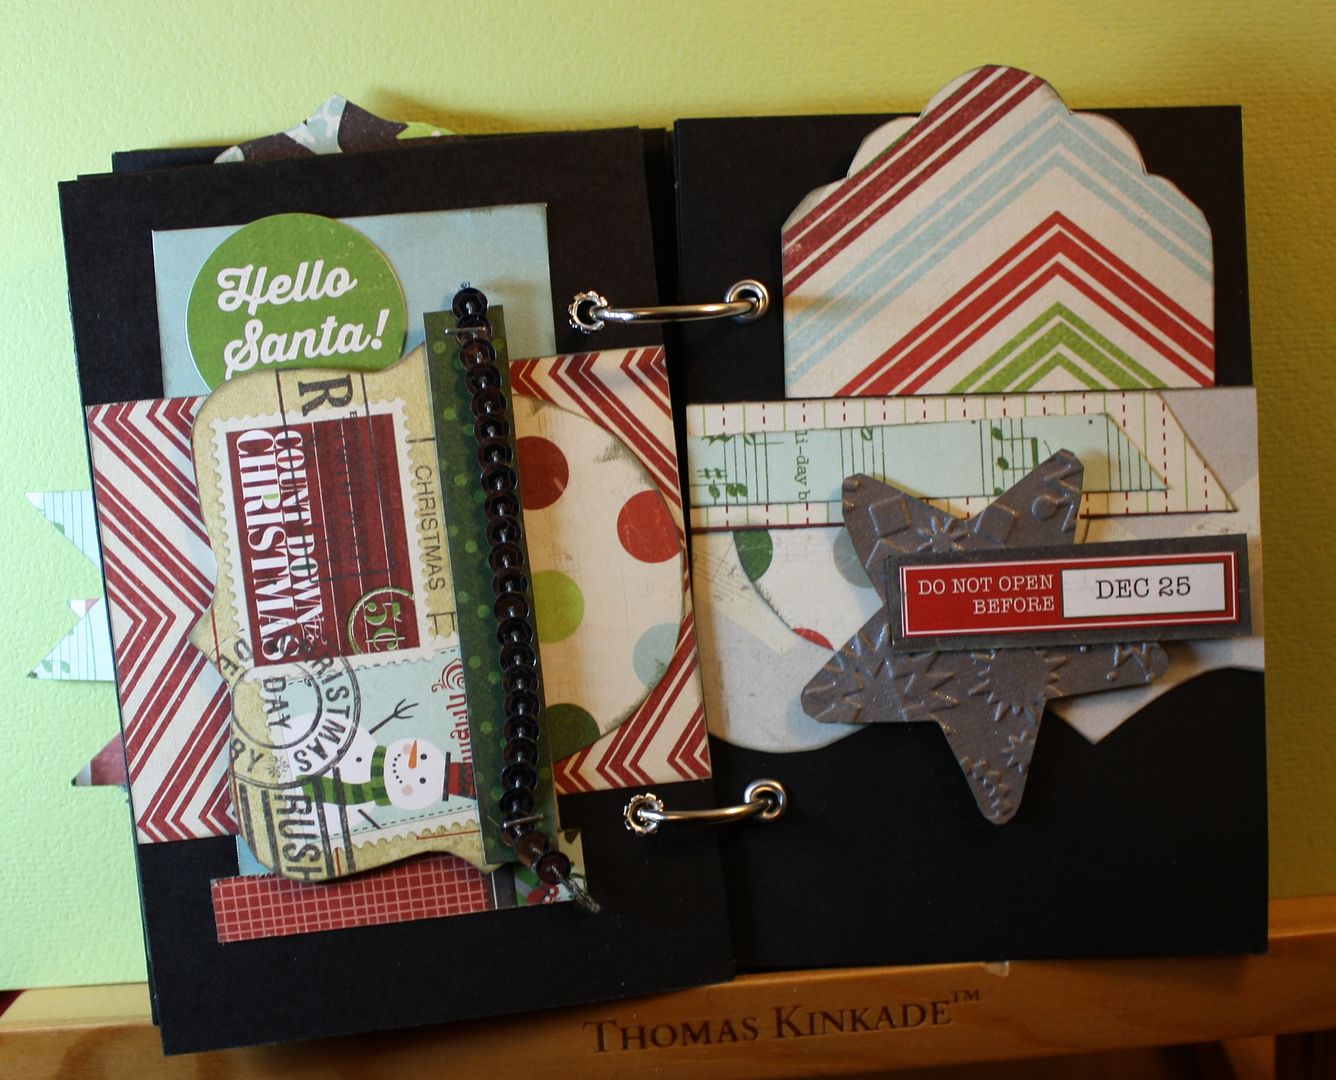
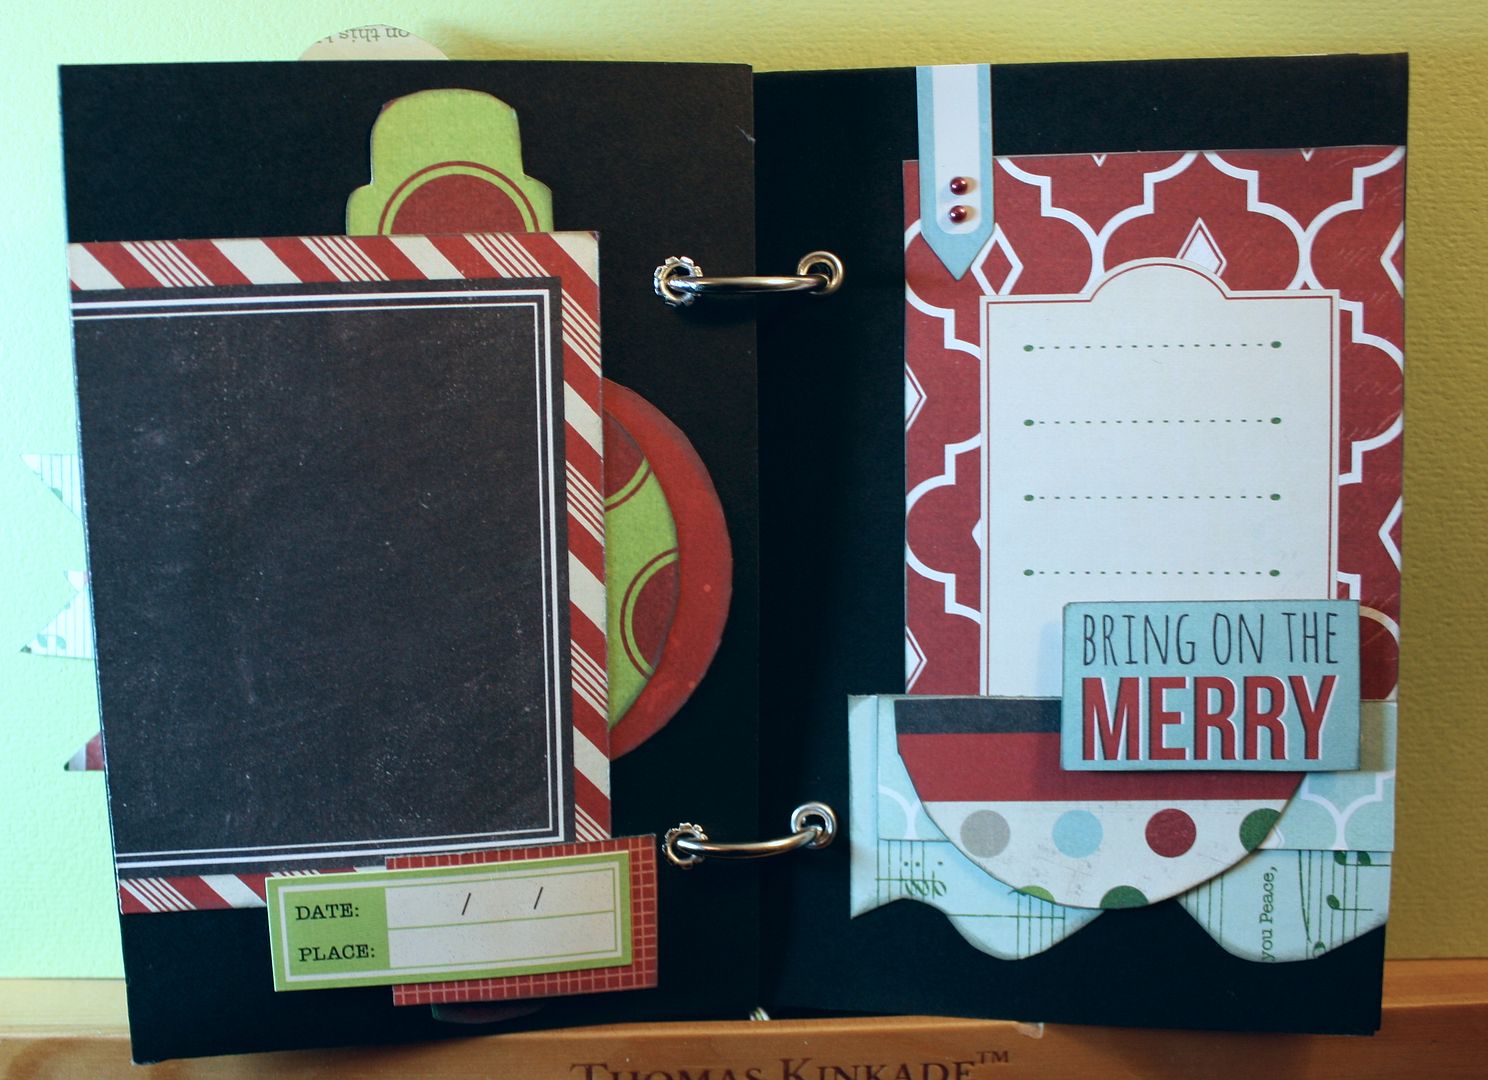
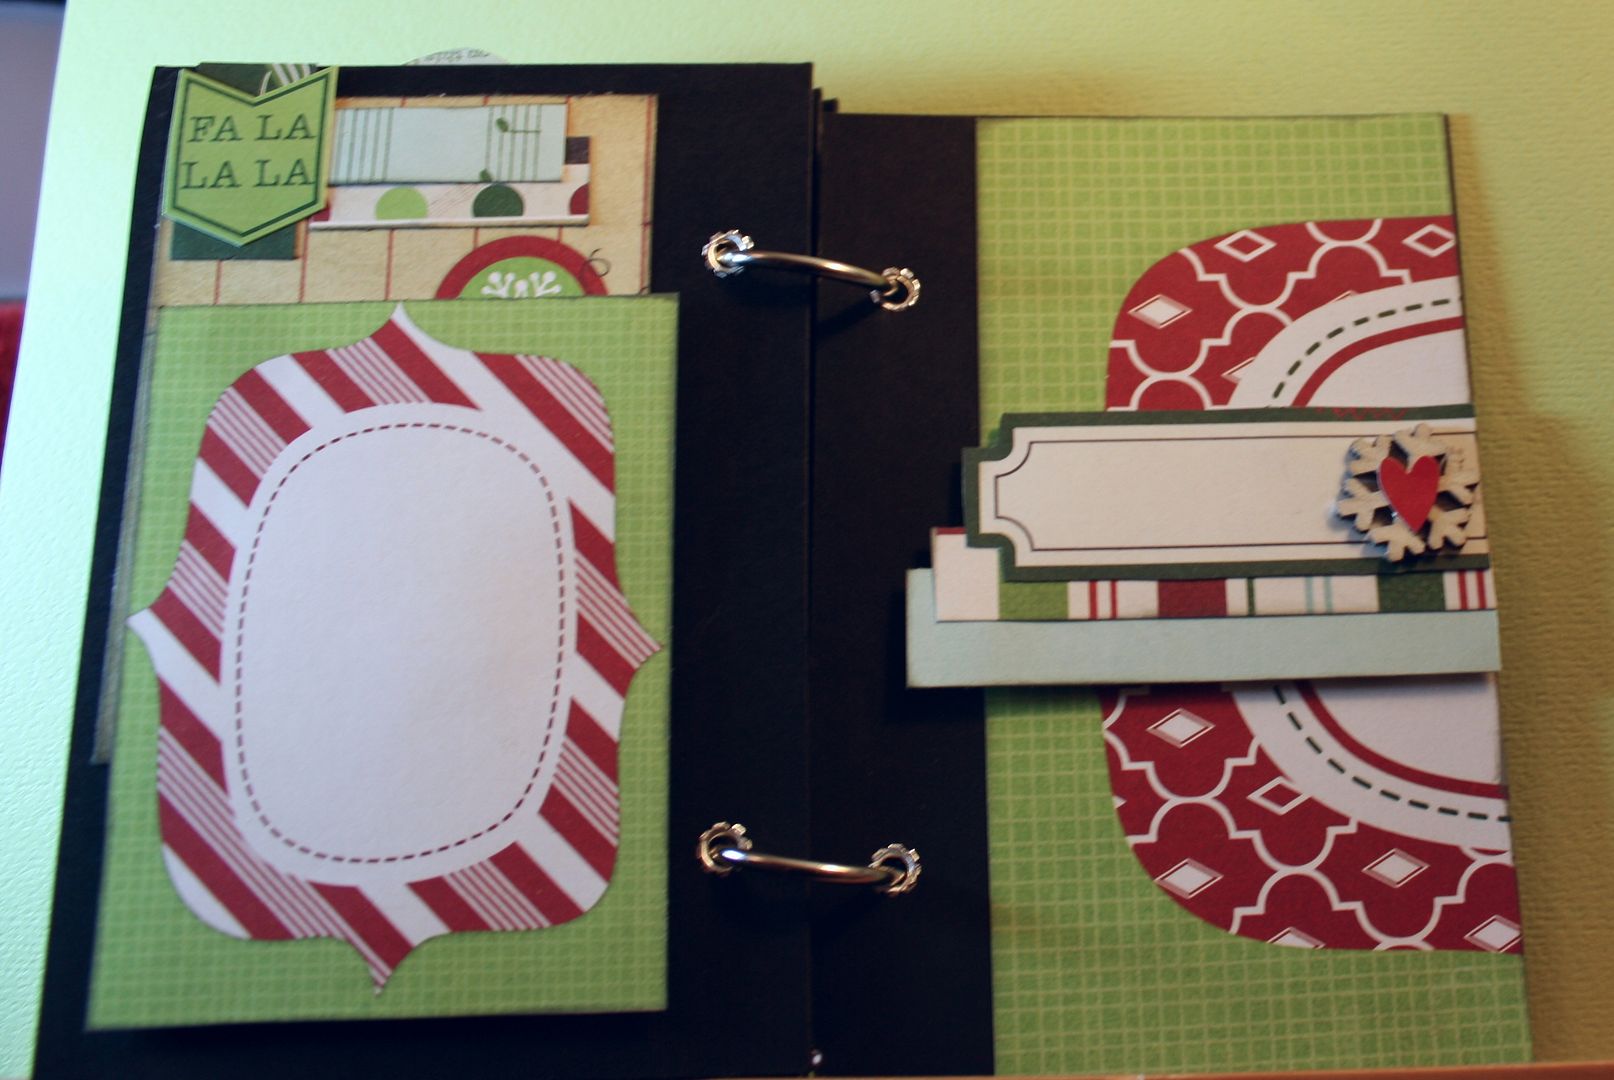
Making the pages - Cut your paper 8"W x 12" L - (these will be your front and back cover pages and any pages you that you DON'T want to have a pocket.) Score your paper along the 8" width at 4" then turn your paper and score it at the 6" mark along your 12" side. Glue each fold together, Be sure to use a bone folder to make things flat and well adhered. Now you should have a 4x6 rectangle that is very sturdy because it is 4 layers thick. Repeat as desired.
Friday, September 13, 2013
Weekend Whimsy with Simple Stories and Kiwi Lane Designs
Making the pages - Cut your paper 8"W x 12" L - (these will be your front and back cover pages and any pages you that you DON'T want to have a pocket.) Score your paper along the 8" width at 4" then turn your paper and score it at the 6" mark along your 12" side. Glue each fold together, Be sure to use a bone folder to make things flat and well adhered. Now you should have a 4x6 rectangle that is very sturdy because it is 4 layers thick. Repeat as desired.
Tuesday, September 10, 2013
Sympathy Cards
I am so glad I bought the Anna Griffin card kit. It has made it fast and easy to create adult cards when I need them.
I had to make two sympathy cards for my mom over the weekend and my kit and some other AG items from my stash pulled it all together. I am especially loving the Anna Griffin embossing folders.
Friday, September 06, 2013
Blog Hop Time with Kiwi Lane Designs
Welcome to my blog and my last blog hop as a Kiwi Lane Designs team member. It has been a great nine months creating stuff and sharing my love of these awesome templates. They totally changed the way I craft, and I am so thankful I found them.
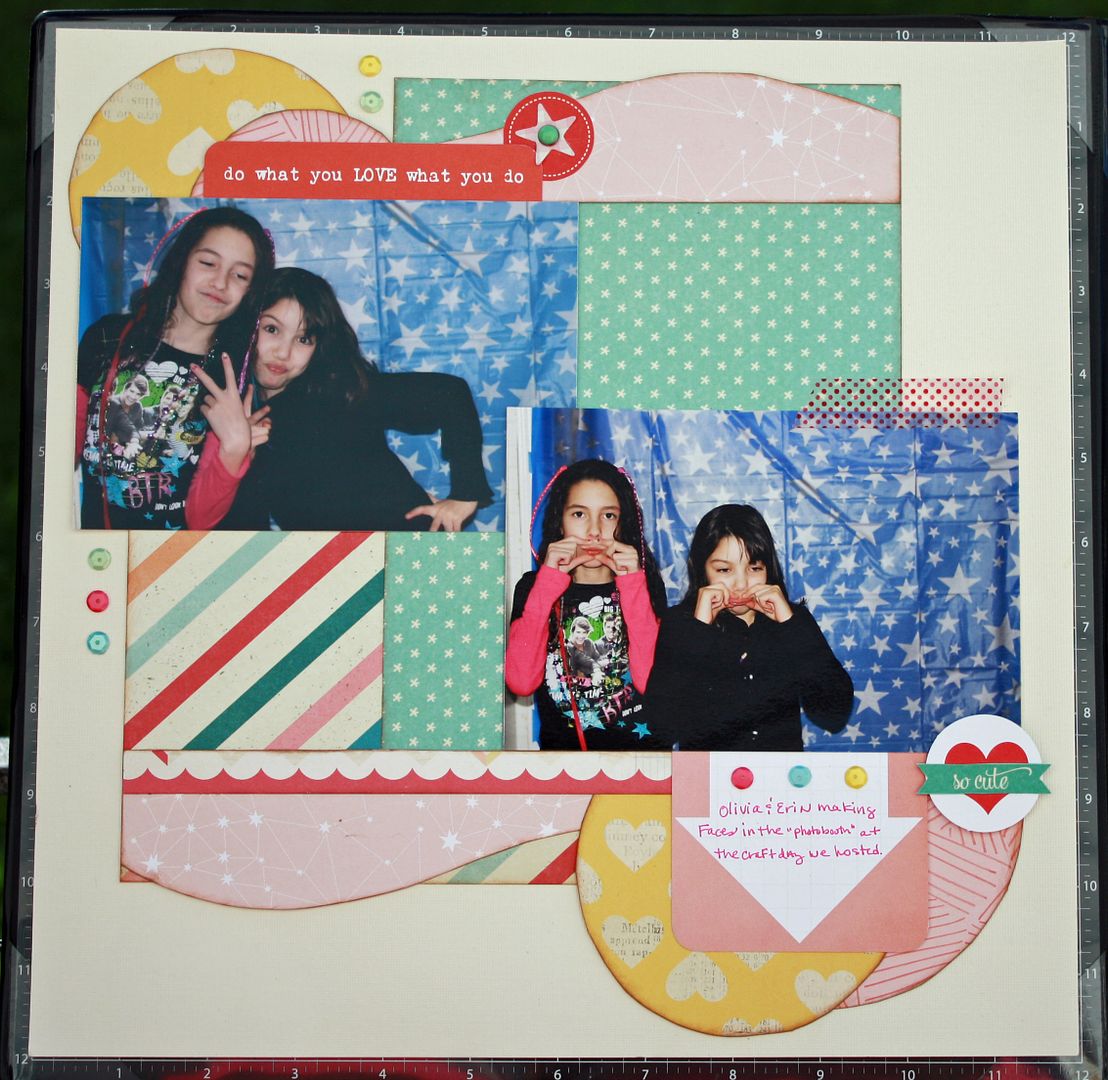
Okay so let's get down to business. Today I am sharing three layouts with you made with templates - from quick and simple to more elaborate. I want you all to see that no matter your scrapping style these templates can work for you. I used the RINGS template on all three layouts so you can see how one template can be used in different ways.
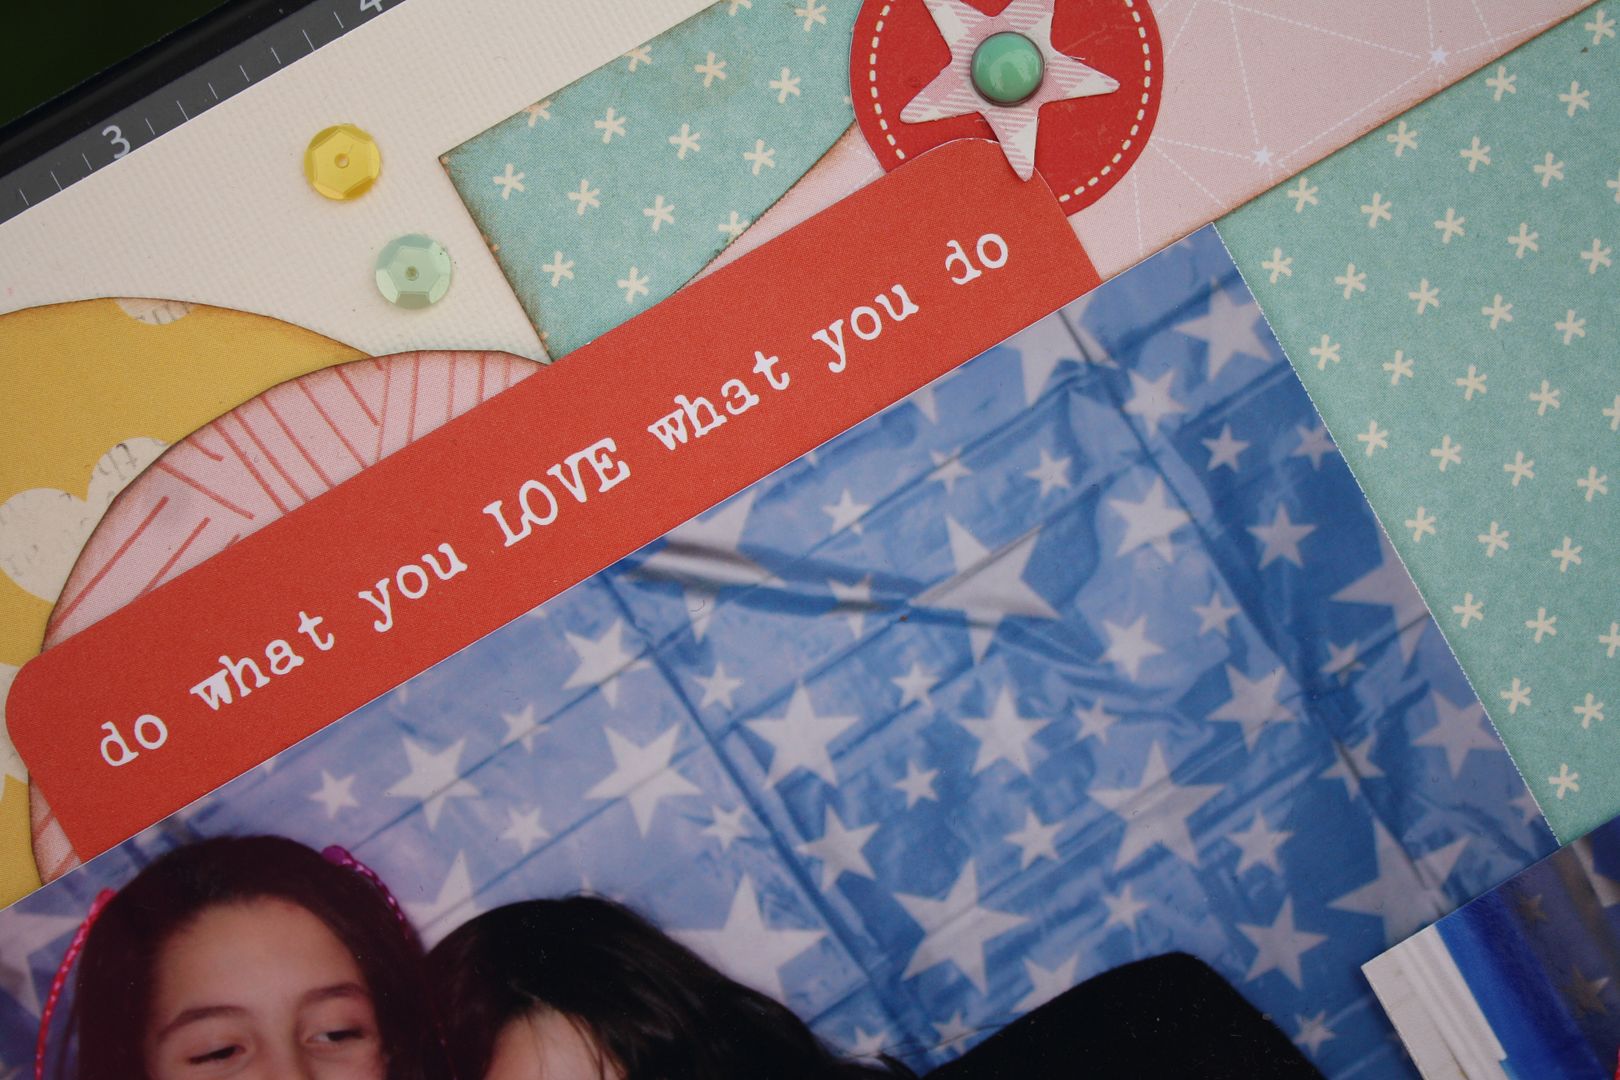
My first layout is super simple. I used components from a kit club I subscribed to and was able to make a nice quick and easy page that still made my photos pop. The circles on this layout were made using the interior of the RINGS template set. I used them on the top and bottom to "frame" my photos.
(Templates used: Mini Aspen Court; Rings; Tiny Shapes)
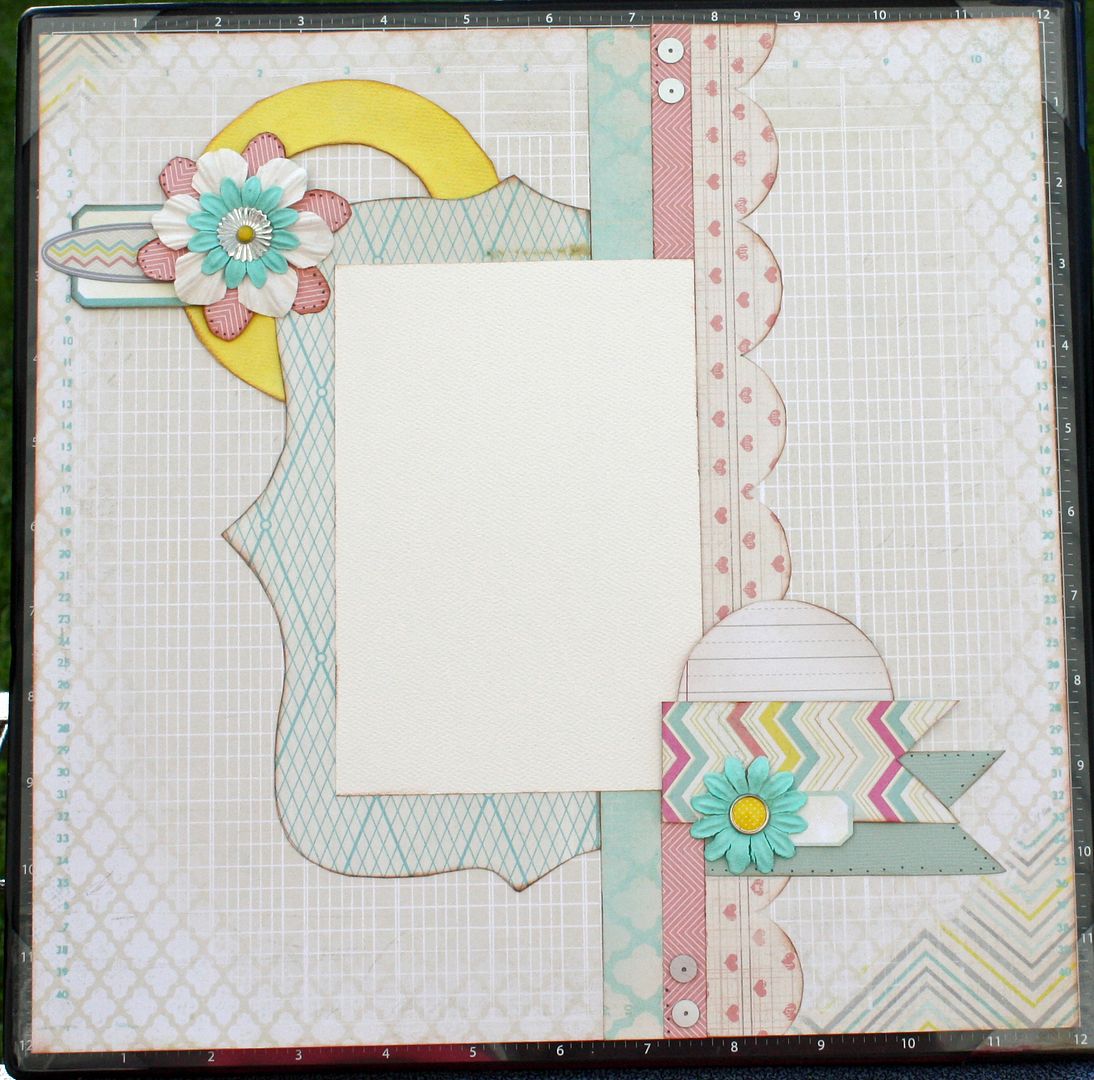
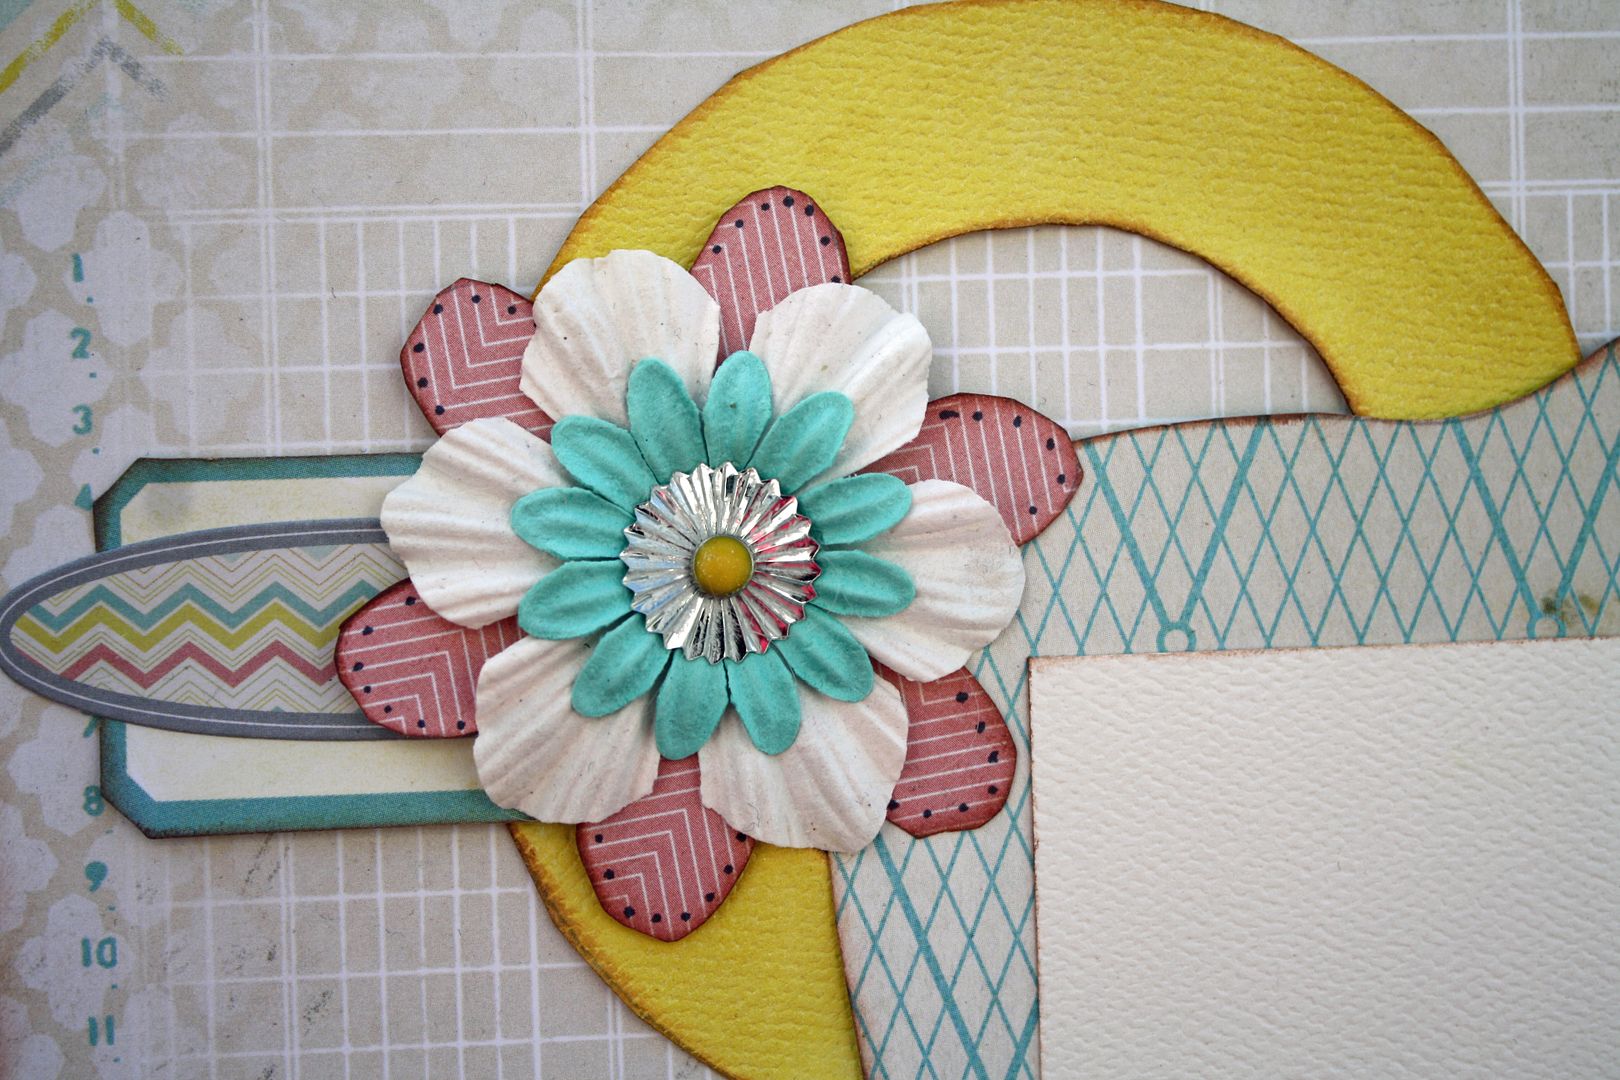
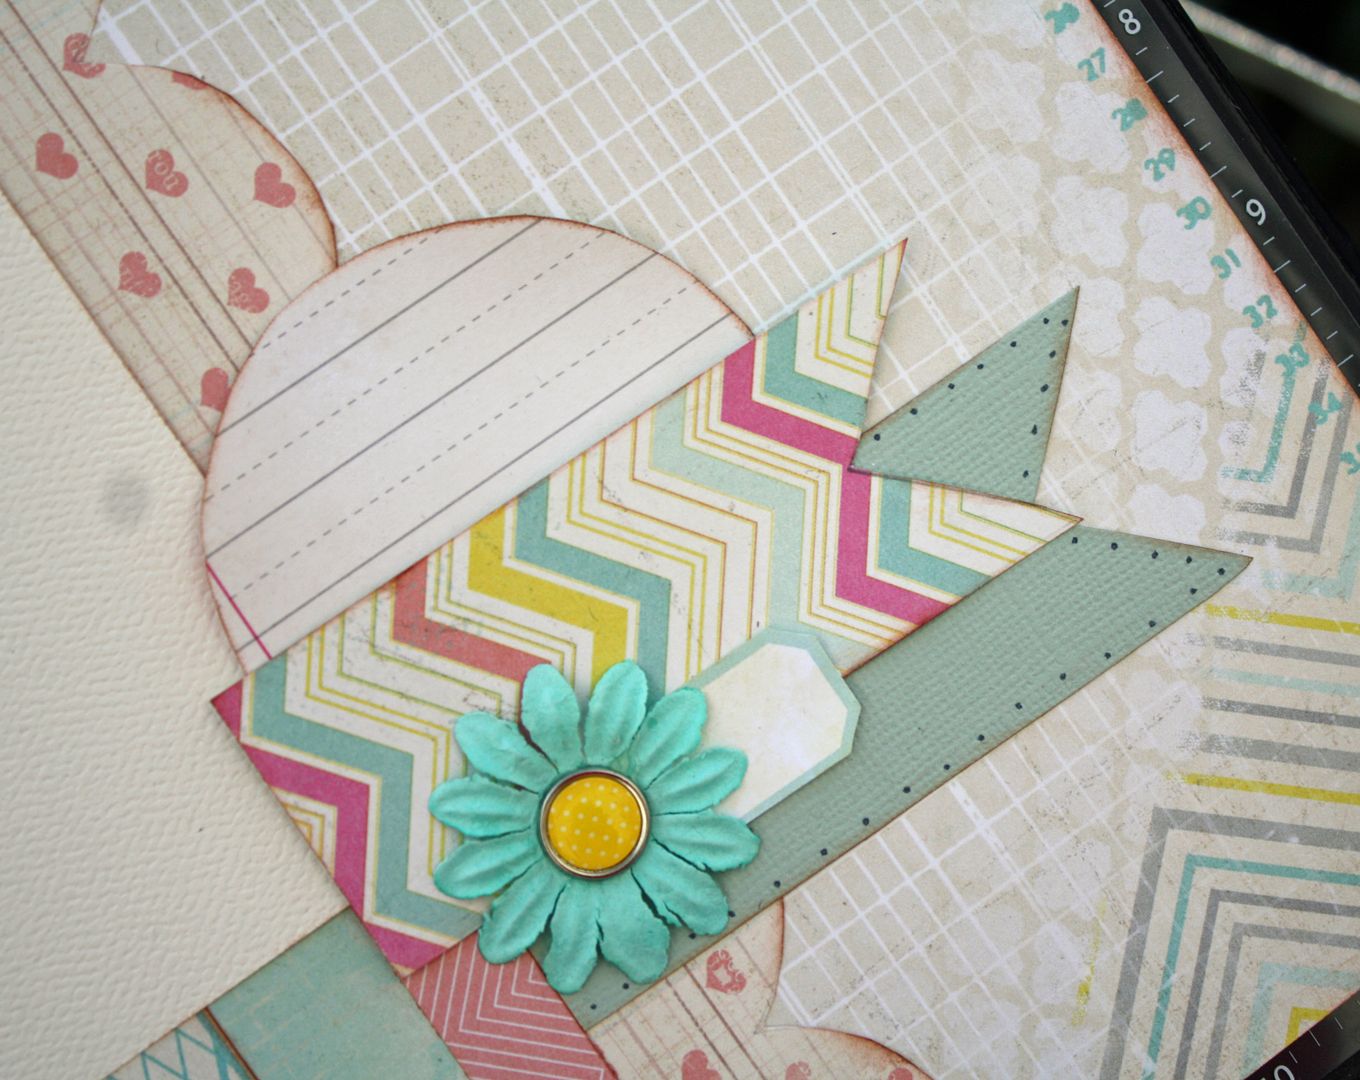
My second layout is a fairly simple design as well, but I did a little more detail work. I used a pen to make dots around the flower template (TINY ACCENTS) and around the tag template (TINY TAGS) as well as a few dots on the border. On this layout I used the RINGS2 template with watercolor paper that I misted for a bold spot of color. I love how this layout turned out, but I have yet to decide what photo to use...everyone says it reminds them of a baby layout. Maybe I will gift this into a page for my friend who has a new baby.
(Templates used: Rings; Brackets; Tiny Accents; Scallops, Strips, Tiny Tags)
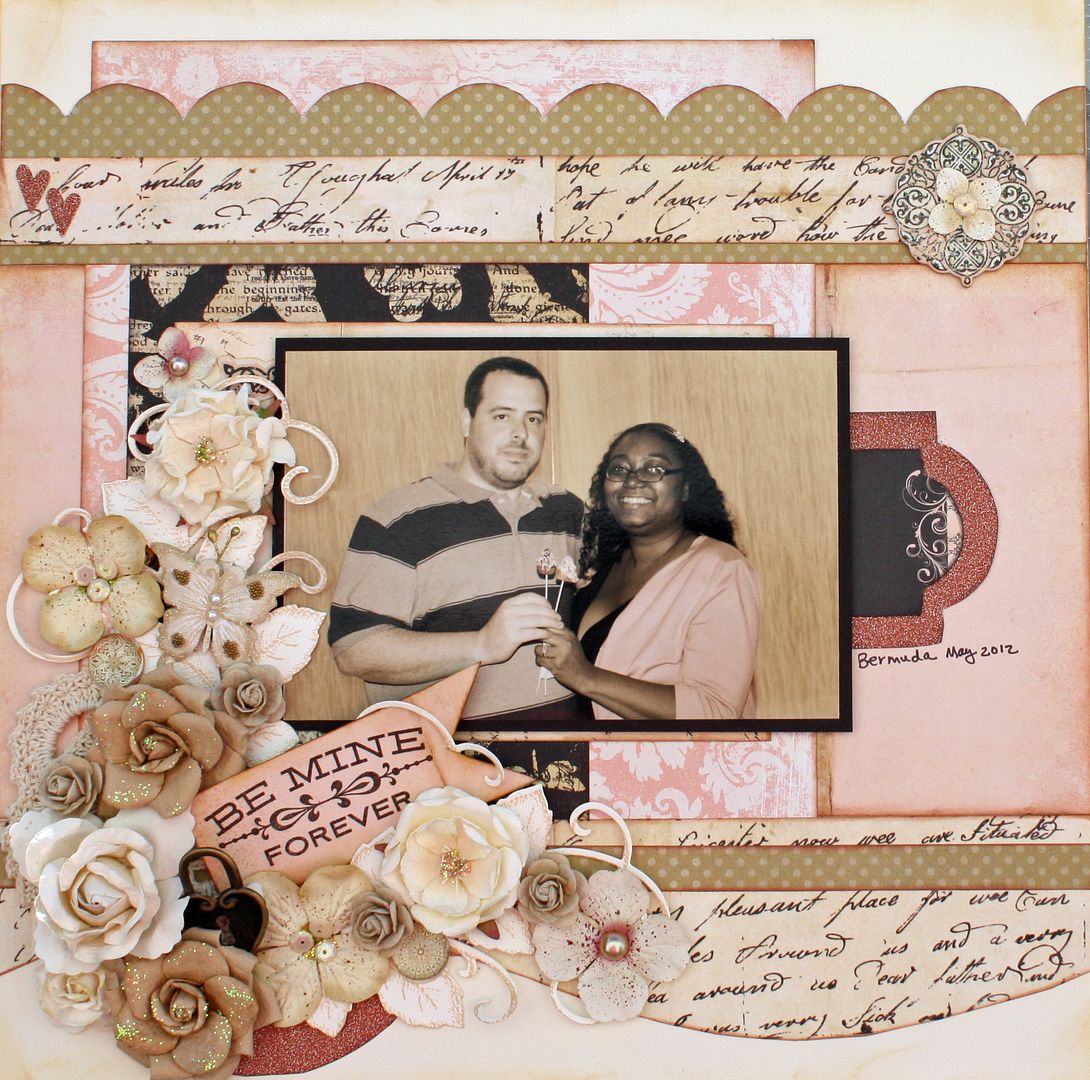
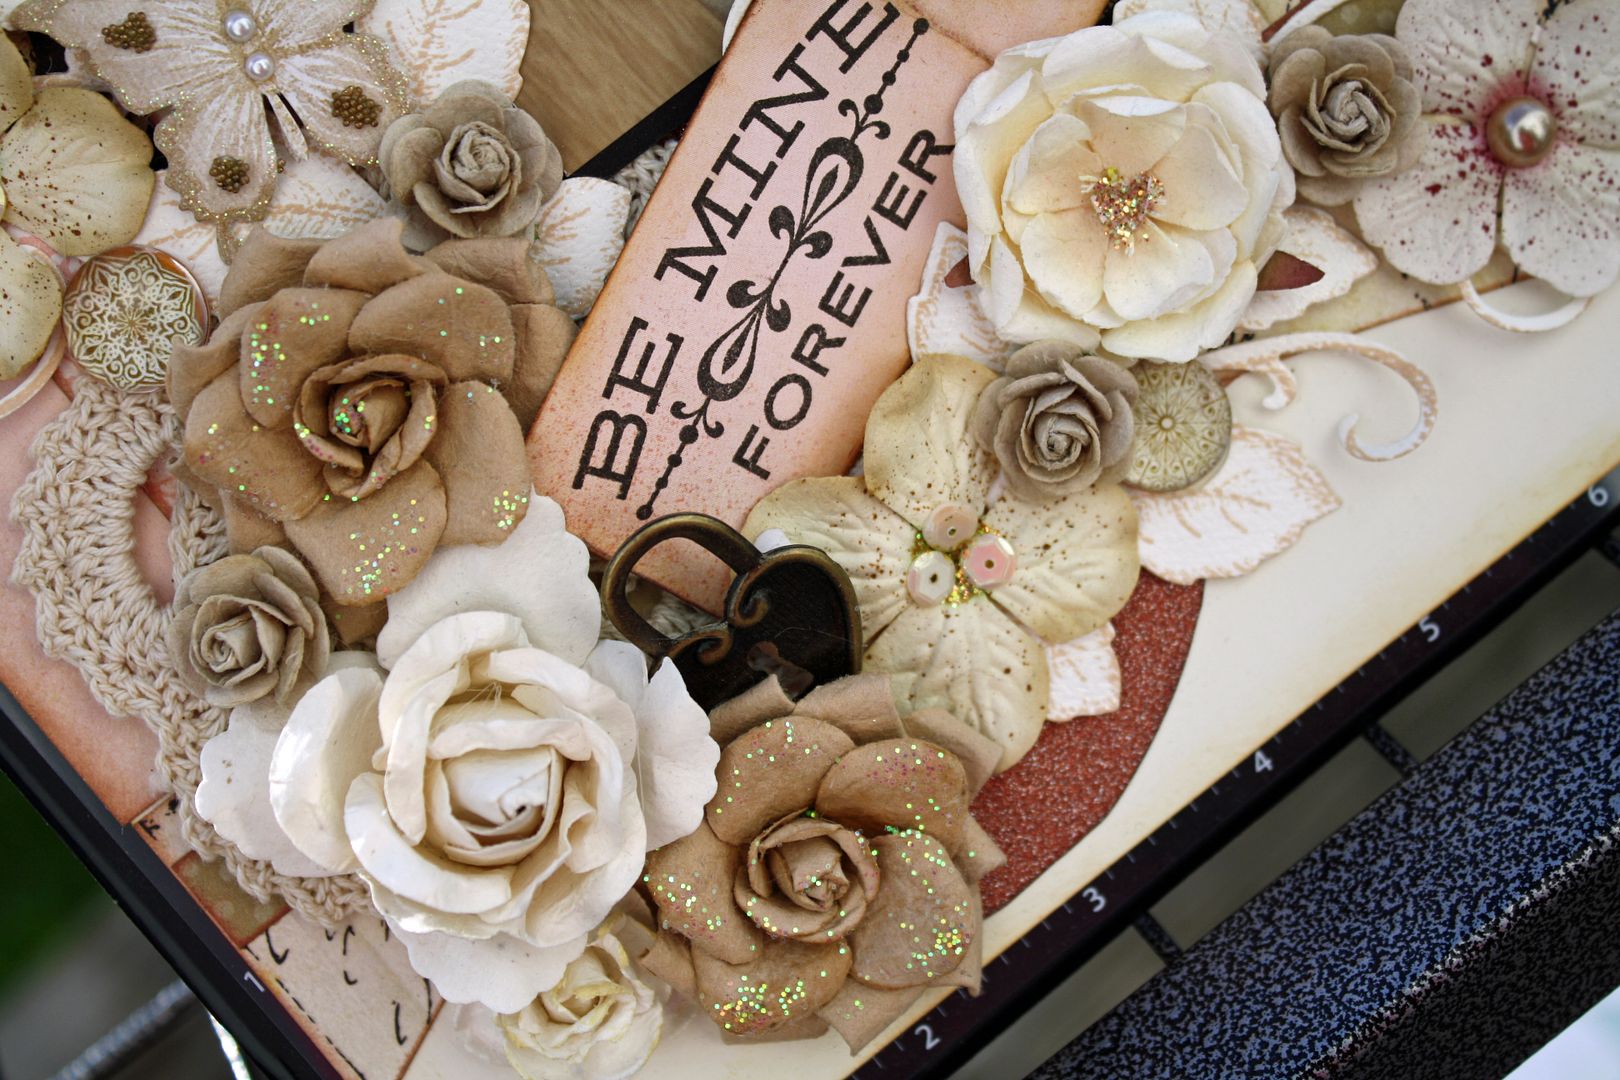
Finally in my last layout I went all out vintage style (which I love). I had so much fun creating this layout with all the details and embellishments, and my templates made it come together so easily. If you look at the bottom of the flower cluster you will see a sparkly bit of the RINGS2 template peeking out. Again I used it to add color interest to my page.
(Templates used: Rings; Scallops; Strips; Clara Lane; Tags; Tiny Tags)
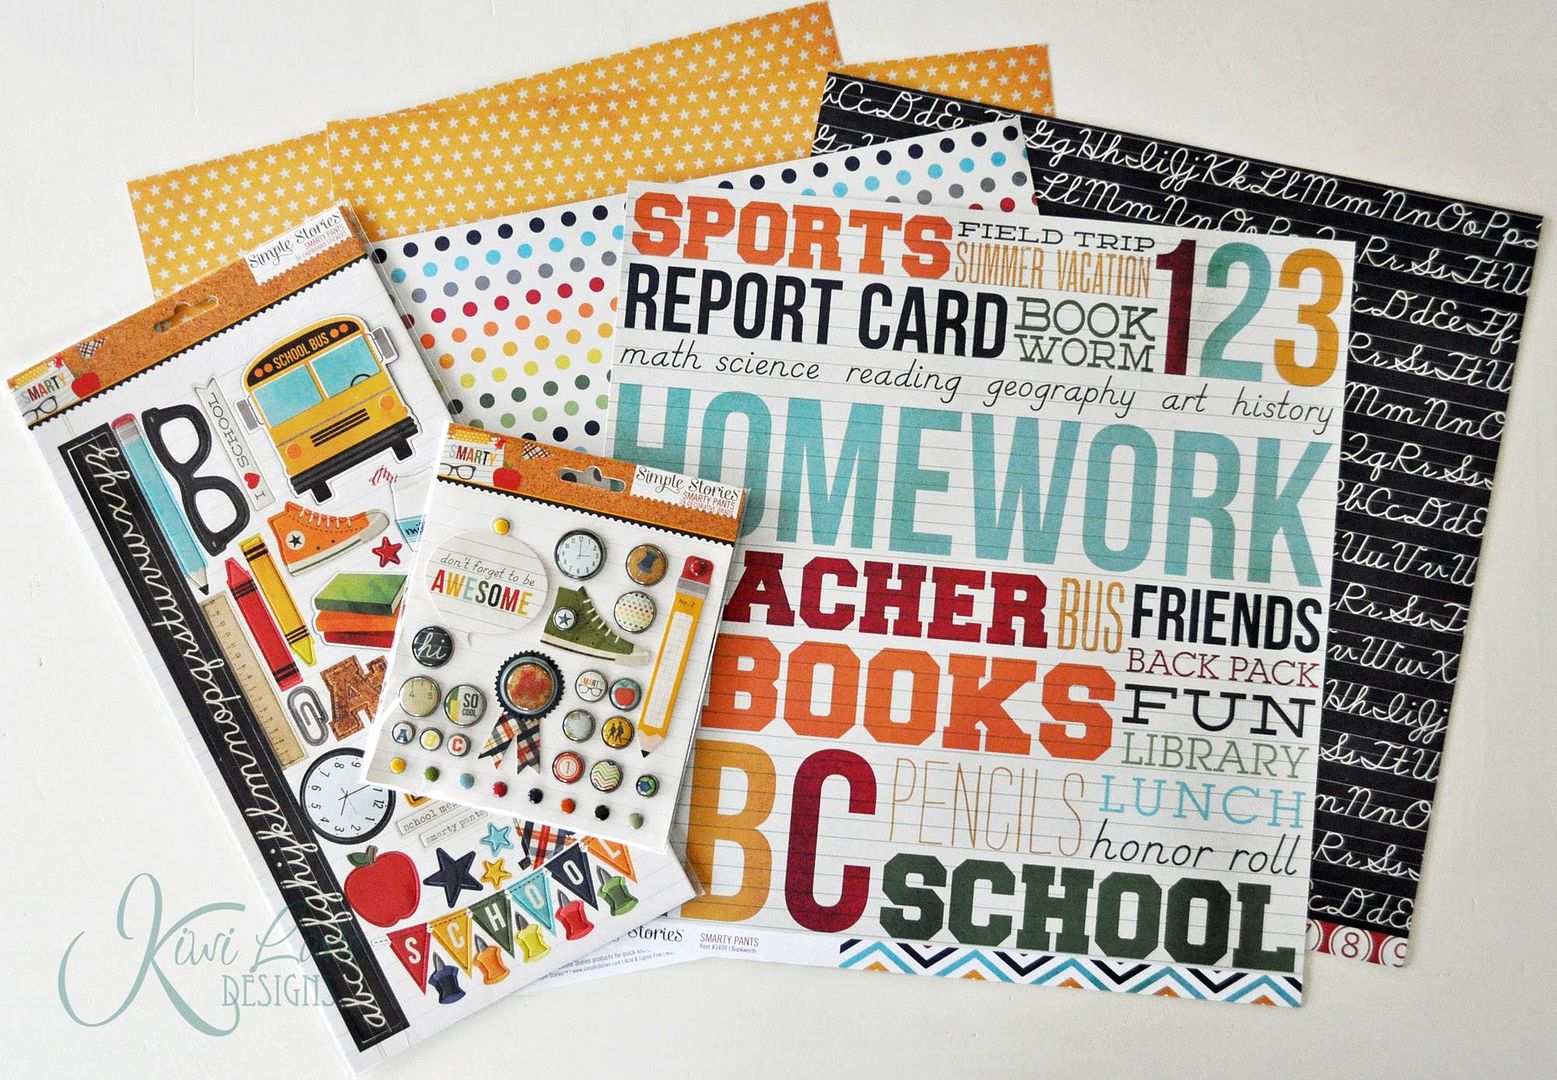
Thank you so much for joining me. Be sure to leave a comment to be entered in the giveaway. Kiwi Lane Designs is giving away some awesome Simple Stories stuff to a lucky winner. Good Luck!'
THE BLOG HOP LIST
- Kiwi Lane http://kiwilane.com/here/blog/
- Staci Jones http://scrapbookingischeaperthantherapy.blogspot.com/
- Tammy Smith http://lifeupdownandsideways.blogspot.com/
- Erin Colby: http://oursliceofcheese.blogspot.com
- Deborah Johnson http://scrappinthelittlethings.blogspot.com/
- Kristy Mackeen: http://mamasanity.blogspot.com/
- Scrappin' Madge- http://www.thescrappinlounge.com
- Claire Heartburn http://lemonpaperdesigns.blogpot.co.uk
- Leslie Prinkki http://www.scrapsofmine.blogspot.com
- Melissa Dehne http://www.abitofscrappygoodness.blogspot.com/
- Charissa Miller http://www.akihasmommascraps.com
- Roselyn Riley http://prettylittlepackages.blogspot.com - YOU ARE HERE!
Monday, September 02, 2013
Using Project Life kits to make cards
Lately I have noticed I am loving my Studio Calico project life kits more than the main. And what makes it crazy is that I don't even do Project Life. I use my PL kits as layers and embellishments on my pages.
Today I had a light bulb moment and realized these kits are perfect for card making too. So I pulled out my kiwi lane designs templates (adorn, tiny florals, tiny accents, tiny tags) and a few PL kits and made a quick card. I even used the wording on a 3x4 card for the sentiment.

