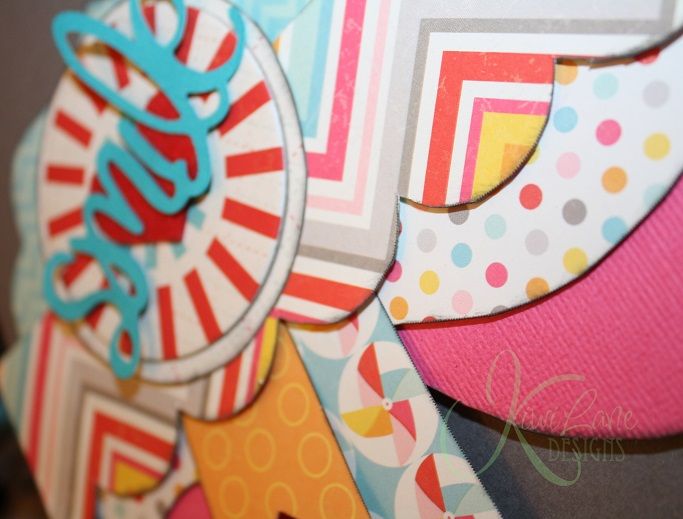
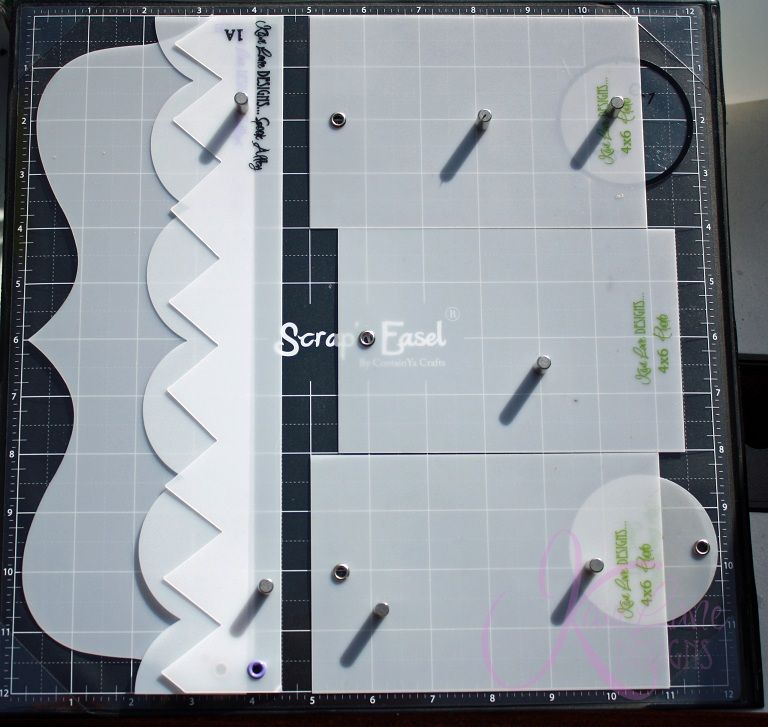
Today on the Kiwi Lane Designs Blog I am sharing part two of my mini series on layered elements for pages. I will be focusing on layered borders with dimension. With bright and fun papers from My Mind's Eye My Girl line and the Scallops, Brackets, and Accents designer templates I created a layout and a premade border strip. Be sure to stop by the blog and check it. Then head over to the My Mind's Eye Facebook page and show them some love too.
Today on the Kiwi Lane blog I share some quick and easy tips to create layers and clusters on layouts using this month's featured template sets Aspen Court, Playtime and Adventure. I am also excited to be working with some awesome stamps from one of my favorite stamp companies Technique Tuesday. So be sure to stop by the Kiwi Lane Designs blog and faceook page for some crafty fun.
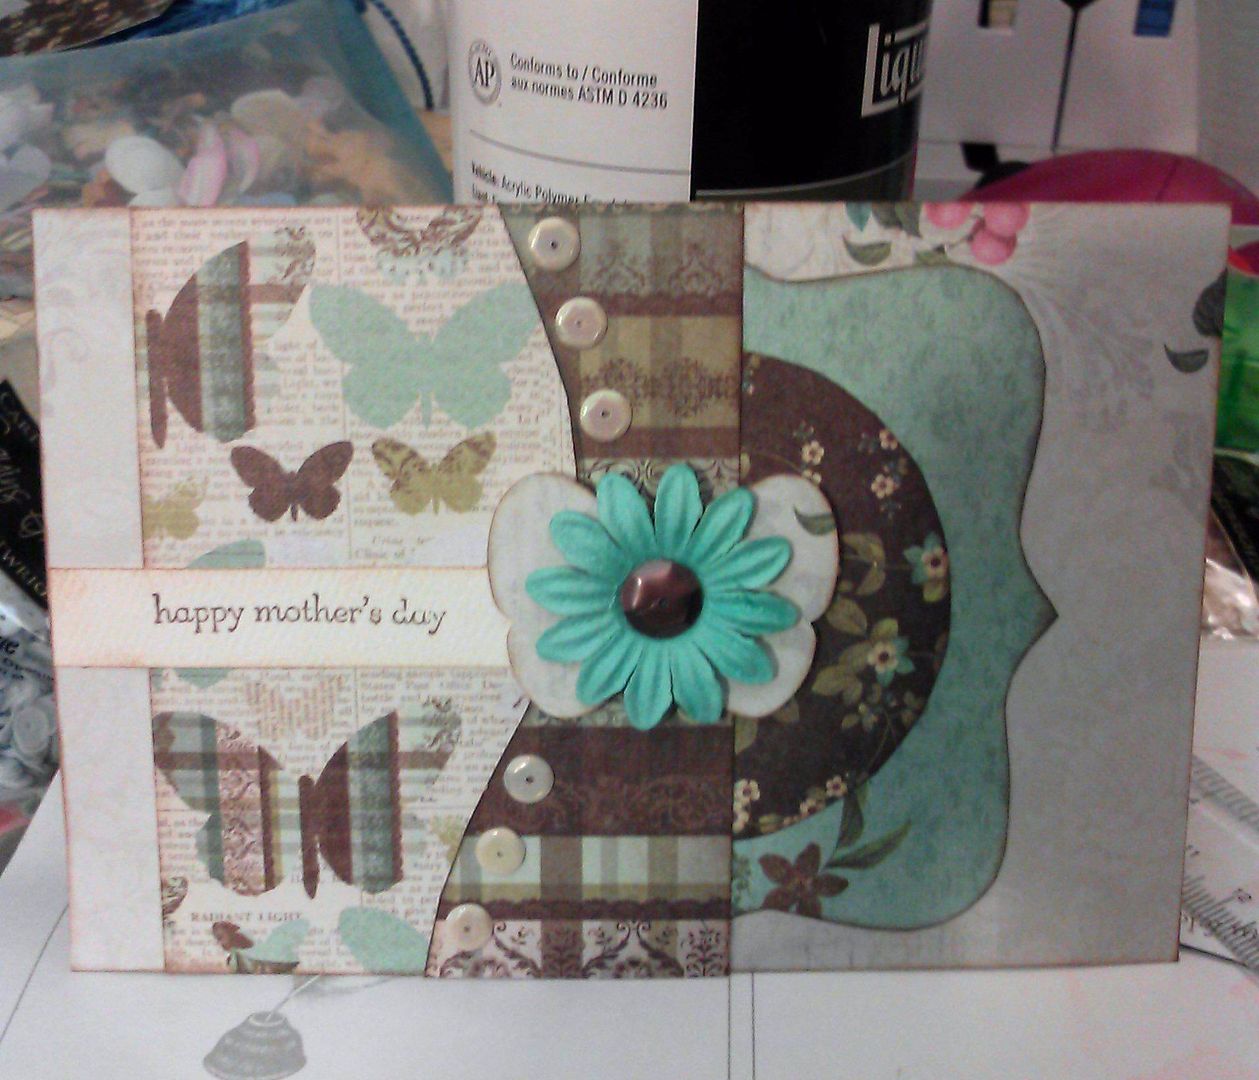
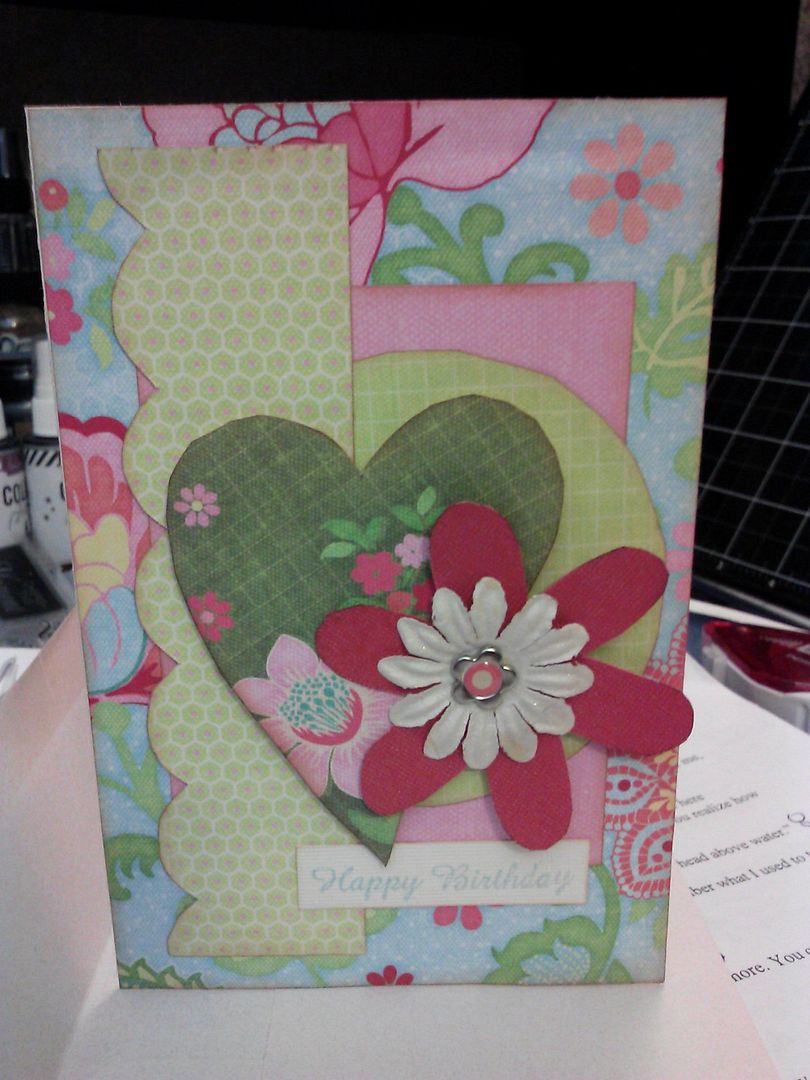
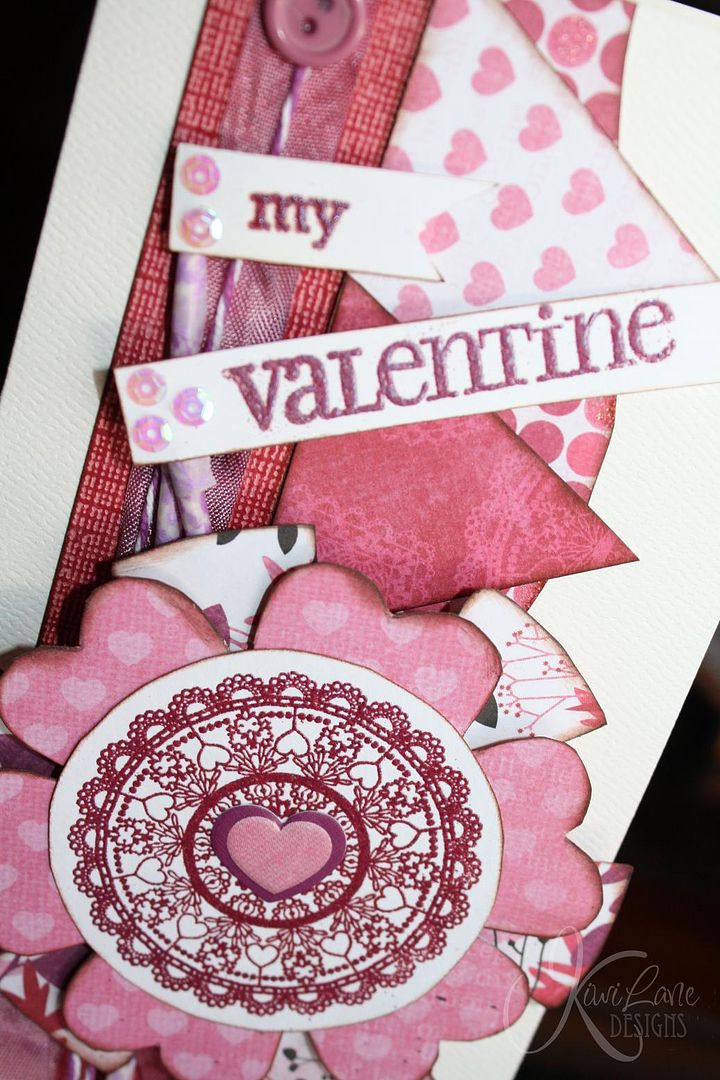
This year I actually got my cards done and mailed out on time. Go Me! I made 4 of these cards using my Kiwi Lane Designs templates and Prima Madeline paper collection. I think they turned out pretty cute.
Who's playing tomorrow? I'll be scrapping along all day, doing the challenges and getting some crafty projects done. I hope you join us.
National Scrapbooking Day at KLD
Spring is in the air outside my window and in my craft room thanks to the bright and cheery Doodlebug Design Inc Flower Box collection. Today on the Kiwi Lane Designs blog I have a couple projects to share and some quick tips for using your Kiwi Lane designer templates - Chestnut Drive, Celebrate, and Tiny Florals. So check out the Kiwi Lane blog and Facebook and then be sure to check out the Doodlebug Design Facebook page too for loads of inspiration.
Want to know how to make an easy pocket for cards and pages using your templates? I made a quick video tutorial explaining the process. Take a look.
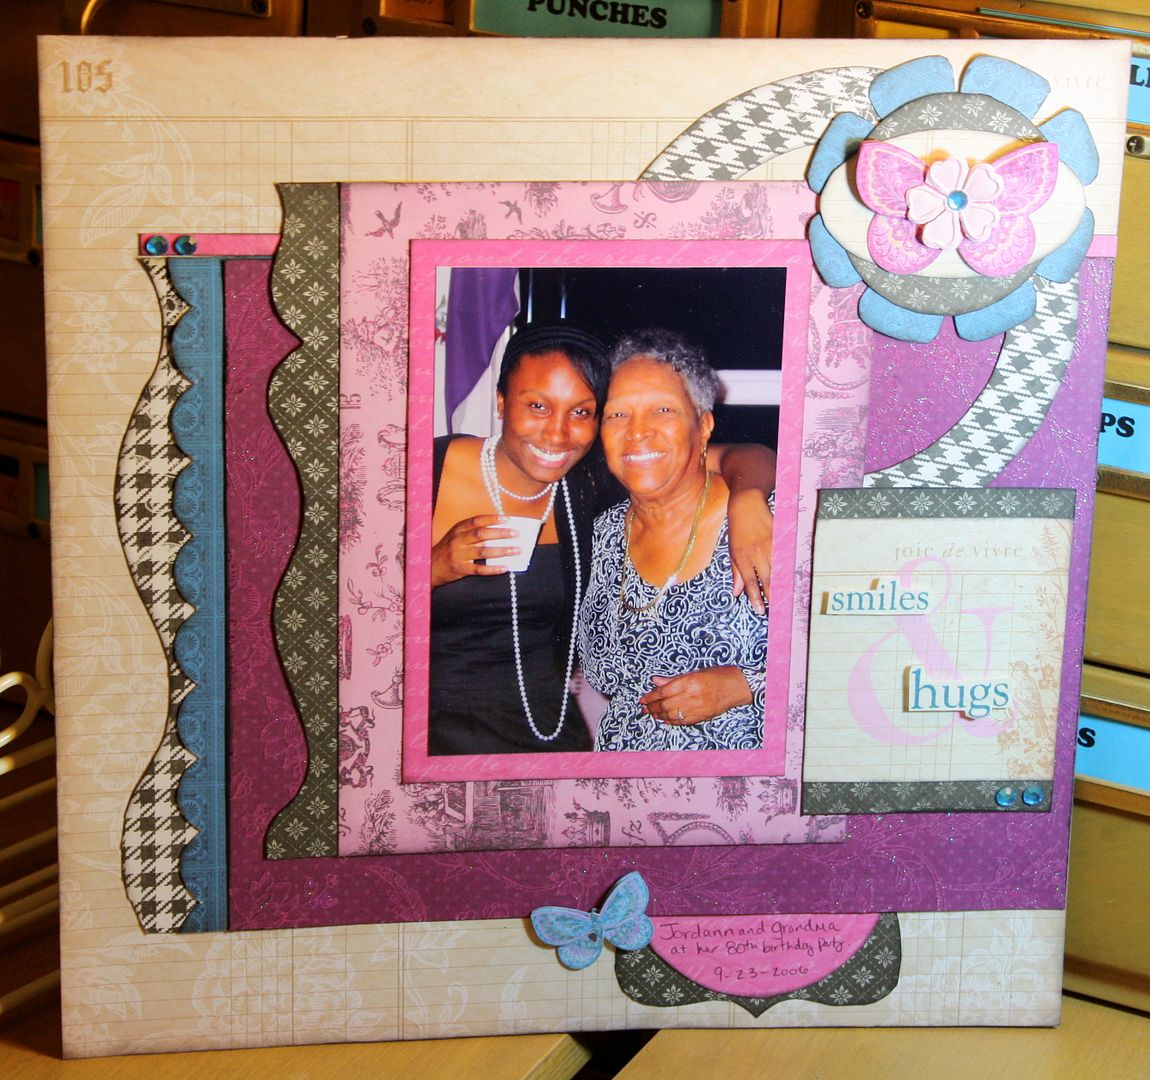
My first experience using Kiwi Lane Designs templates was last summer. I bought the complete set of mini templates at an expo and that night I used the designer templates to create a 8" album for my mother-in-law's birthday party. That night at a crop I completed practically and entire album. The creation process was so much easier with the templates and I was finally able to complete the book. When I gave my mother-in-law the album she loved it, especially the pages I used the Kiwi Lane templates on. I was hooked after that.
Now many templates later I am still hooked and I am using them to create my pages of my mother-in-law's birthday party. Using the Anna Griffin Maude Asbury line and the Chestnut Drive borders 1A and 3B (also used 1" strips), I made this two page spread with a few pics of the party.
Thanks for stopping by my blog. Don't forget to leave a comment, here and on all the blogs in our hop, to get a chance to win a $25 gift certificate to use at Kiwi Lane Designs. Good Luck! BLOG HOP LIST 1. Kiwi Lane http://kiwilane.com/here/blog/
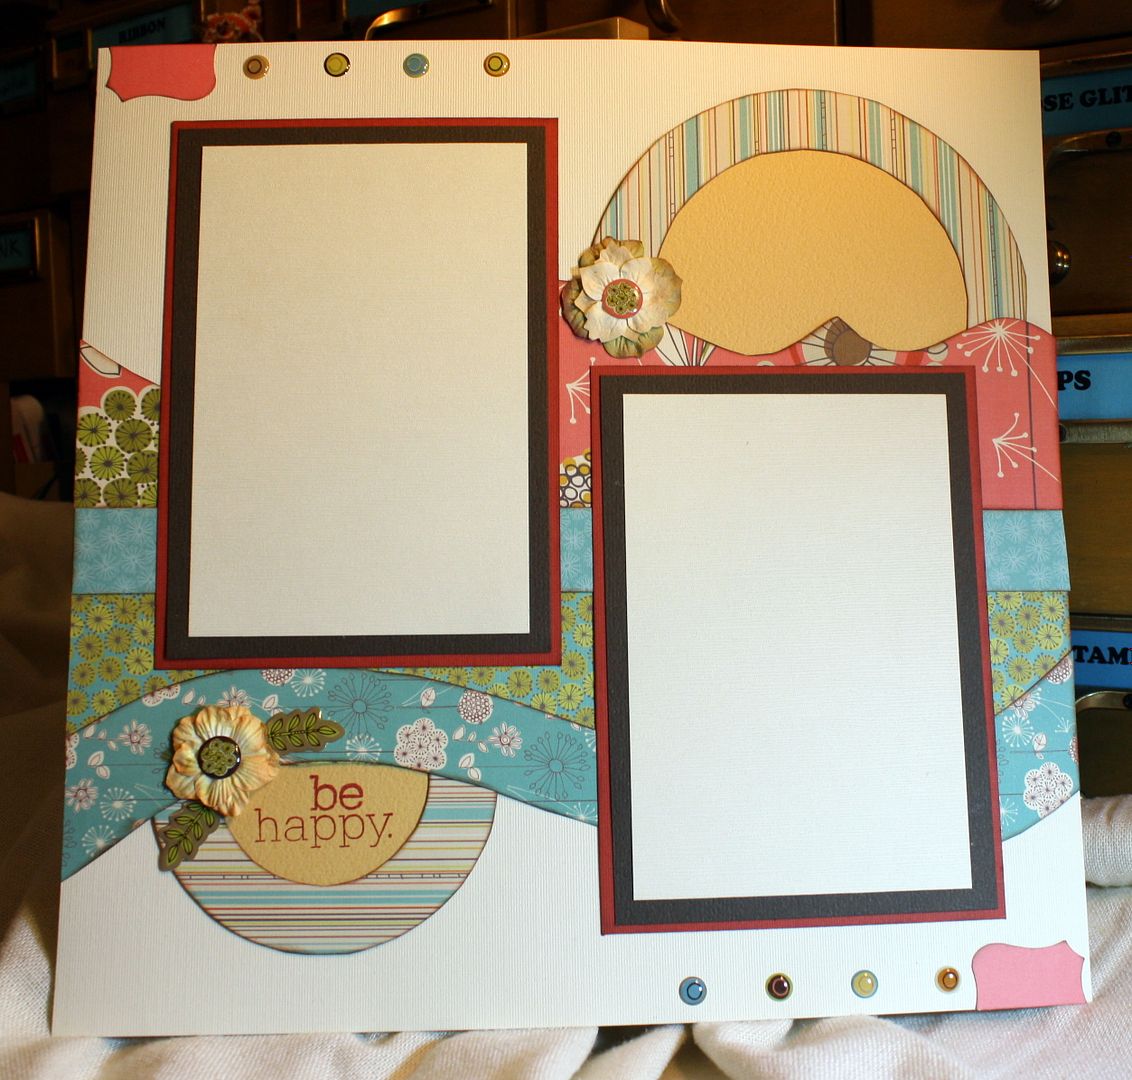
Another before and after layout to share. I made this one using the Dear Lizzy 5th and Frolic line and a 8x10 photo collage that I made in Picasa and printed at home. I decided on a very simple design that kept my photos as the focus.
BEFORE
AFTER
Templates used - mini scallops 3a; mini paisley place 3a; rings 3 & 4; tags 1; tiny tags 1t; tiny shapes 7t
Other supplies used - Stamp - MFT; Felt embellishment - Dear Lizzy; buttons - American Crafts; paper - American Crafts/Dear Lizzy
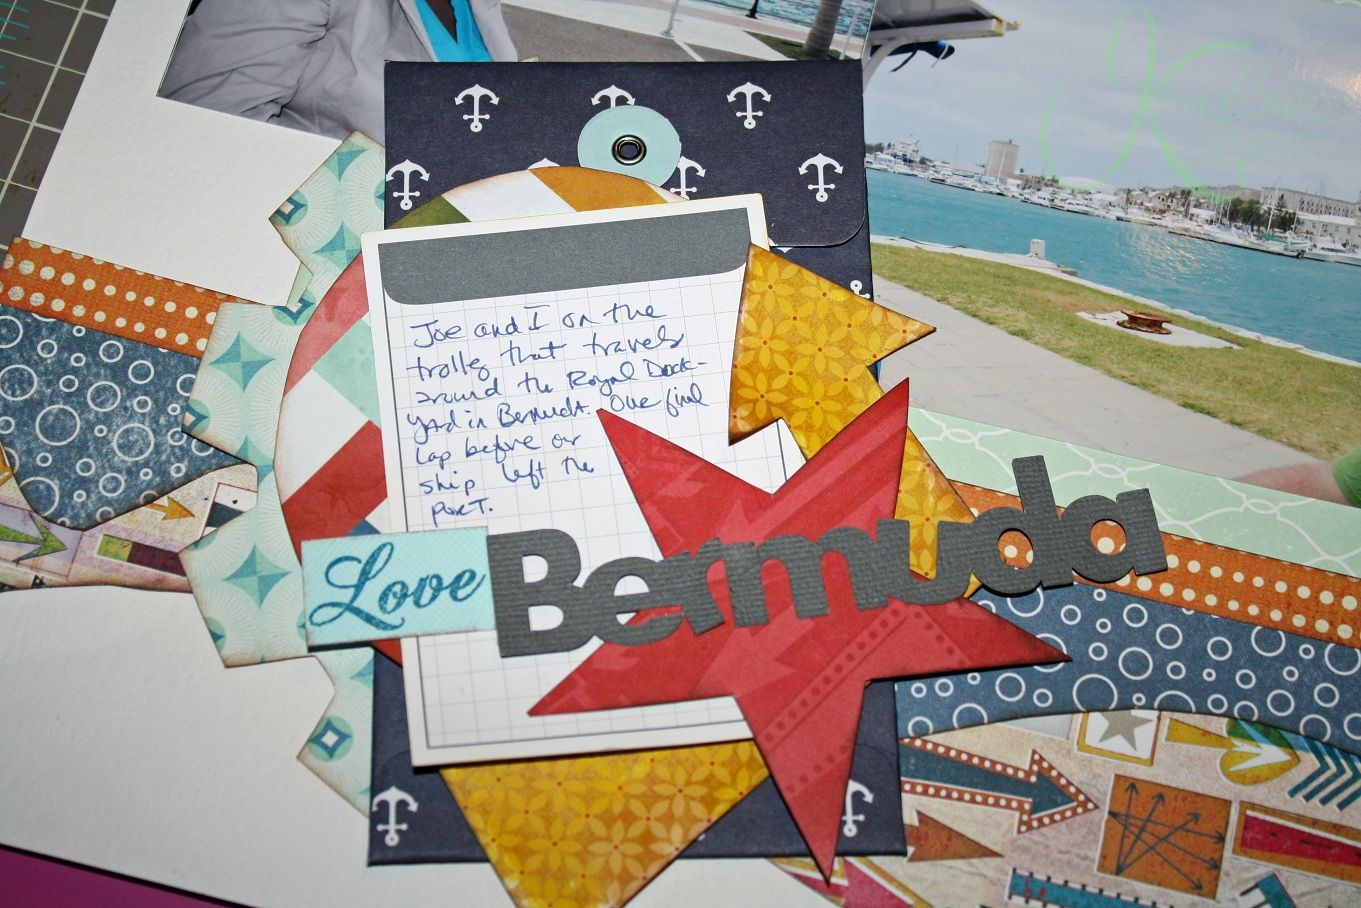
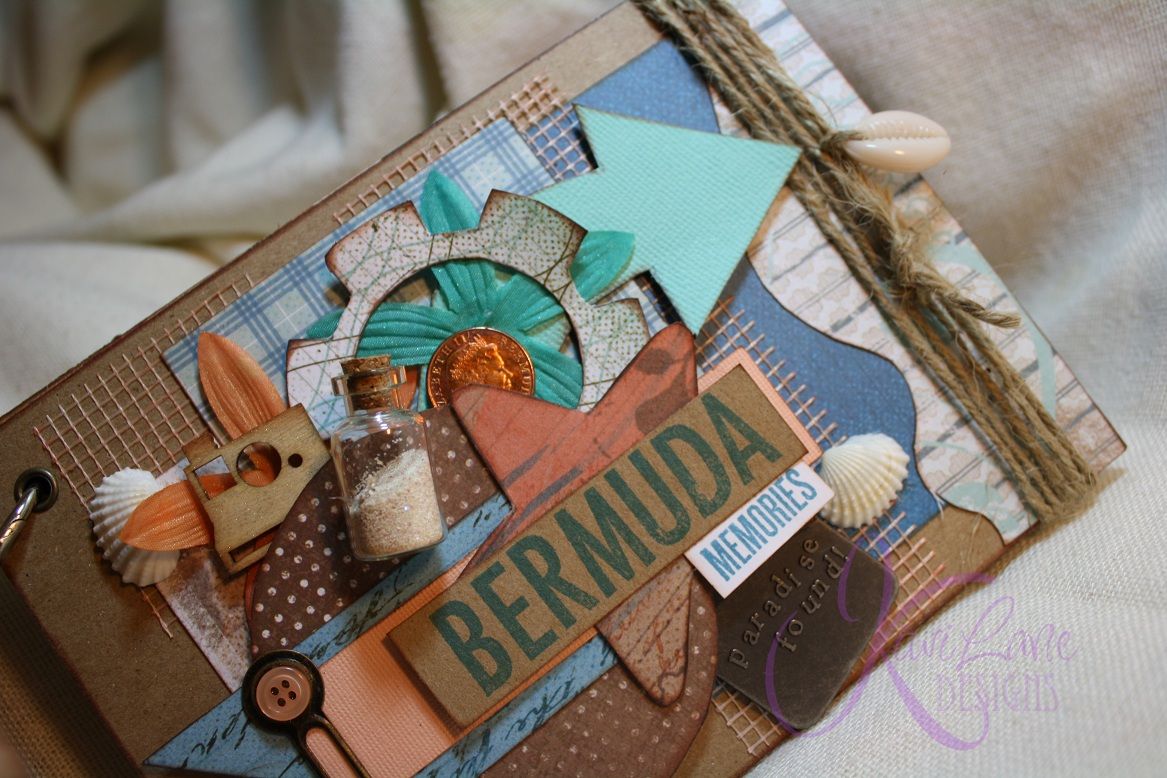
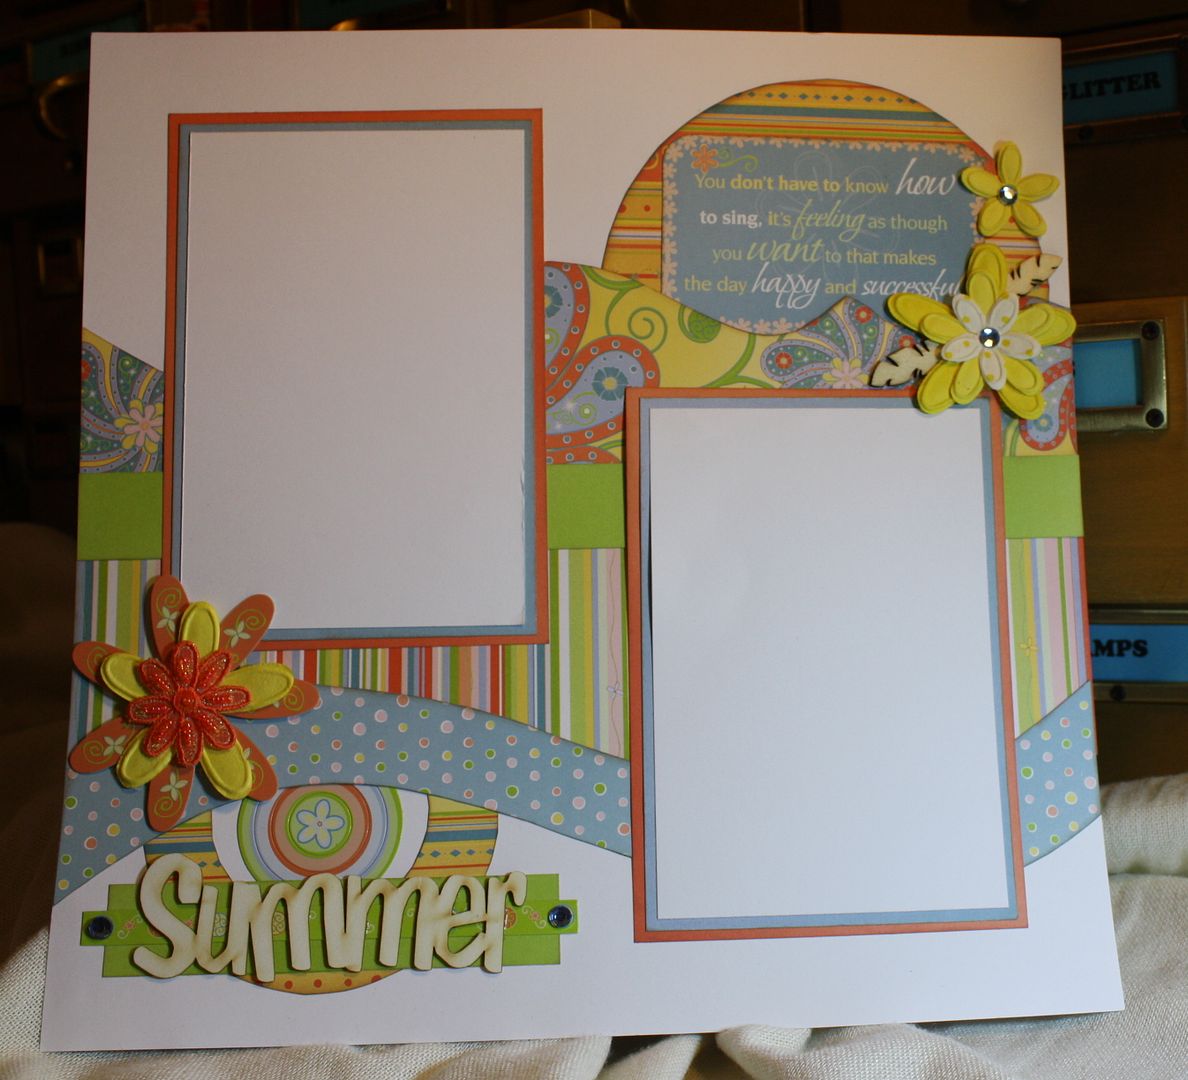
It's March and I have spring break on the brain. I'm not hitting the beach this year, but I still can get a mental vacation by looking through some of my old vacation pictures. Today on the Kiwi Lane blog, I am sharing a mini album I made with the Quick Quotes Stowaway line and mini Paisley Place,Tiny Wildflowers, and Cascade Trails. Making a mini album was so fast and easy thanks to my templates and the very beach appropriate Quick Quotes papers. So head on over to the Kiwi Lane blog to see my full album and get some scrapbooking inspiration. And then don't forget to visit the Quick Quotes Facebook page.
My mom gave me this photo to scrap of me as a baby. It is one of her favorites. I don't like how HUGE my head is in the picture. I guess it is true when they say "a face only a mother could love". LOL
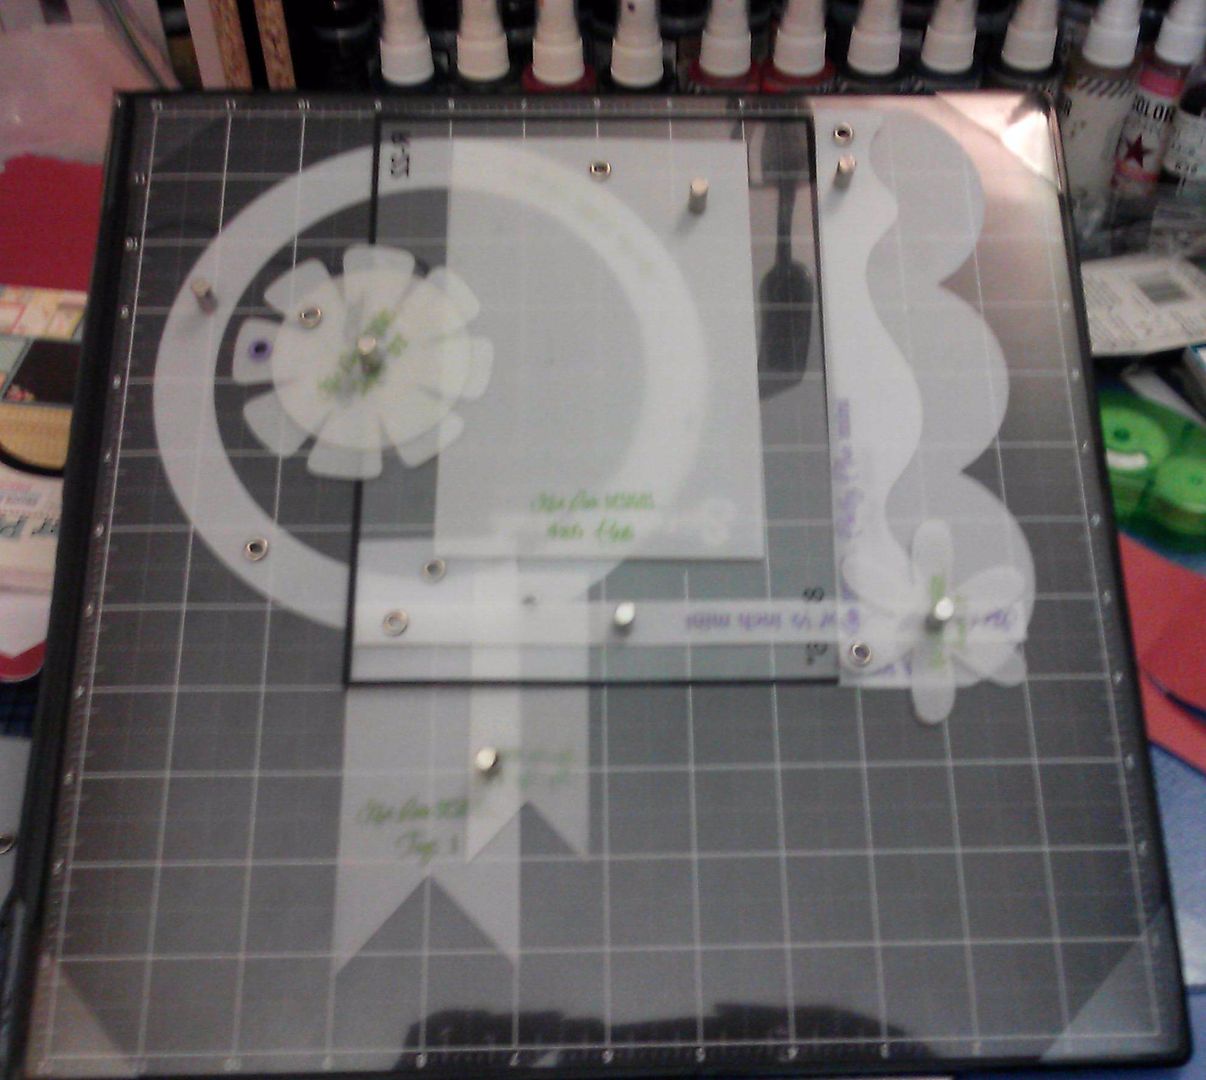
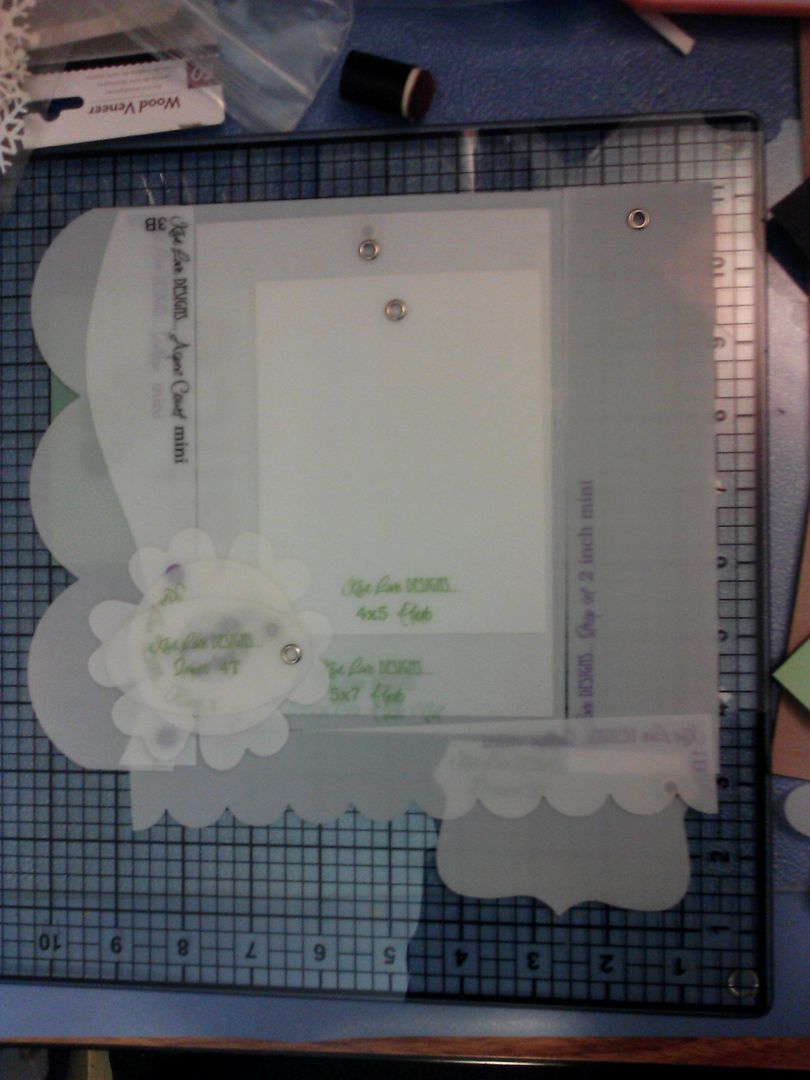
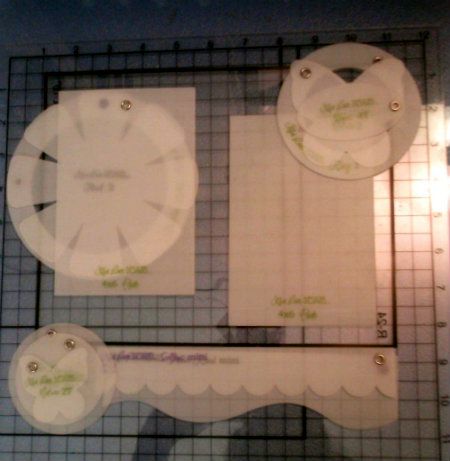
So I started designing the layout like this. I like to play with my templates on my cutting mat to get my design ideas flowing.
Then I selected some papers from the October Afternoon Woodland Park line and started tracing and cutting. In the end, I changed a few things from my original design idea, but basically it came out the same as my design "sketch" I made with my templates.
It's my turn again at the Kiwi Lane Designs blog. Be sure to head over there and check out my projects using the oh so pretty We R Memory Keepers "Crazy For You" paper collection and Clara Lane, Sweetheart, Tiny Sweetheart and Tiny Accents designer template sets. Tons of pink and pretty!
While my Project Life for 2013 is off to a slow (very slow) start, my creativity has been in overdrive. I made 20 of these little 3x4 cards for a Project Life card swap. Used some October Afternoon Woodland Park papers and my Kiwi Lane templates. Now to actually start doing some Project Life pages LOL.
Friday, February 01, 2013
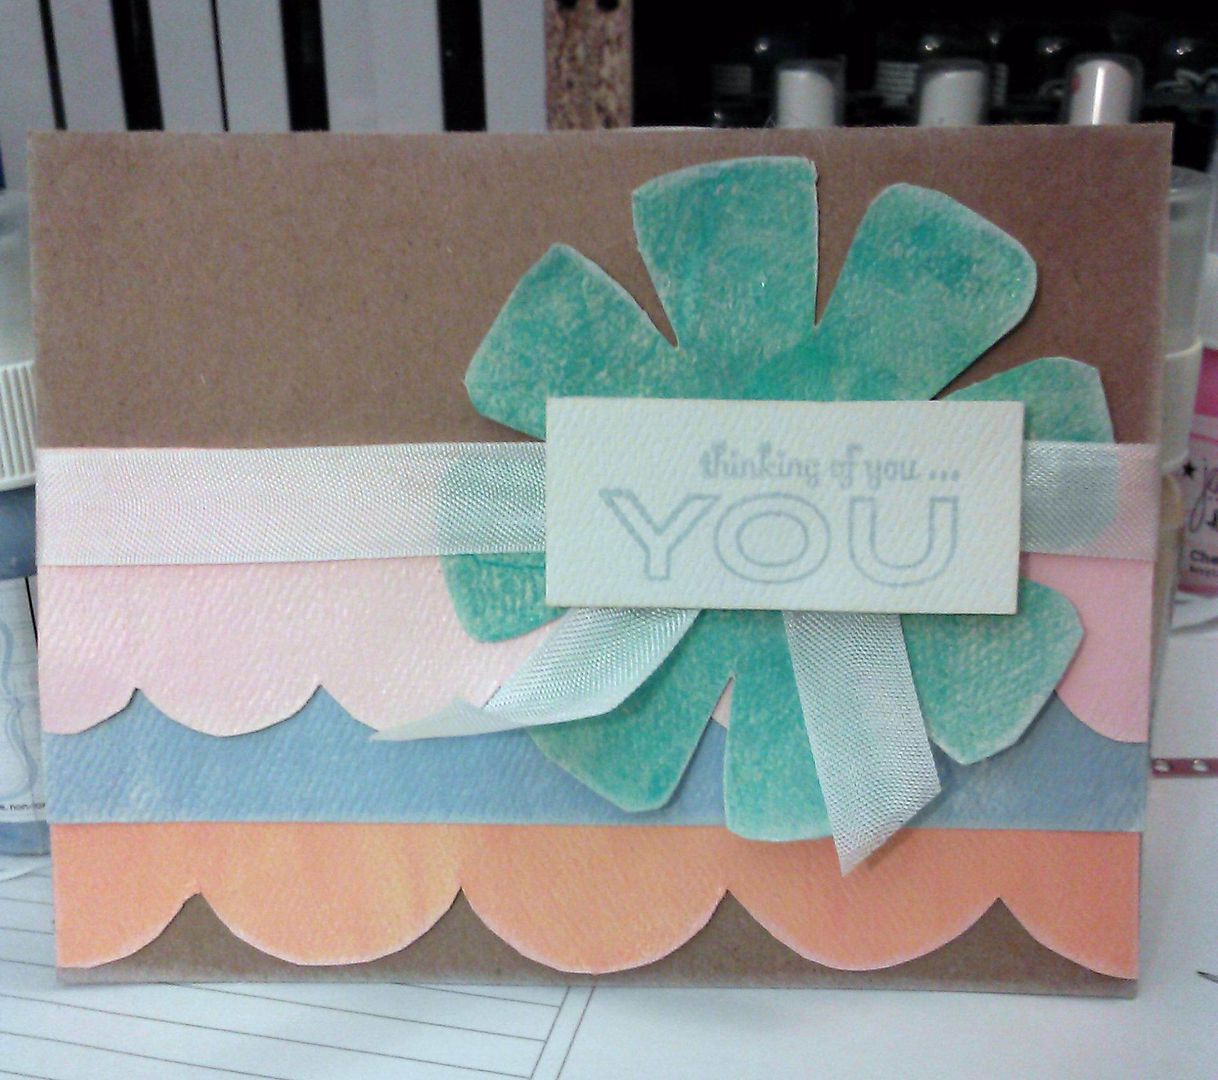
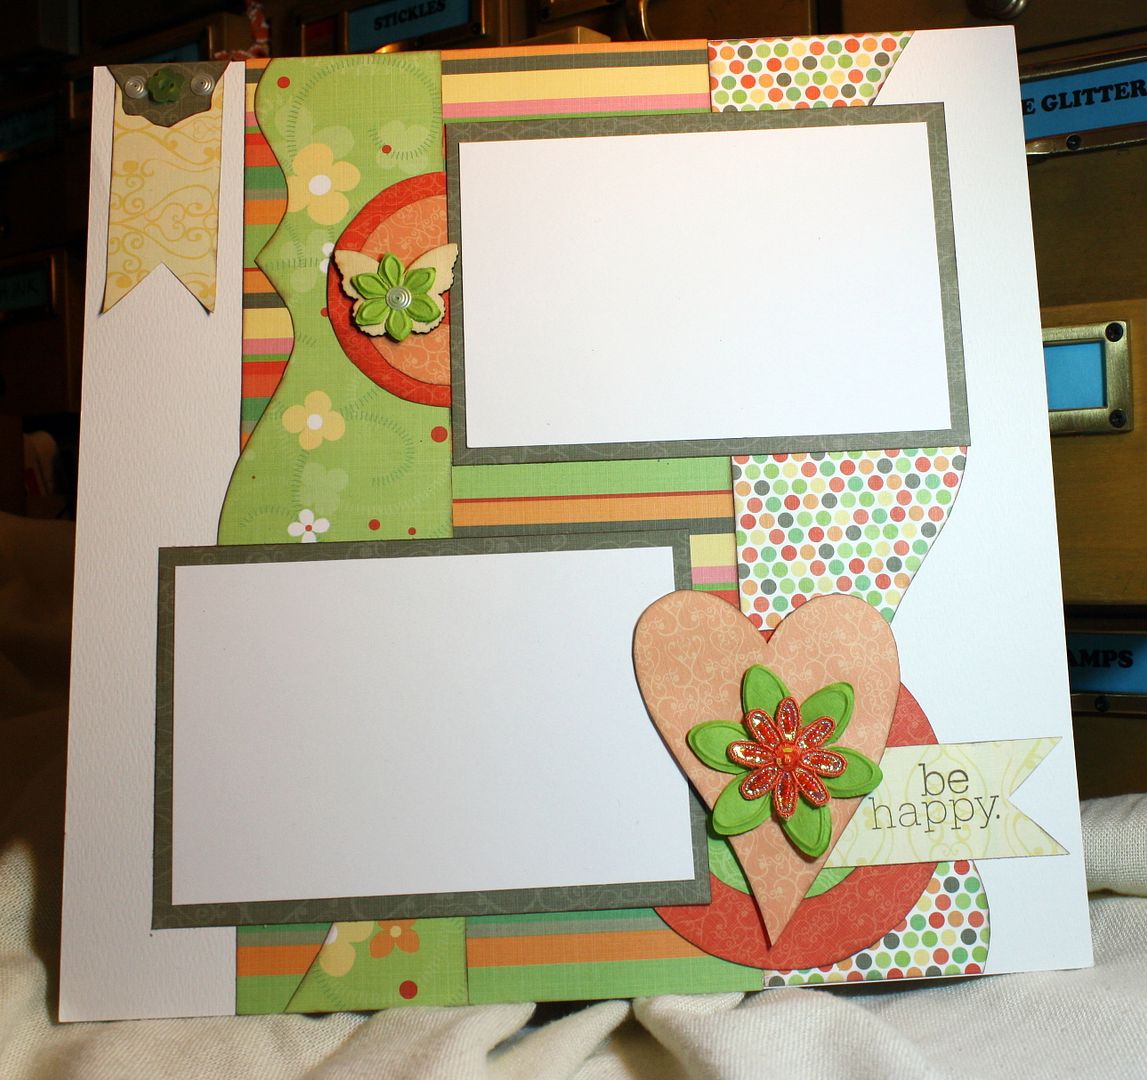
Thanks for stopping by the Kiwi Lane Designs blog hop. I hope you are getting tons of creative inspiration from all the participating blogs. Could it actually be true? Did I make a page without any flowers? Looks like I did. LOL Well almost.
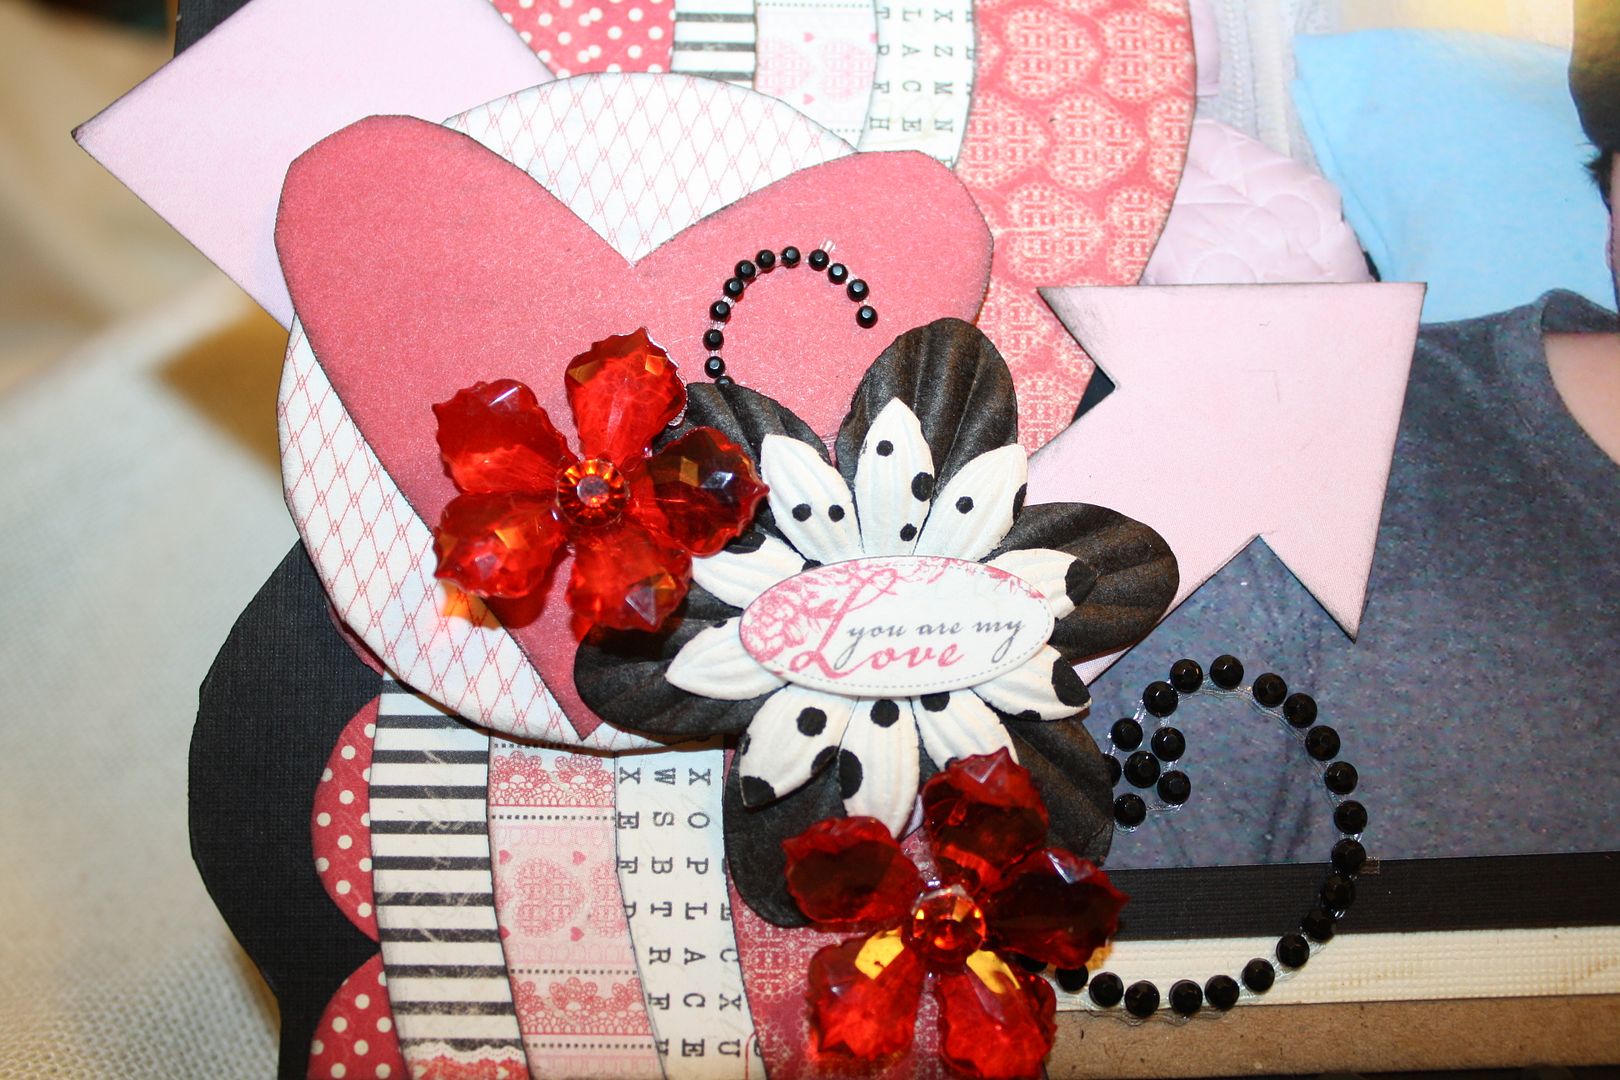
I couldn't help but use the cute flower template from Tiny Sweetheart to anchor one of my stamped titles. I used my Fiskars crimper (circa 2004) to add some texture to the Tiny Sweetheart Flower then I put a Tiny Sweetheart Heart on top with a pop dot, then added a strip with my stamped phrase.
I used the 1" mini strip to create a nice even box for my stamped words. I am a bit particular about straightness and I love how the Strip template sets help me keep things perfectly aligned, whether I am using them to create text boxes or if I am laying them on a page to perfectly space my embellishments. The Strip Templates are some of my most used.
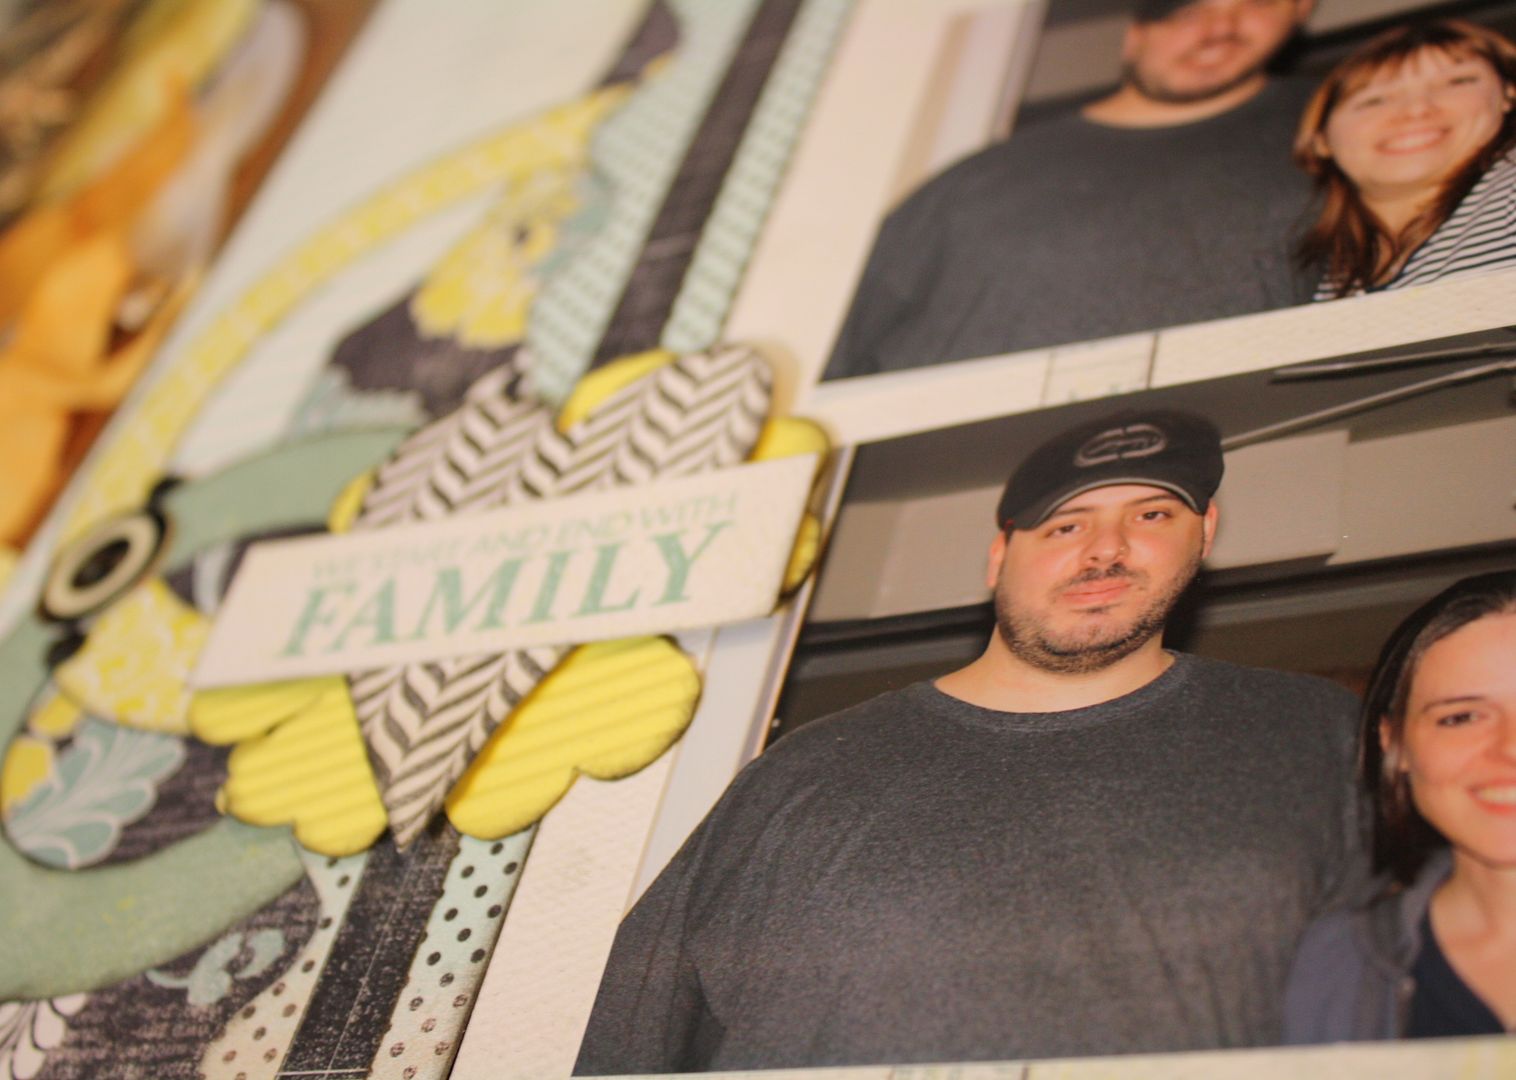
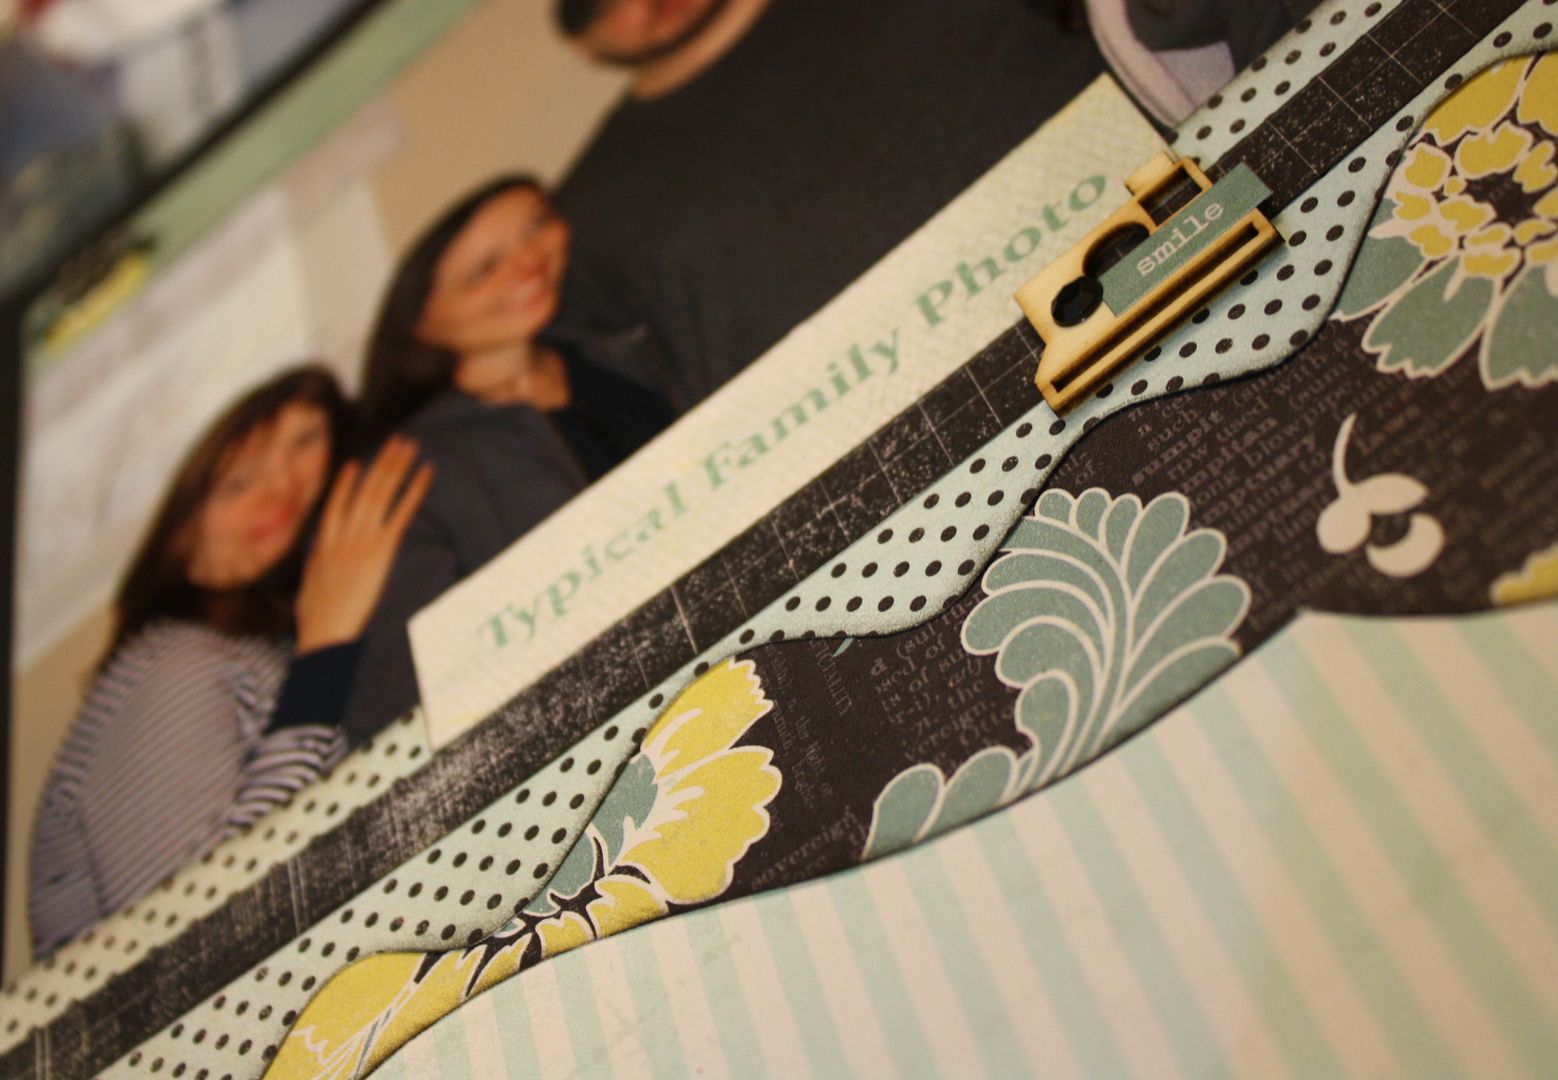
Authentique's "Renew" line combined with Kiwi Lane Designer Templates Clara Lane 2A/2B and Sunnybrook Lane 1A/1B were the perfect "frames" for this layout of my husband and his sisters. I made a collage using Picasa, and printed it out at home. I cut the pictures apart and easily pulled together this two page layout with the help of my templates.
I know I say this a lot, but I am still so amazed at how much faster and easier creating pages is when I am using my templates. This simple layout would have taken me a week to come up with before I discovered Kiwi Lane Designs Templates.
(Don't you love the backdrop for the photo of my layout? I am at a weekend crop and I couldn't resist taking a picture against the fluffy hotel pillows!)
Templates used for creation and visualization - Clara Lane 2A/2B; Sunnybrook Lane 1A/1B; 12" Strips - 3", 1", 1/2"; Rings 1,2,3; Tiny Sweetheart 2T, 3T
Thanks for stopping by my blog, be sure to keep hopping along to the rest of the stops in our creative journey. Don't forget to leave a comment, here and on all the blogs in our hop, to get a chance to win a $25 gift certificate to use at Kiwi Lane Designs. Good Luck!
Sharing a few pages I made for a swap on 2peas. Using my Kiwi Lane Designs templates helped these pages come together so easily. I think I might attempt making a complete pre-made album for a gift some time this year. It seems definitely doable using the designer templates.
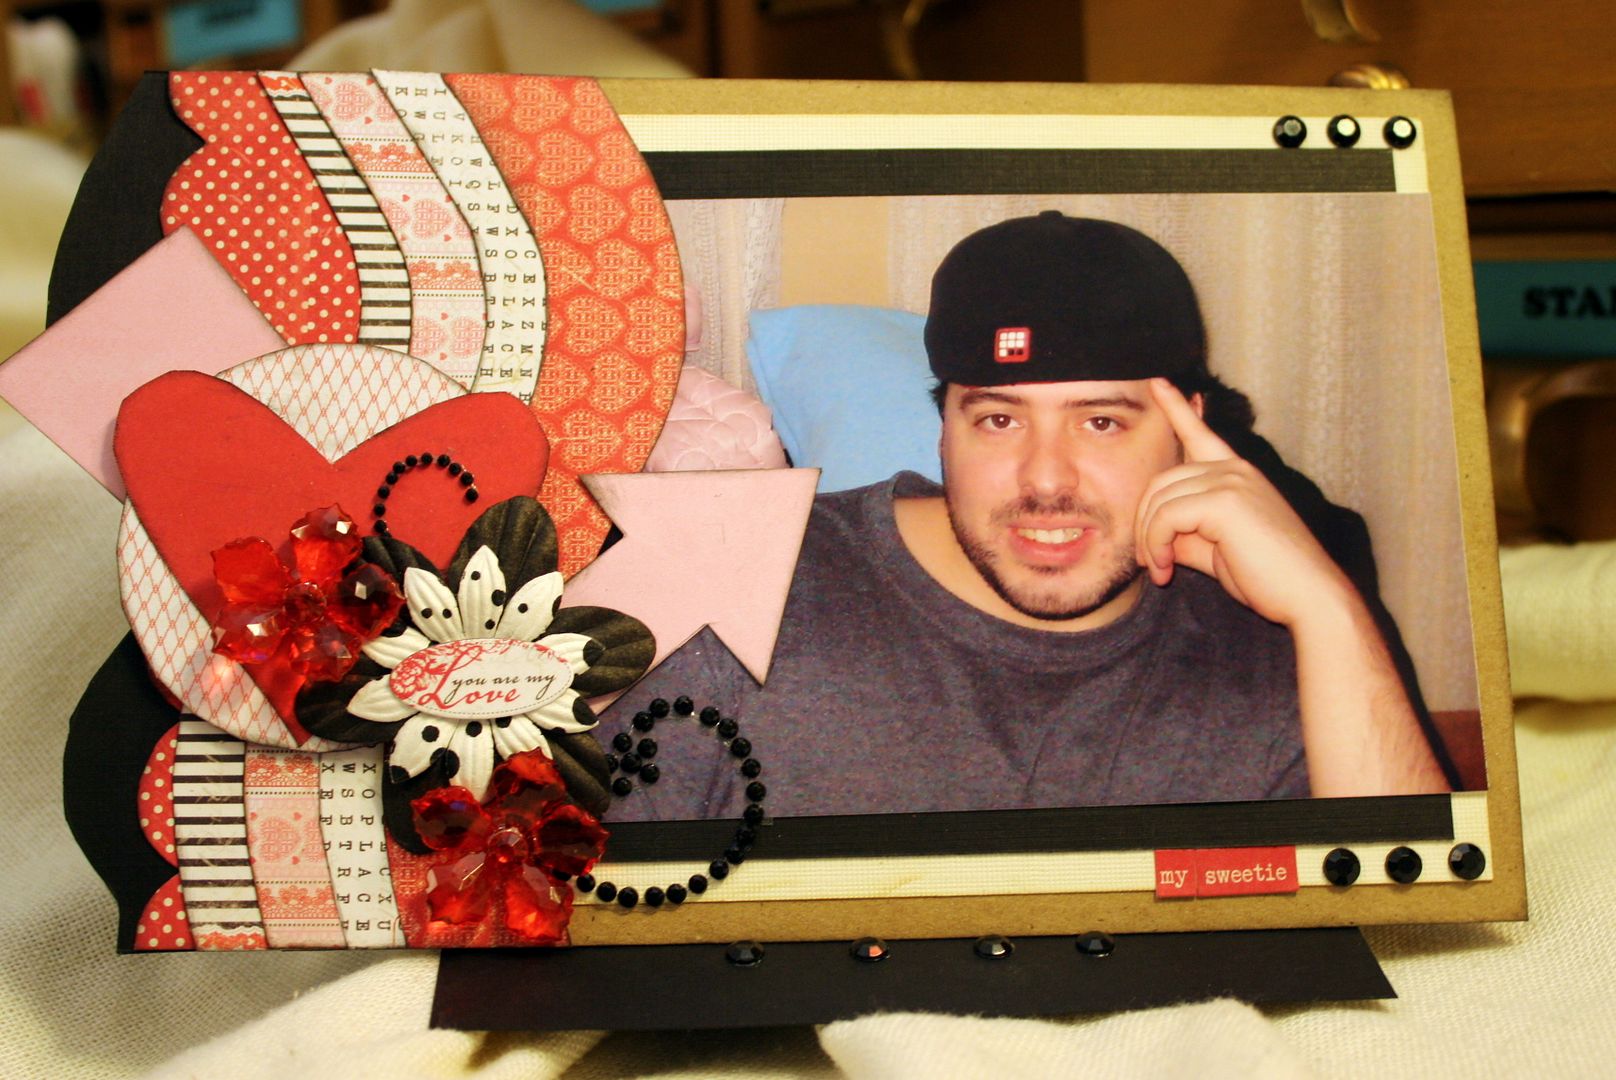
I made three projects for the Kiwi Lane Designs blog but I loved using the Authentique papers with my designer templates so much that I made another little something from the papers. Using the Adorn cardmaking template set, I designed this little mini free standing layout for my desk at work. It measures 5.5x7.5 and I decorated it up with a few stickers from the Authentique "Lovely" collection, some crystal flowers, rhinestones, and of course flowers. The heart on the layout was made using the tree template from the Winter set. Check out the Kiwi Lane Designs blog to see how I made it.
Make a tree embellishment using the points of the snowflake from the Winter template and the scalloped edges of Tags 7. Use a point from the snowflake for the branches/trunk and trace the scalloped top of Tag7 for the leaves.
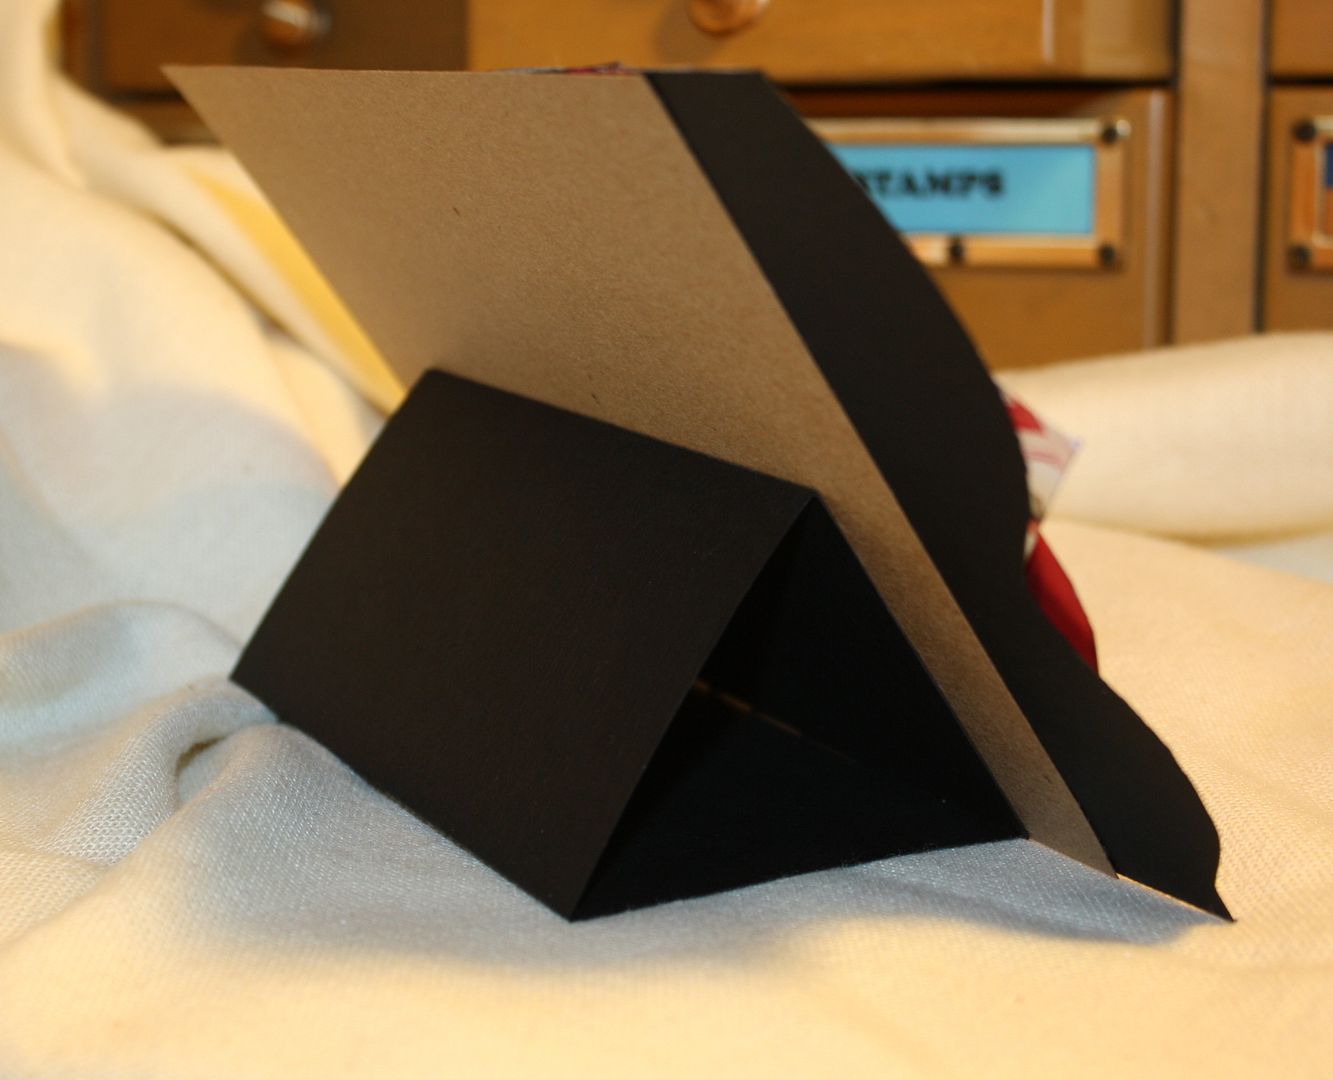
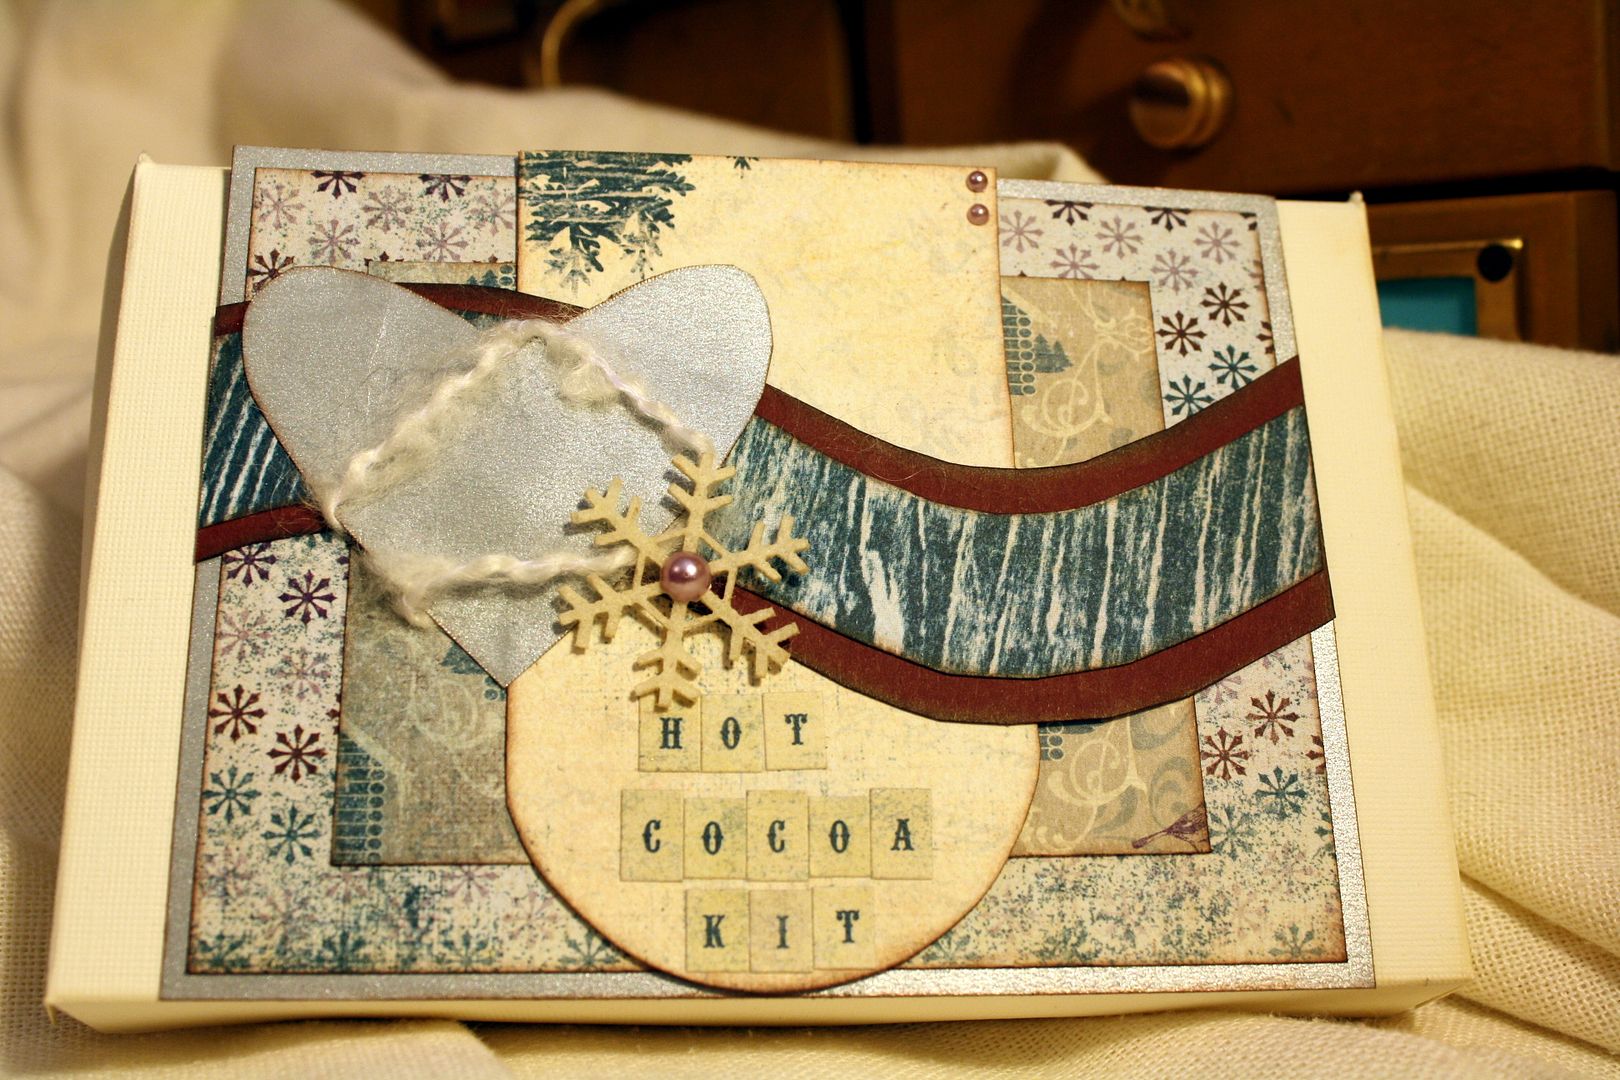
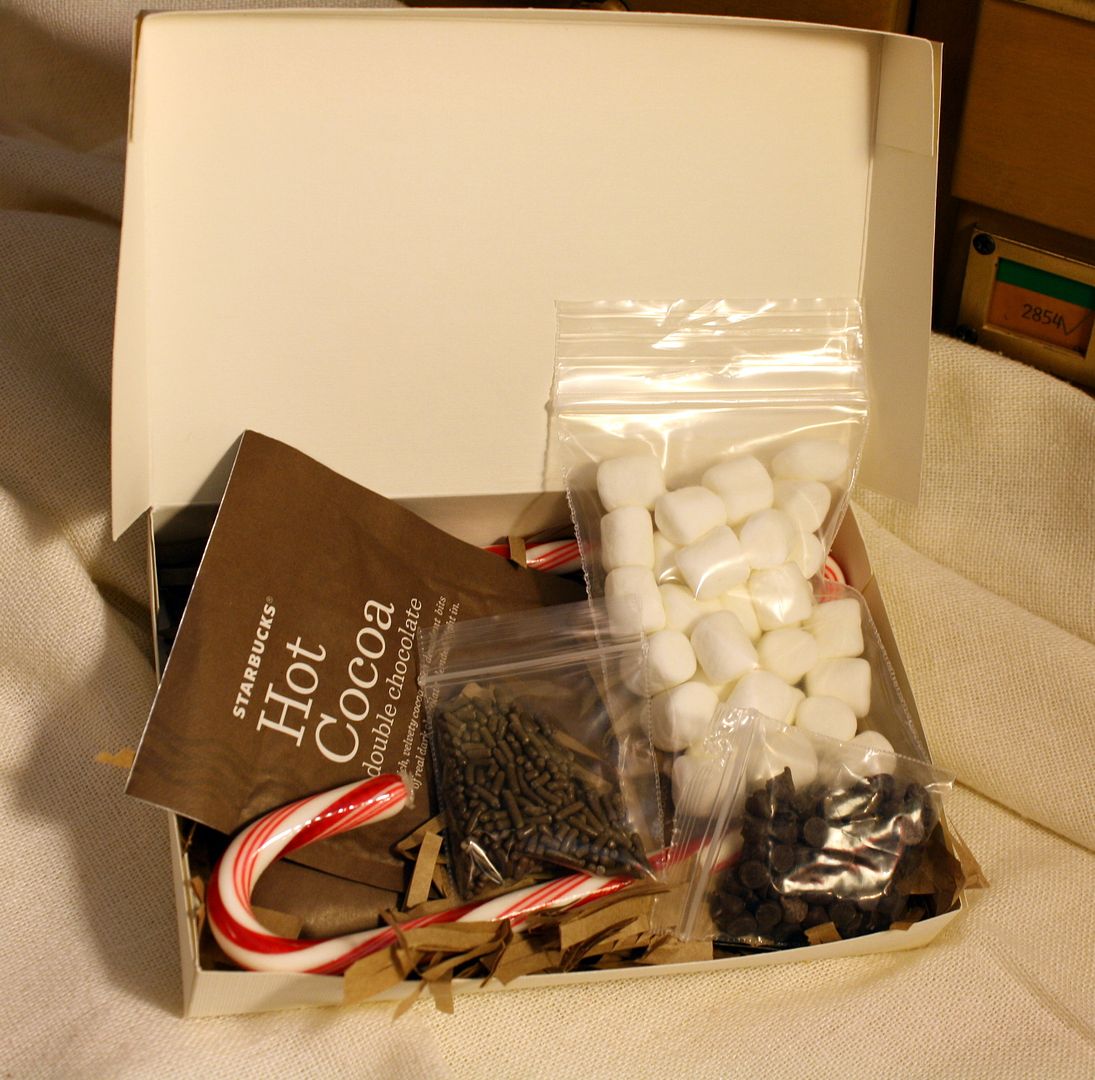
HOW TO MAKE THE BOX FOR THE HOT COCOA KIT
Take one 8.5x11" piece of cardstock and along the long side (11") score at 1", 5", 6" and 10". Then on the 8.5" side score at 1" and 7.5"
Next following the scored marks cut up to the 1" score line on both sides along the 11" inch length of the paper, leaving you with 8 flaps. Fold in all the score lines. Then glue the first 2 flaps on each side to the larger flap to the right. Then glue the next 2 small flaps on each side to the same larger flap to the left, forming the base and the hinge of the box. Finally glue the remaining 2 flaps to the larger flap to the right, forming the lid of the box.
I am willing to make a video of these instructions if anyone needs a more detailed example.
My friend has an awesome giveaway on her blog just in time for Valentine's Day. She's giving away a cardmaking kit filled with tons of Gina's Designs chipboard.
All you have to do is become a follower of her blog and post a comment...simple as that. Winner will be announced 1/21. Be sure to check it out and good luck!
Since I LOVE using my KLD templates to design my layouts, I thought I would share my process on my blog and on YouTube whenever I make pages. I already have a couple videos up on YouTube where you can watch me creating, but I wanted to also include a few Before & After shots of pages here.
So be on the look out for future posts (and videos) tagged Before & After to see how I use the templates in my designs.
BEFORE
AFTER Templates used - Rings 3, Shapes 7T & 4T; Bracket 2T; Scallops mini 1A; Abbie Road mini 3A; Madison Ave mini 3B; Floral 2T; photo mats 4.5x6.5 & 4x6; 3x4; Rings1
BEFORE
AFTER Templates used: Florals 3; 4x6 Photo mats; Rings 1,2,3; Mini Scallps 1A; Nature 2T: Mini Abbie Road 2B; Shapes 7T, 8T, 4T; Nature 2
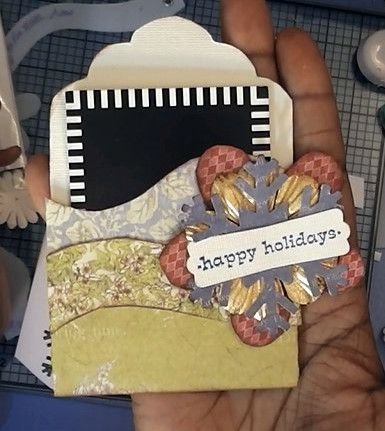
I posted this video tutorial on youtube to use at Xmas time for a last minute gift idea. But I tend to give monetary gifts all year long for birthdays and such. So I thought I would feature the video on my blog now, even though the holidays are behind us. The techniques can be used for any occasion.
Kiwi Lane Templates used - Tags 7, 2" strip (card size), Sentiments 2A, Adorn 1B, Tiny Accents 2. Papers - Prima - Londonberry and Martha Stewart Holiday stack, Punch: EK & EK for Stampin Up
Did a video showing how I use my Kiwi Lane Designs templates to quickly pull a layout together. It would have taken me hours, possibly days, of agonizing to do this page before I discovered the templates.
Heidi Swapp inspired me to try to make my own version of her photo frame magnets. I used card blanks and my Kiwi Lane Designs templates for this fast & cute project. Check out the video.