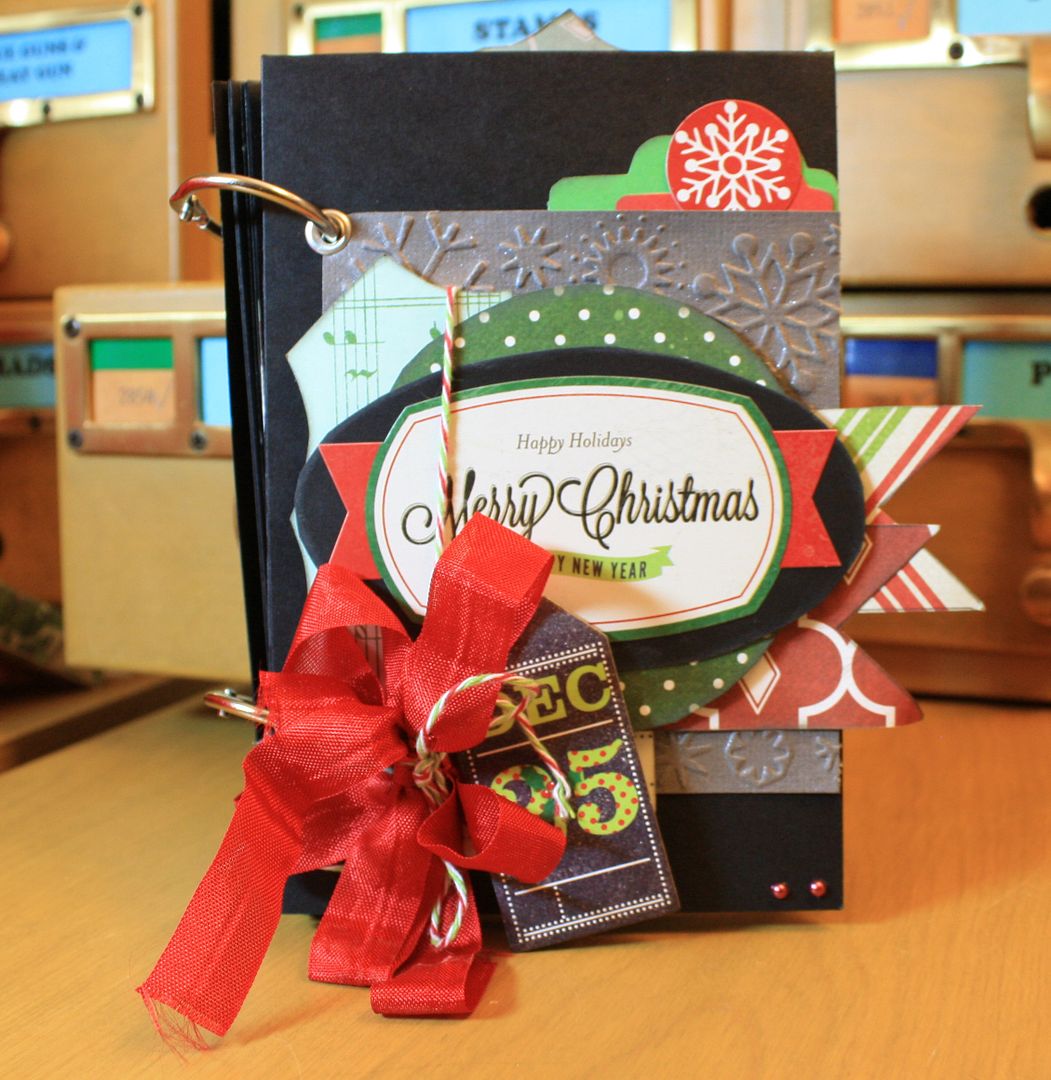
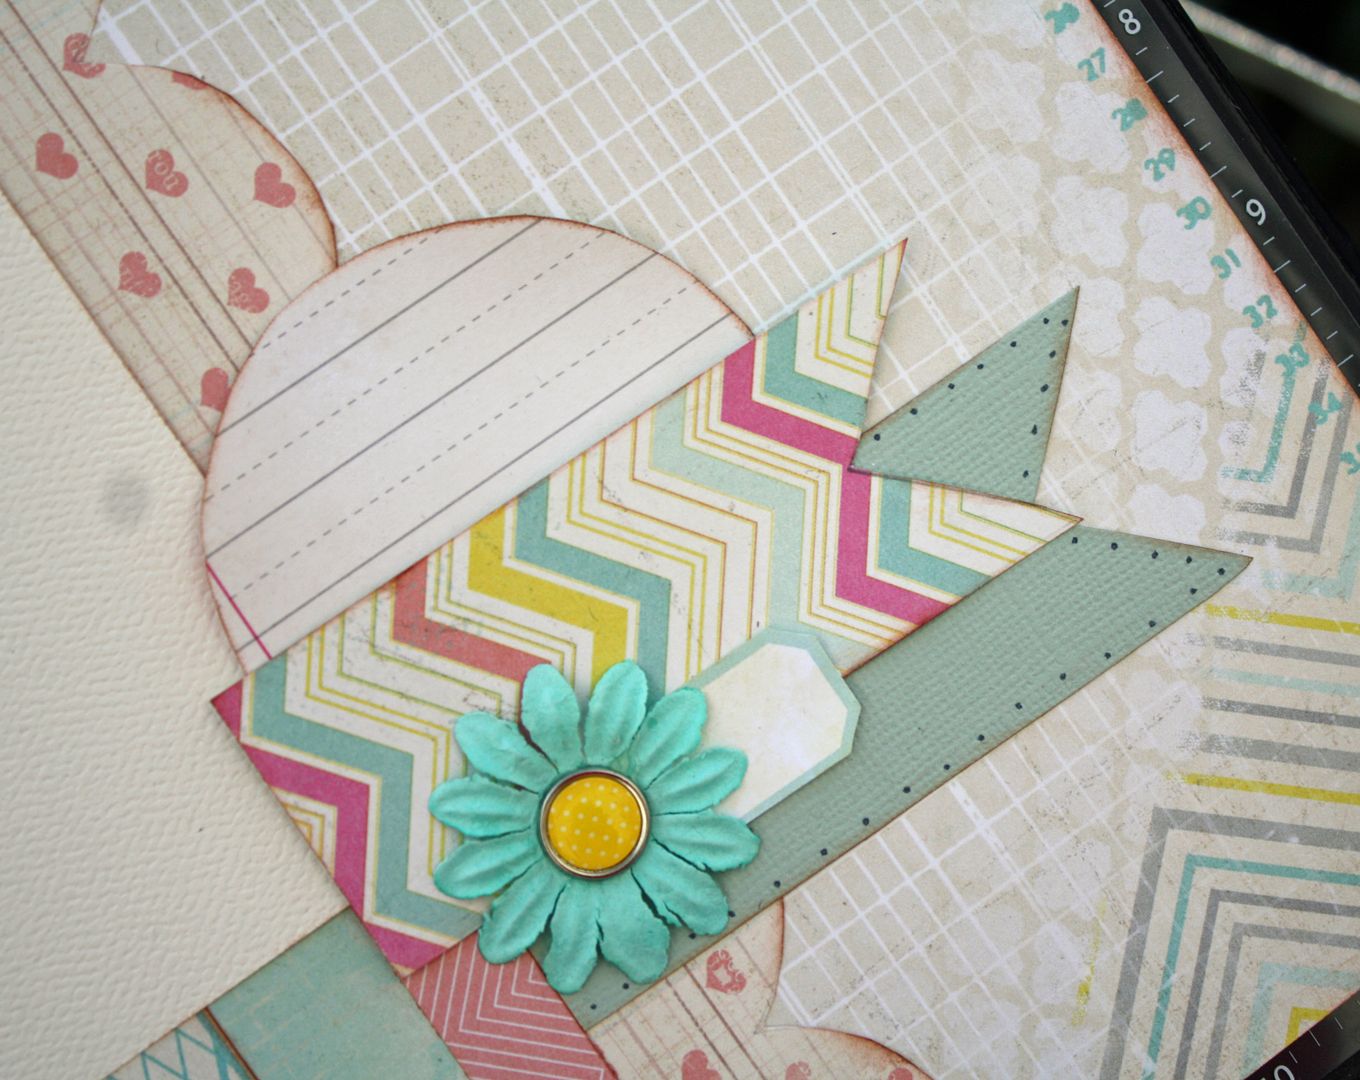
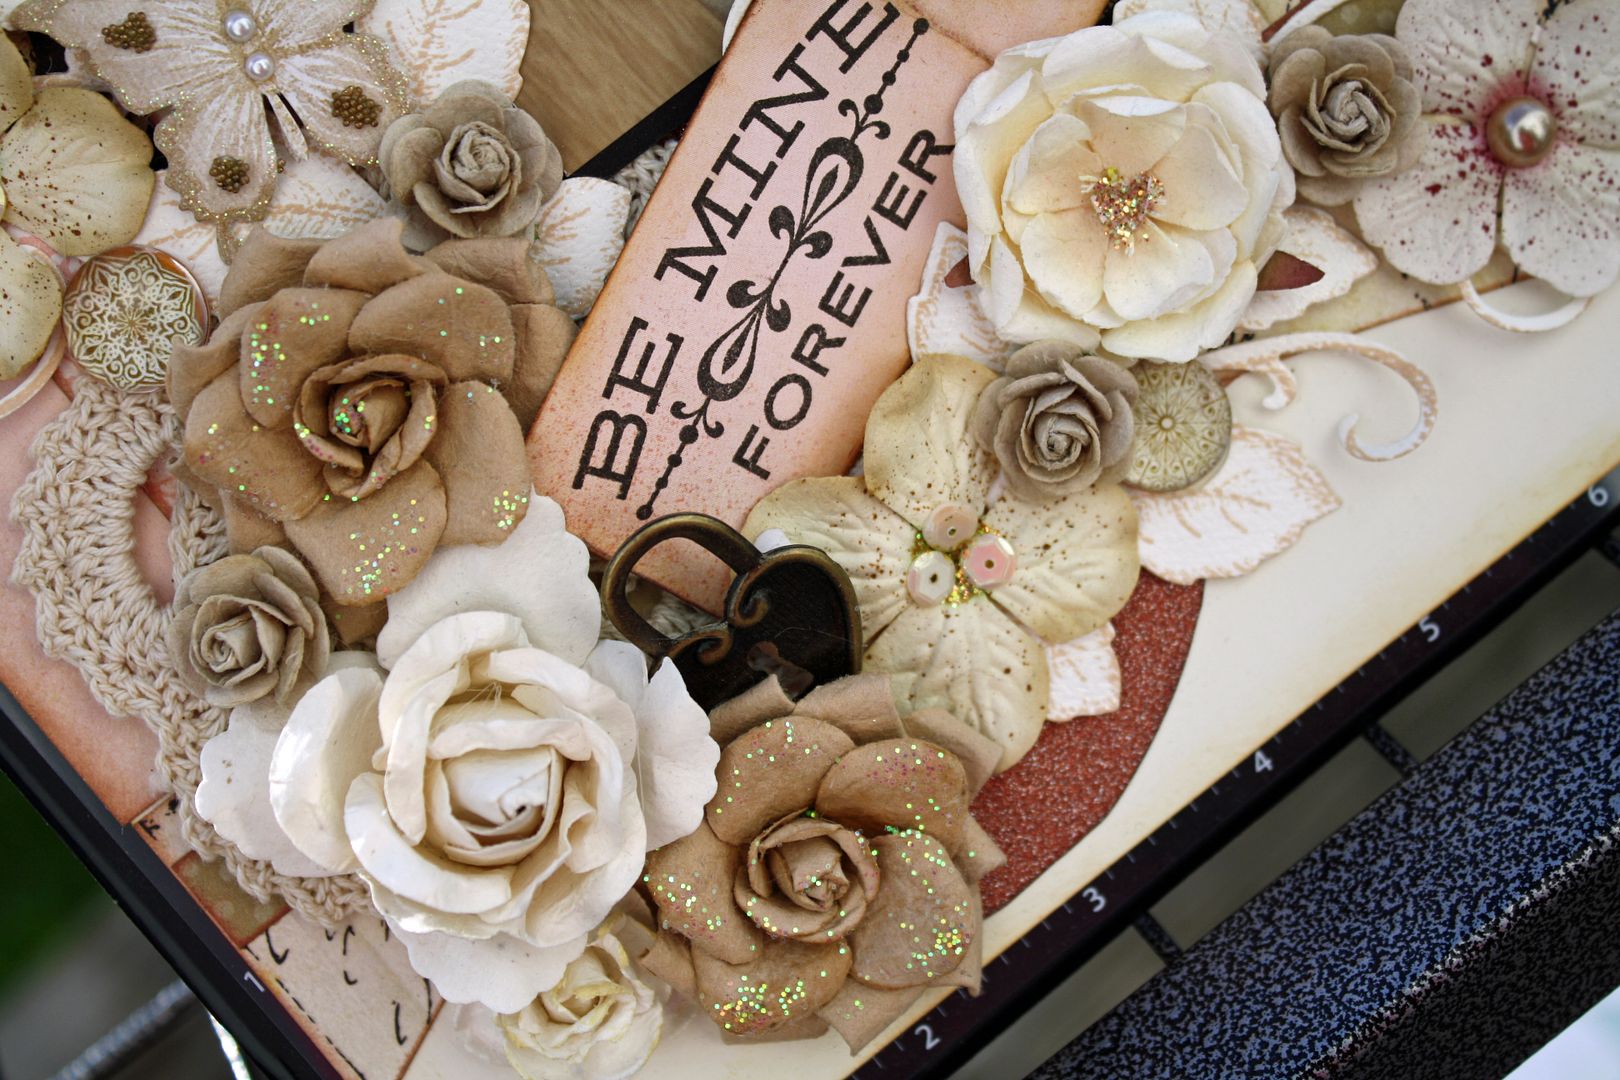
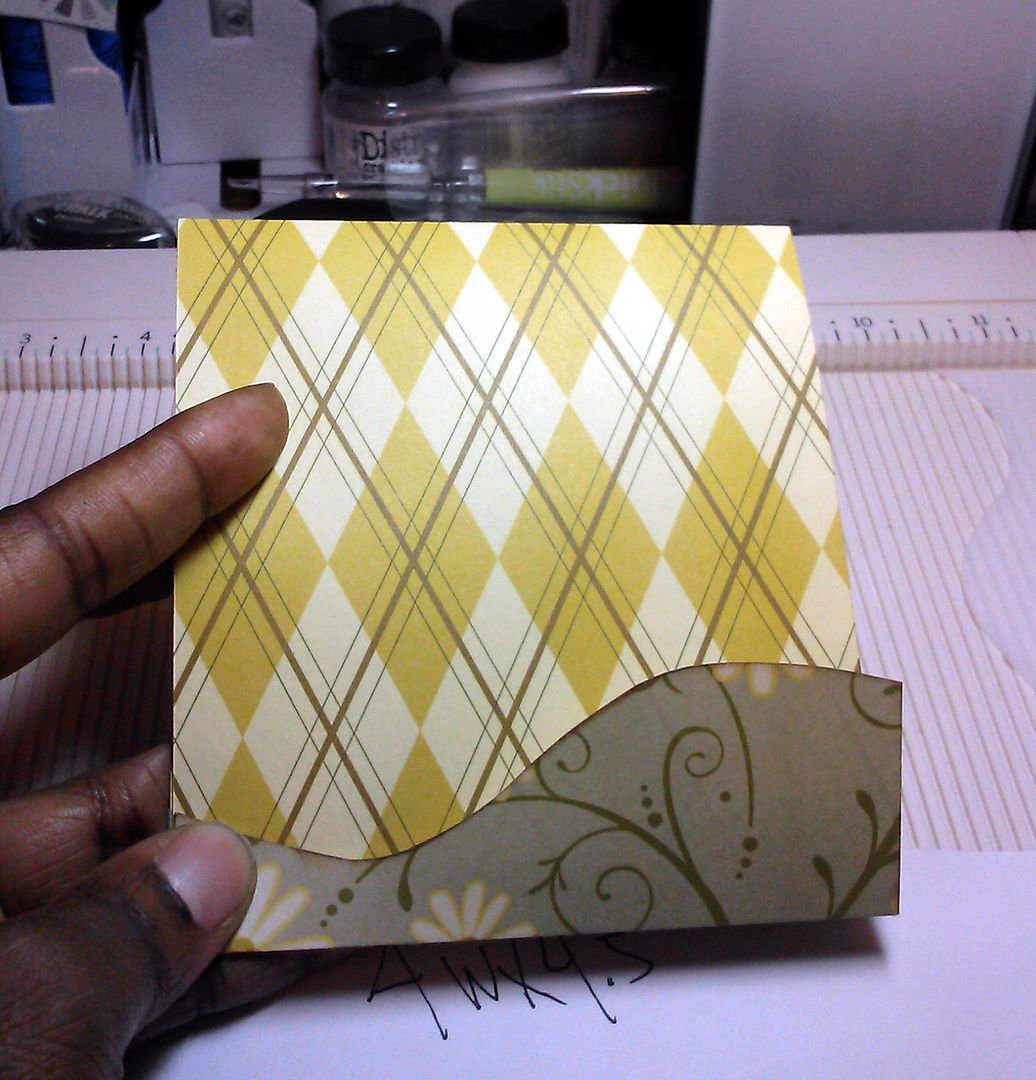
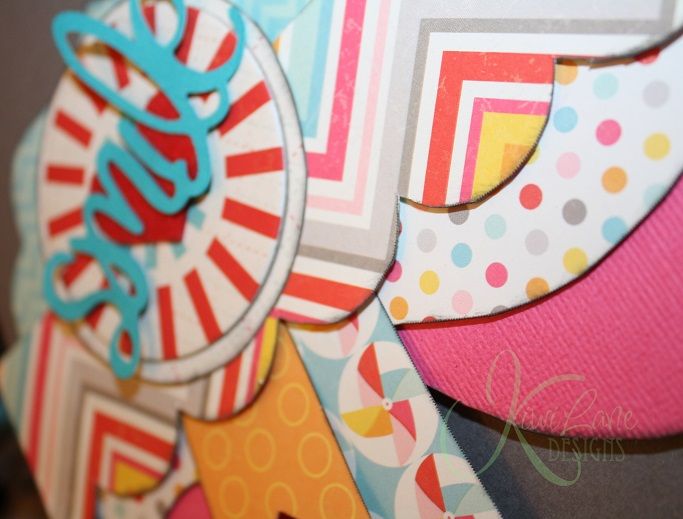
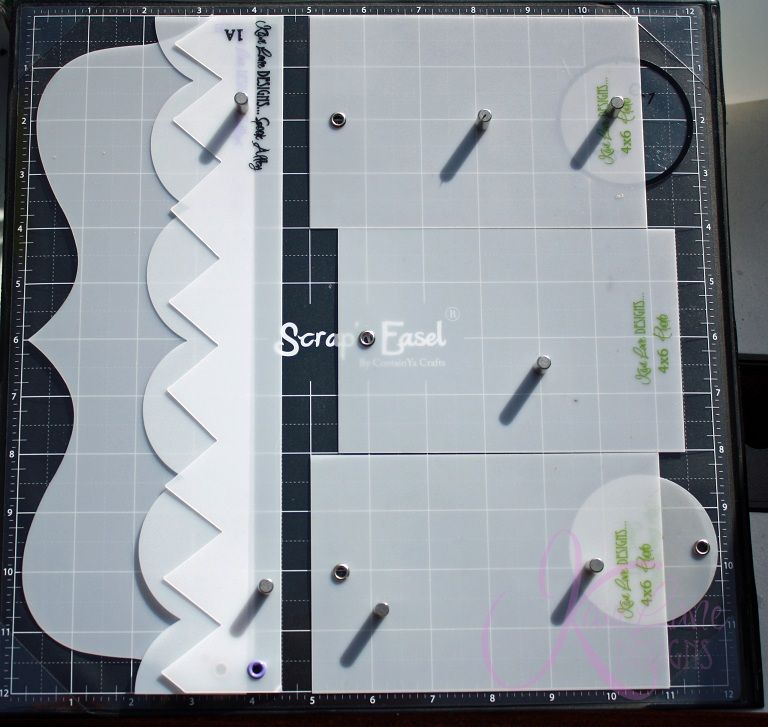
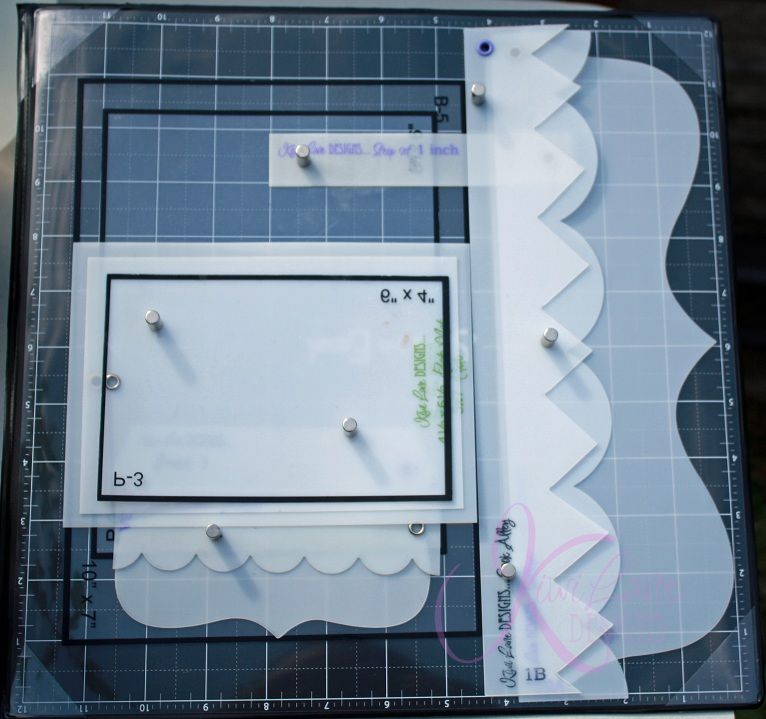
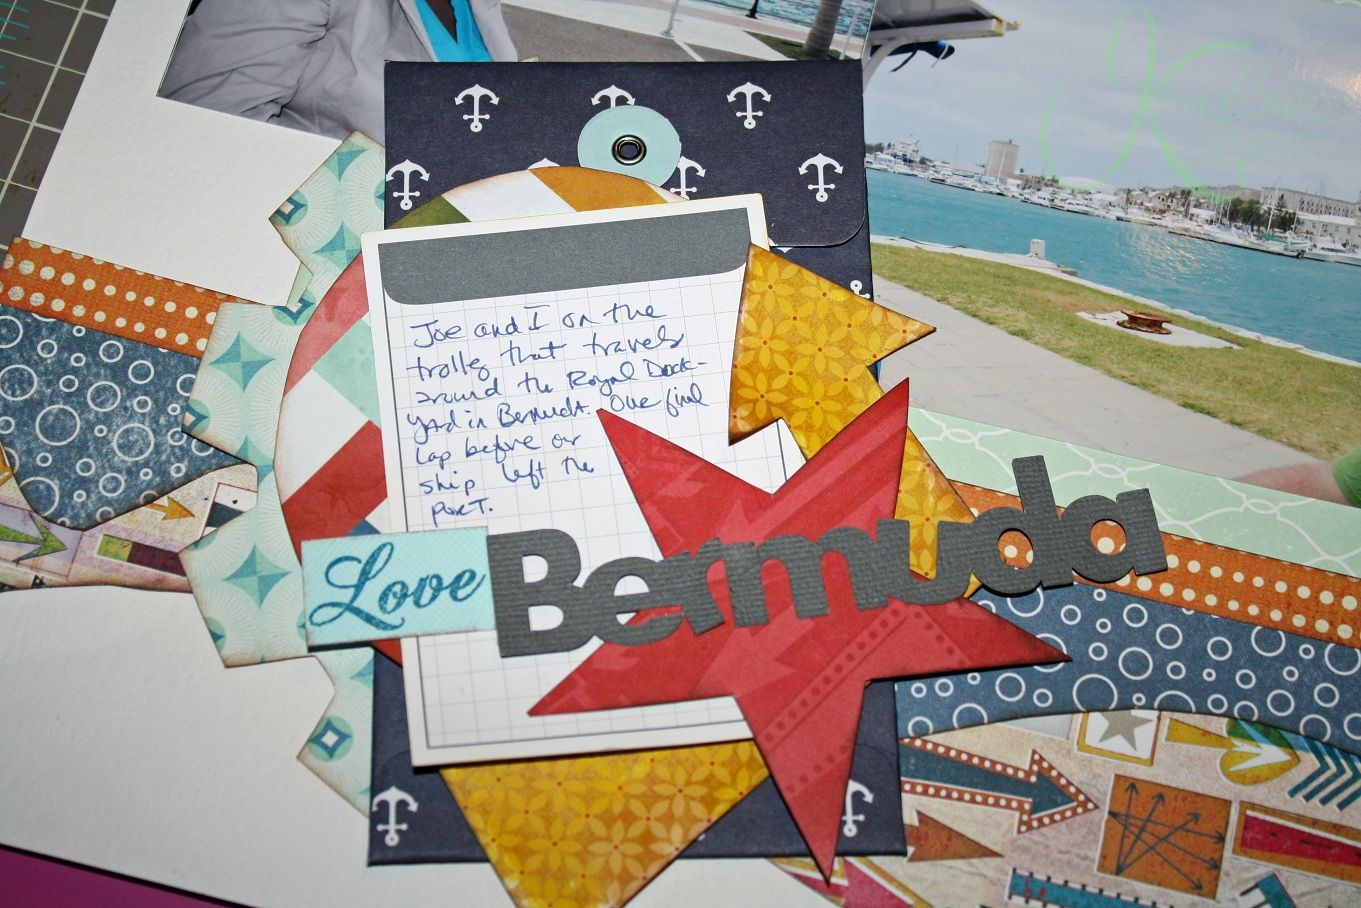
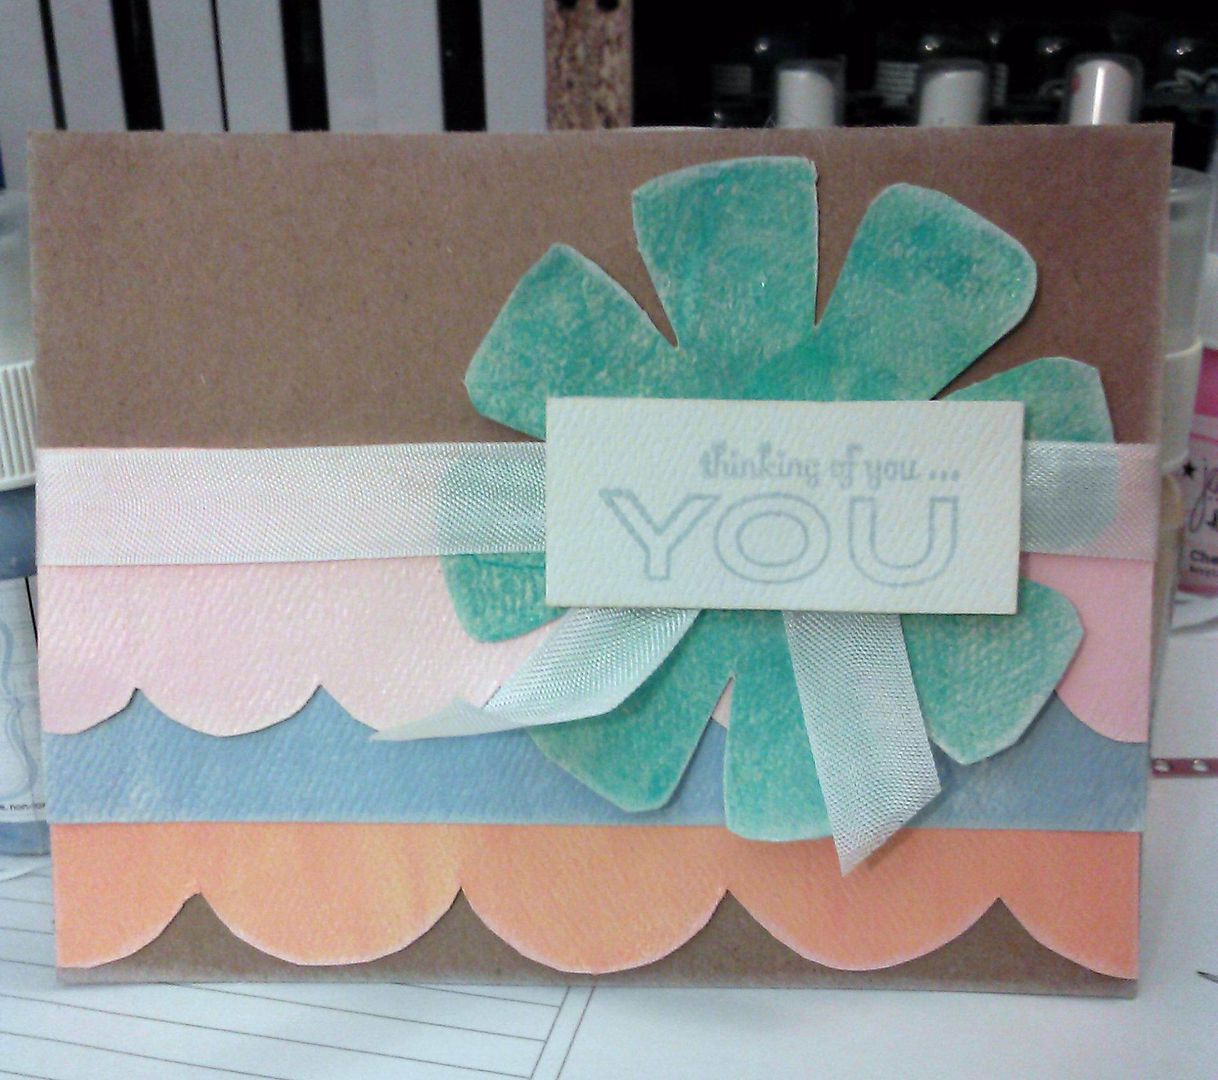
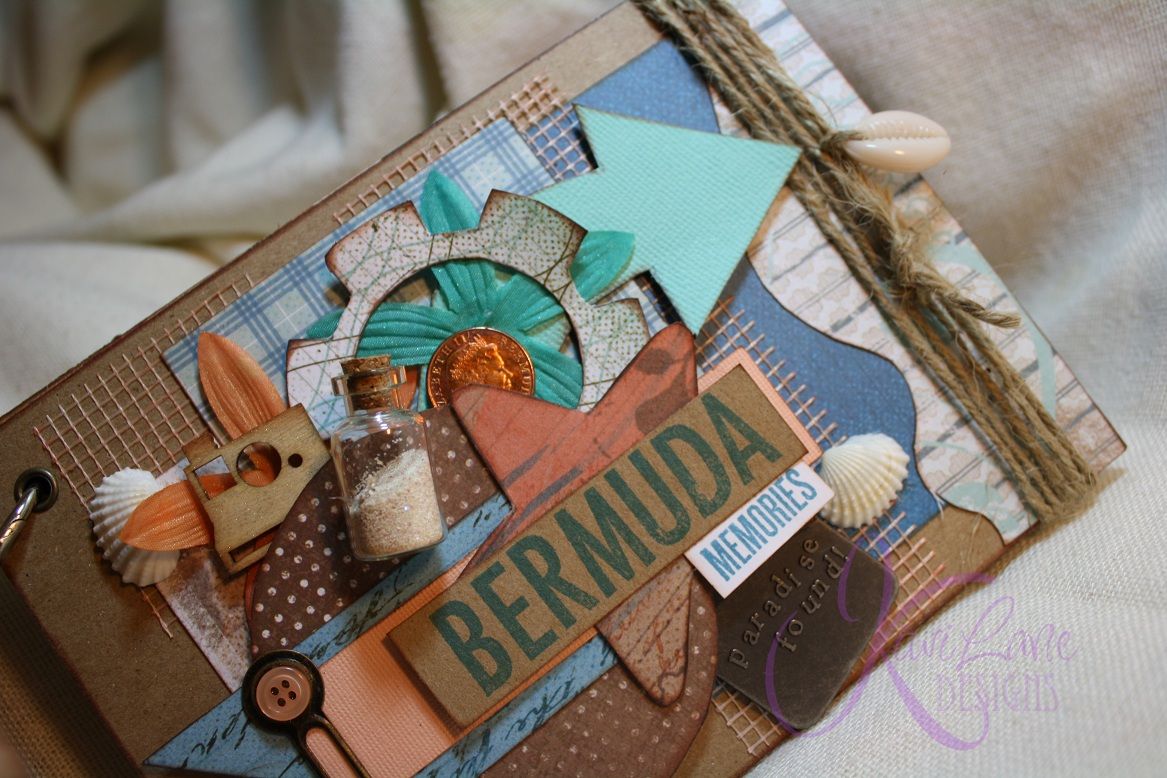
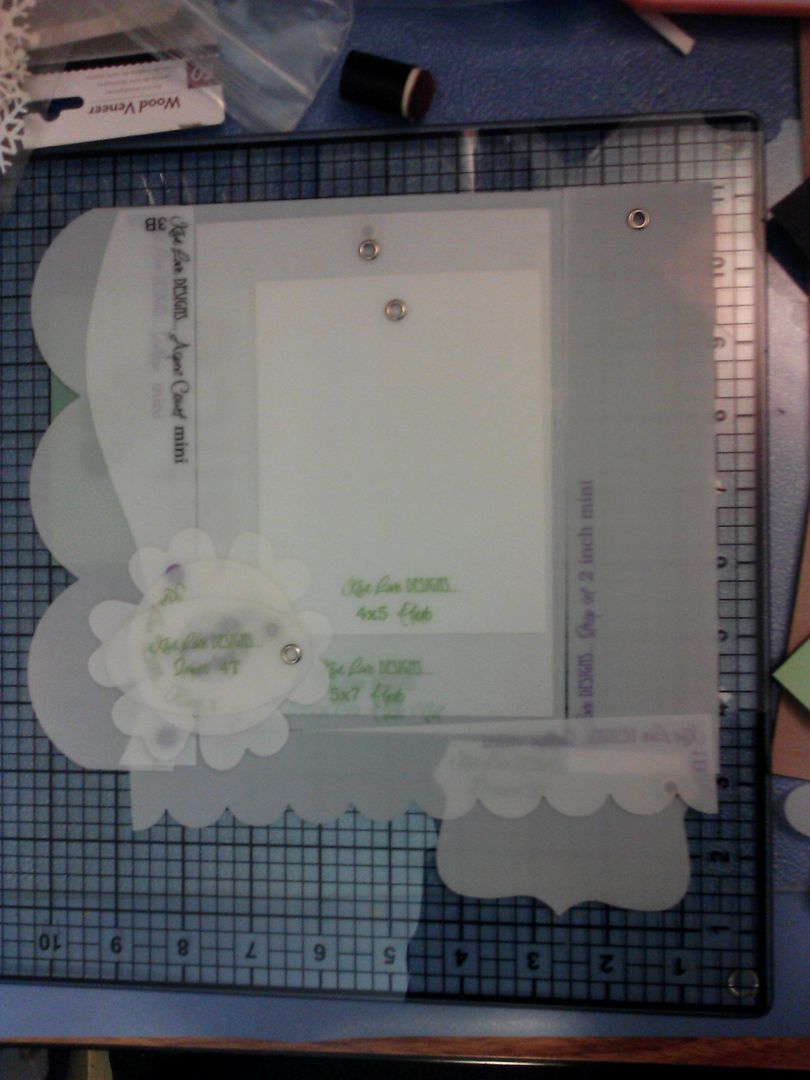
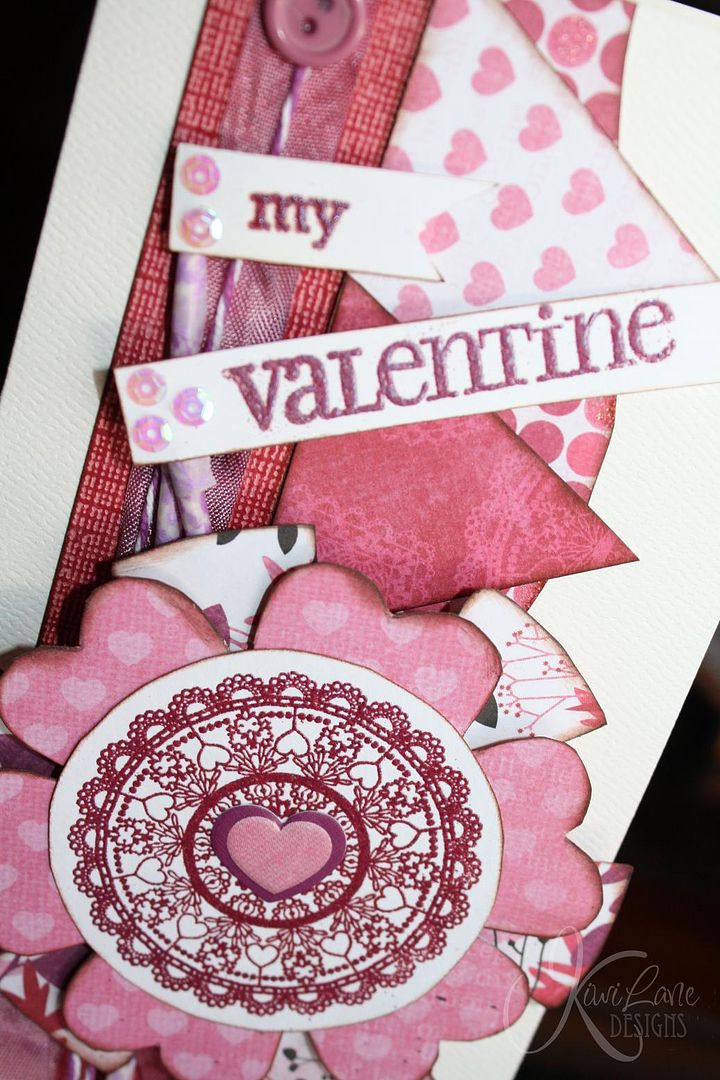
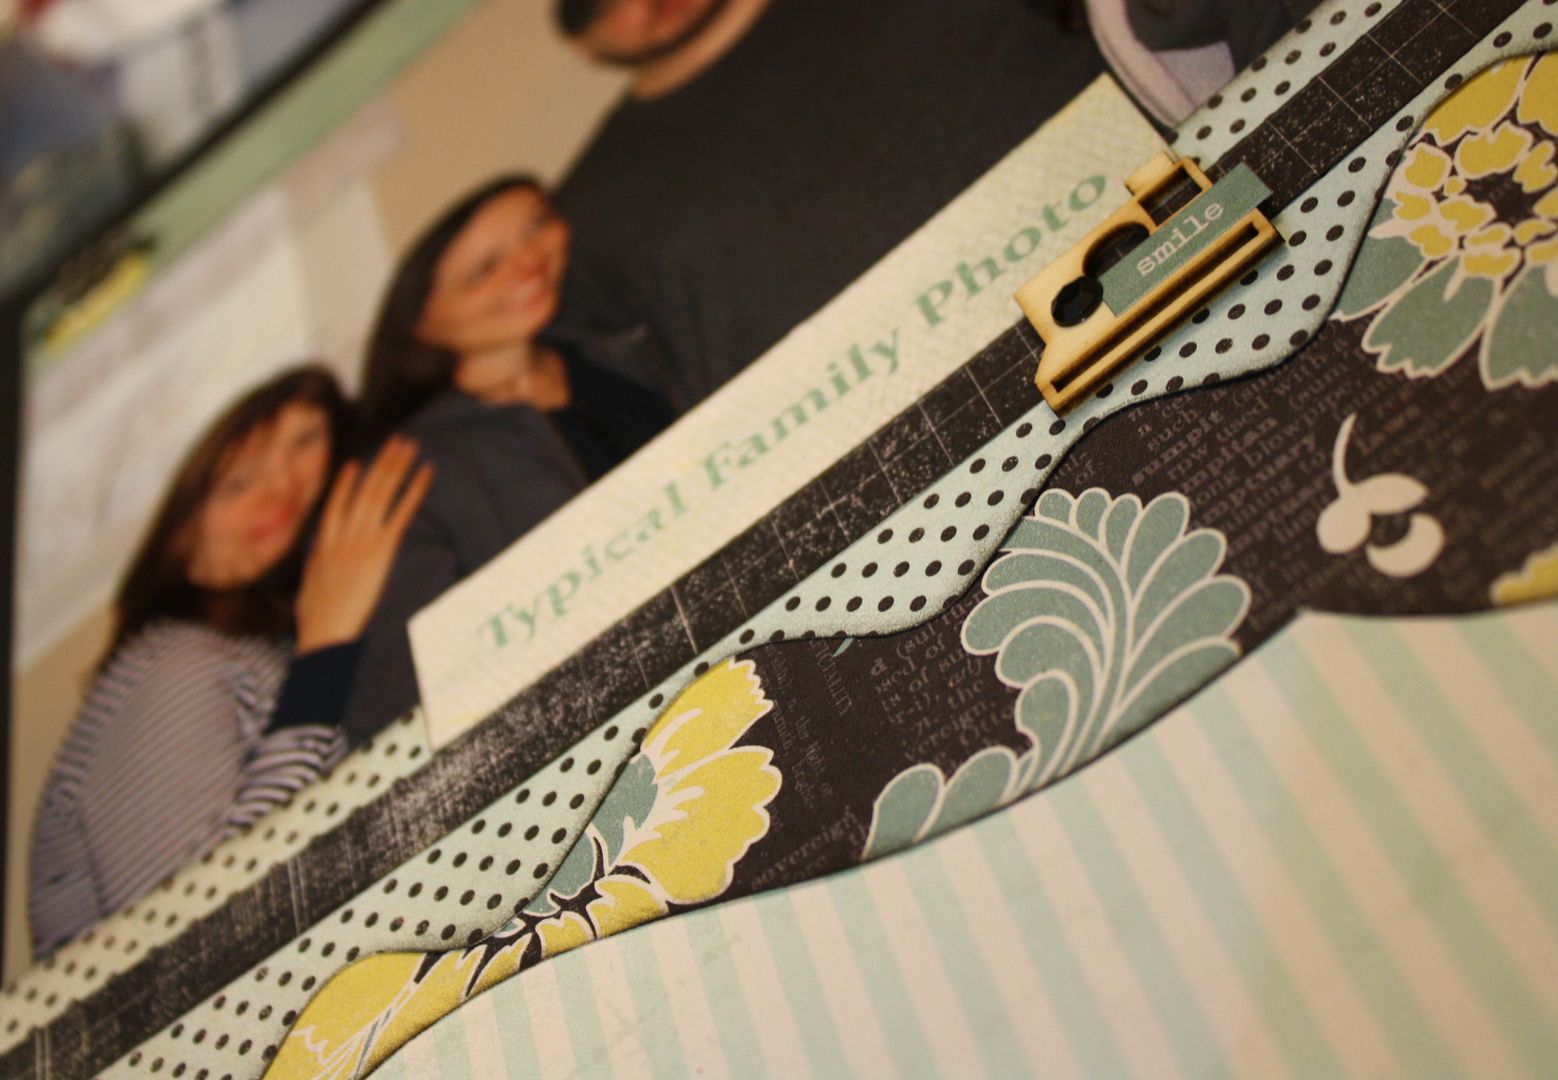
They are great in frames and for gifts. I used my Kiwi Lane templates one one and I always use them for designing. Also some dies by Teresa Collins, Spellbinders, Magnolia Doohickeys, Tim Holtz, and a fussy cut Penny Black flower stamp.
Showing posts with label scrapbooking. Show all posts
Tuesday, March 08, 2016
Friday, May 02, 2014
May Blog Hop with Kiwi Lane Designs
Thanks for stopping by my blog. I am so excited to share a new layout I created using Kiwi Lane designer templates. I love to scrapbook but life so often gets in the way of my ability to do it as often as I like. Between work, home, and writing a novel, I have so little time to craft lately. That's why I was especially thankful for the chance to pull out my templates and actually make a layout. The templates make designing scrapbook pages so fast and easy.
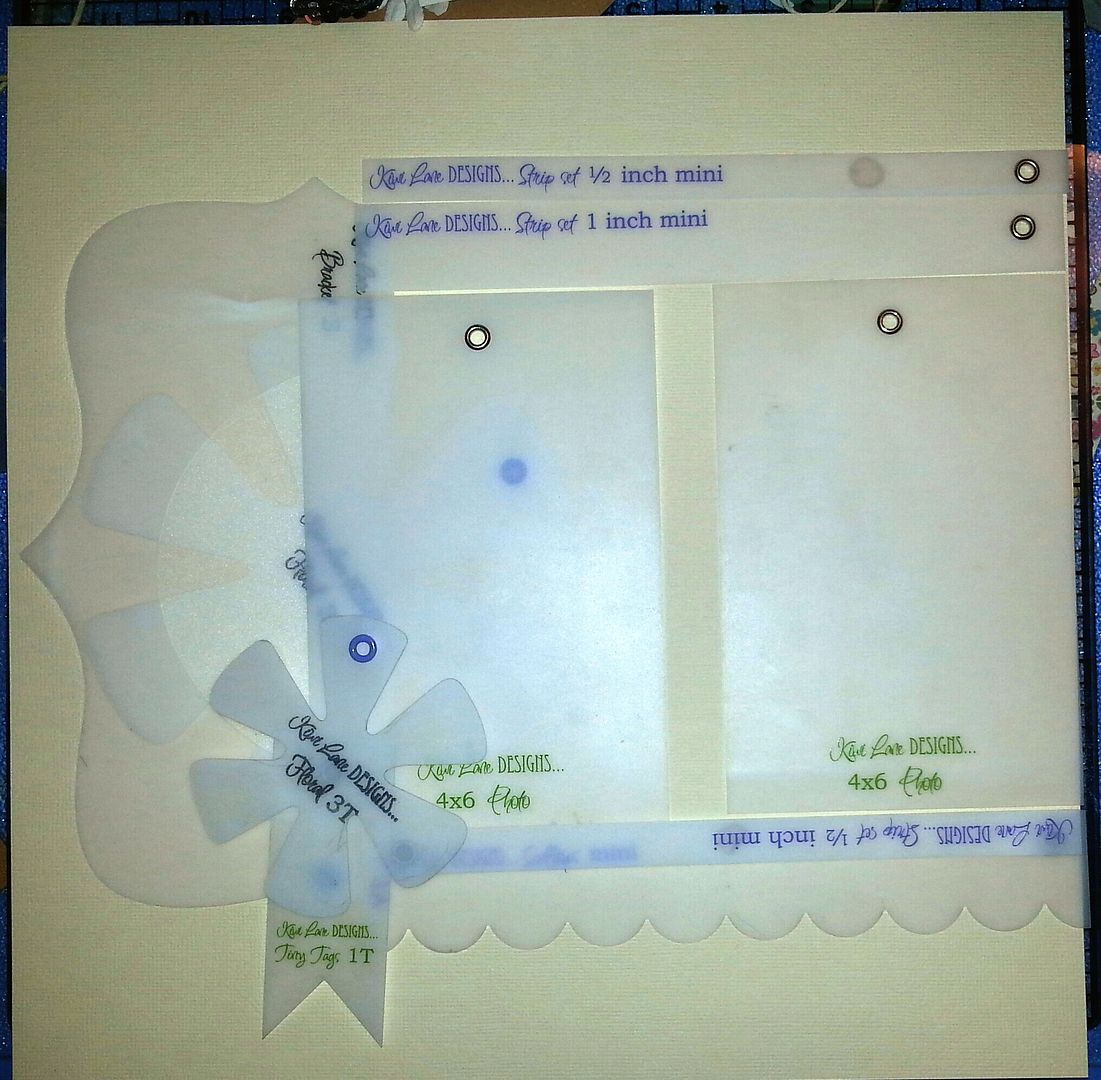
My process is to first design my page by laying out my templates on my cutting mat. Next I select my paper and start cutting and inking. My pages don't always end up quite as I designed (like my layout below) but the templates provide me a great jump off point for layout. I know that if I didn't have my Kiwi Lane Designs templates I would take probably three times as long to make a single page.
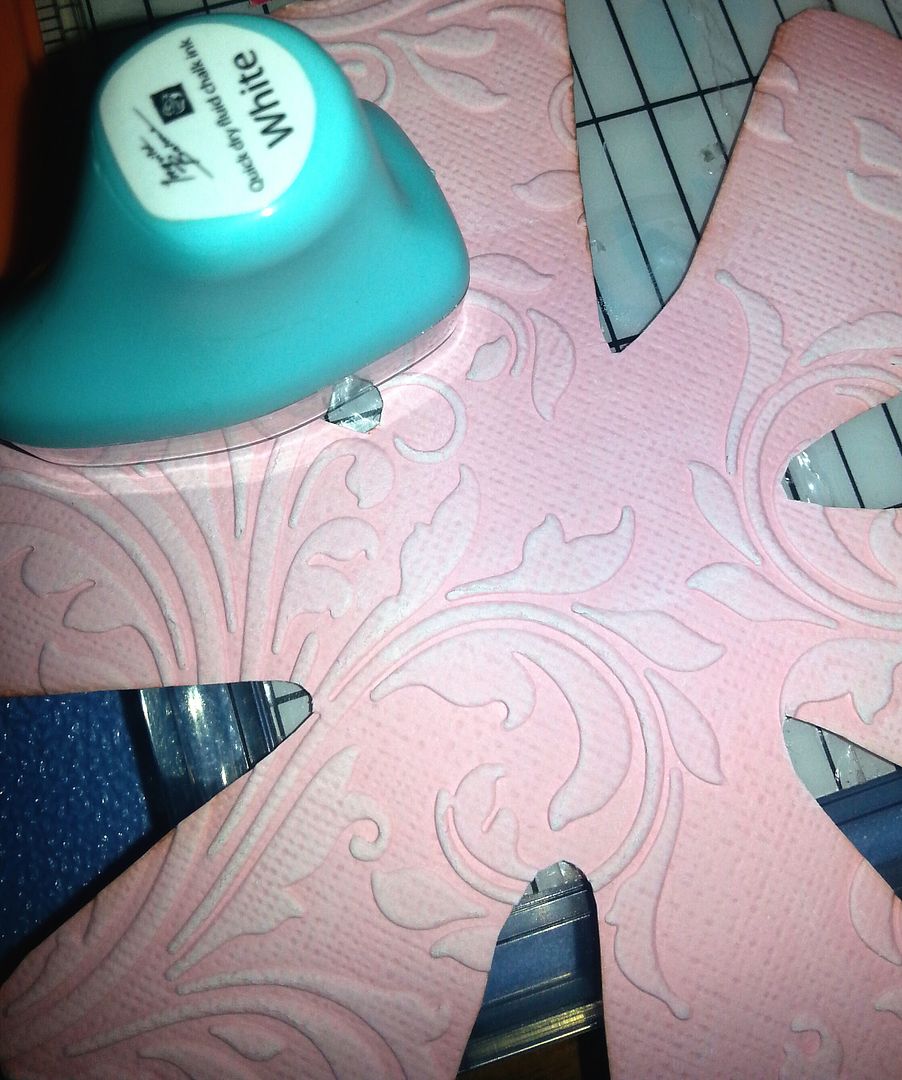
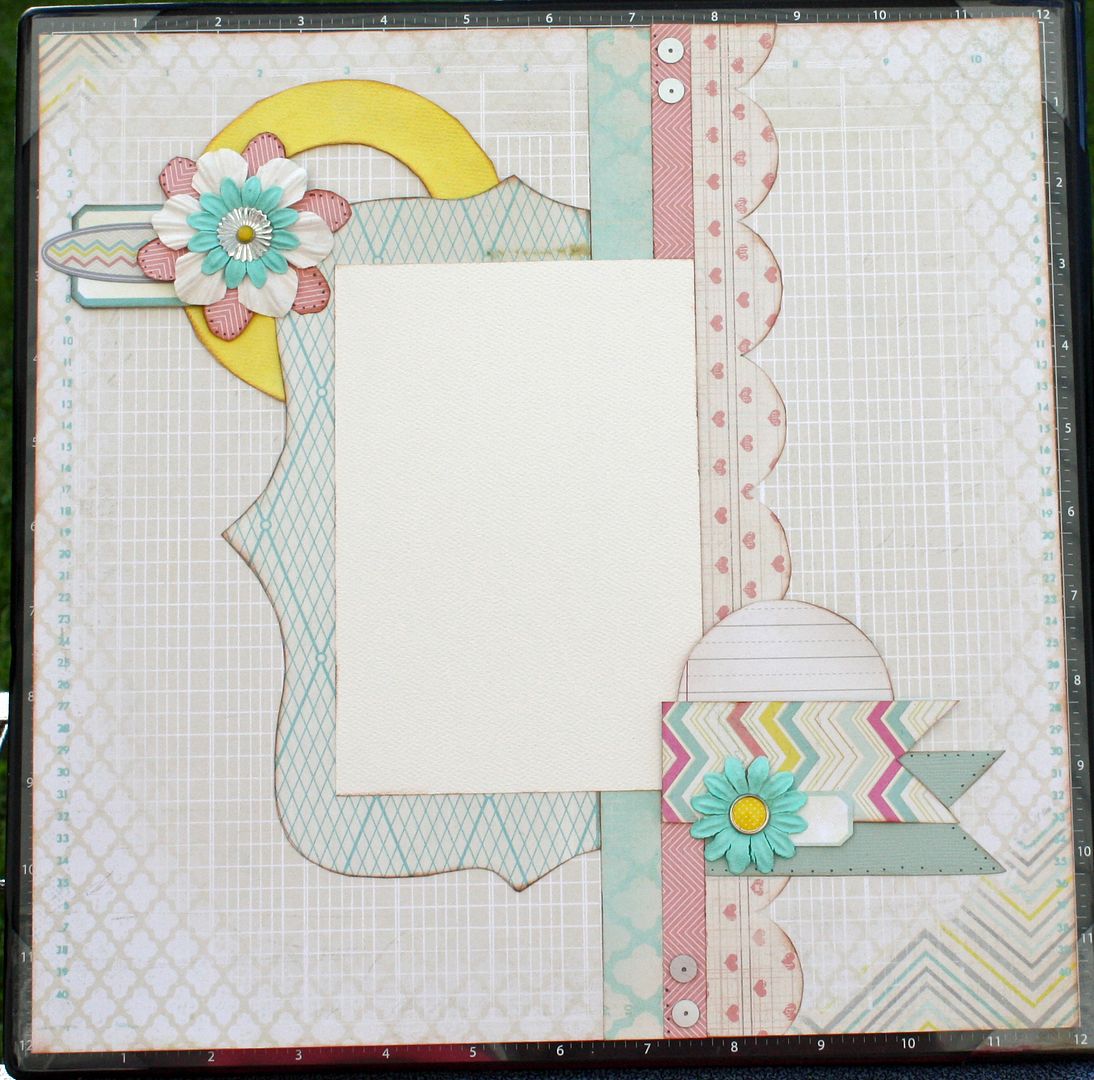
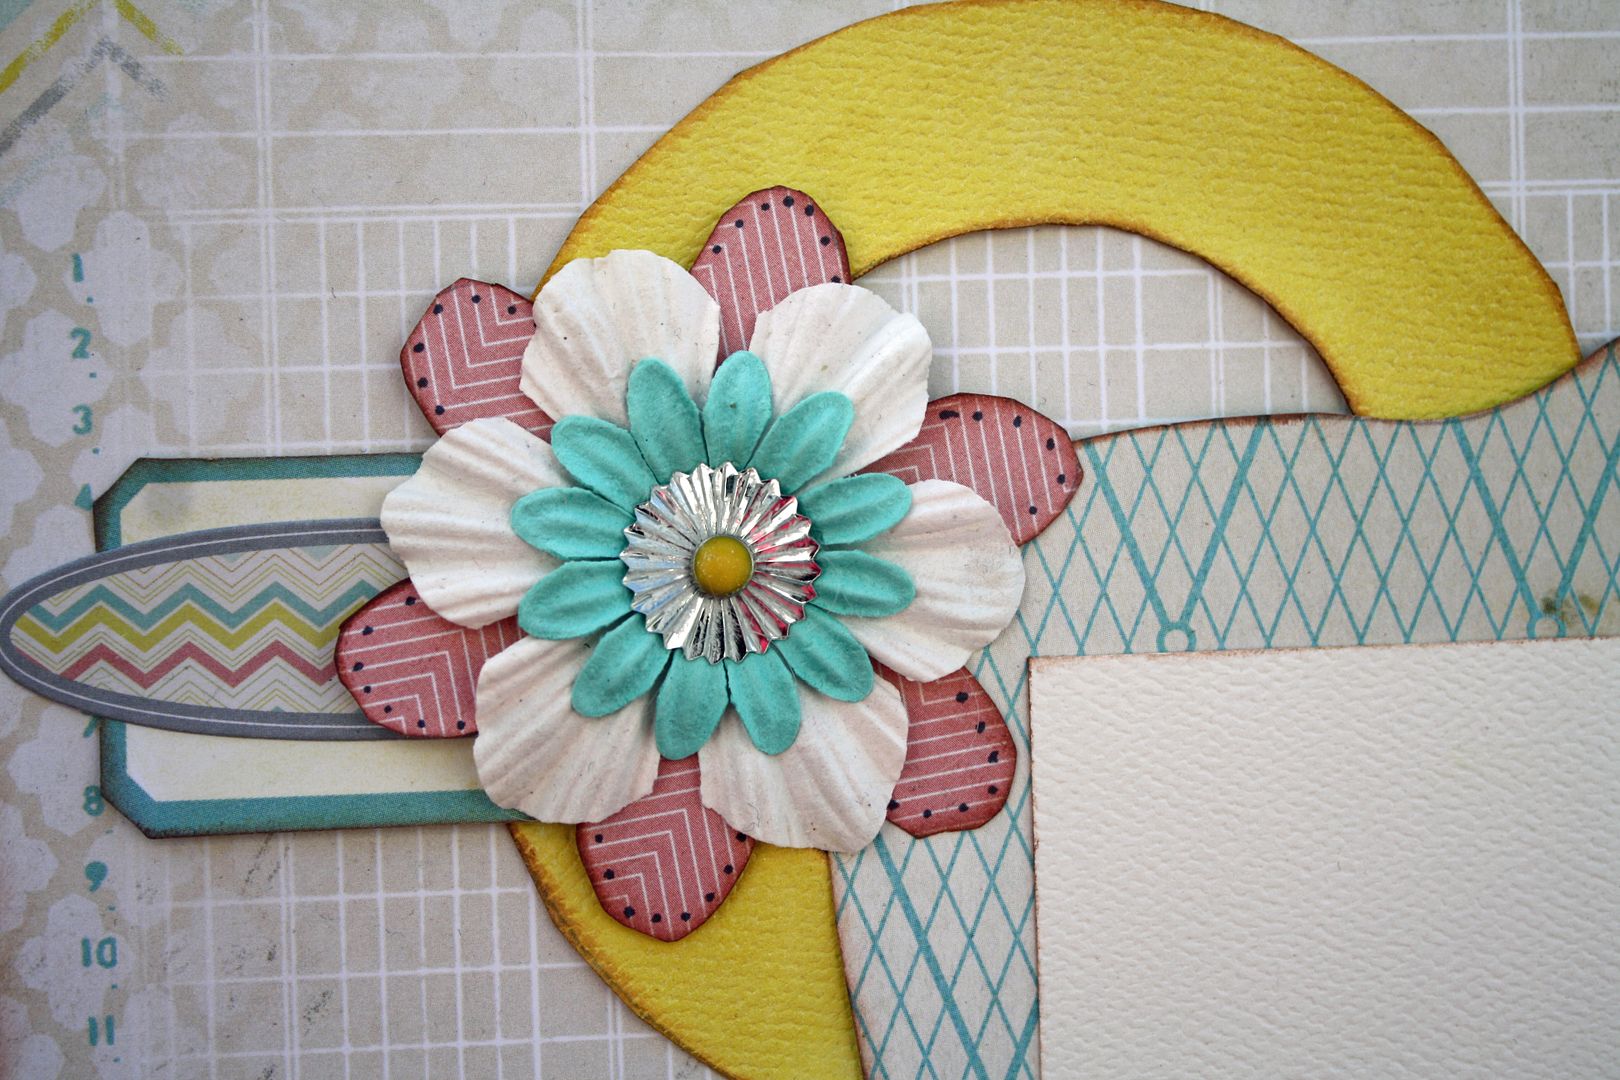
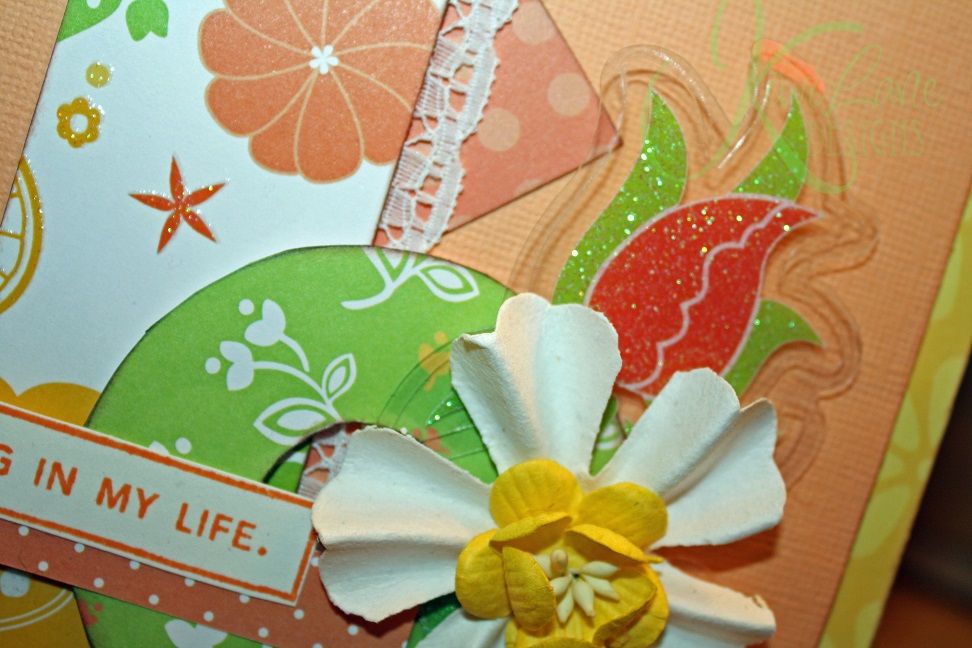
On this layout I used the FLORAL template set. A great accessories set that can be used in a number of ways. I love making 3D flowers with them as well as using them as focal points on my pages. This time I used one of the FLORAL templates as I would a doily and I really loved the result. To give my flower the full on doily look I embossed it in my die cutting machine. The embossing folder gave my cardstock flower nice detail which I further enhanced by running white ink over the raised portions.
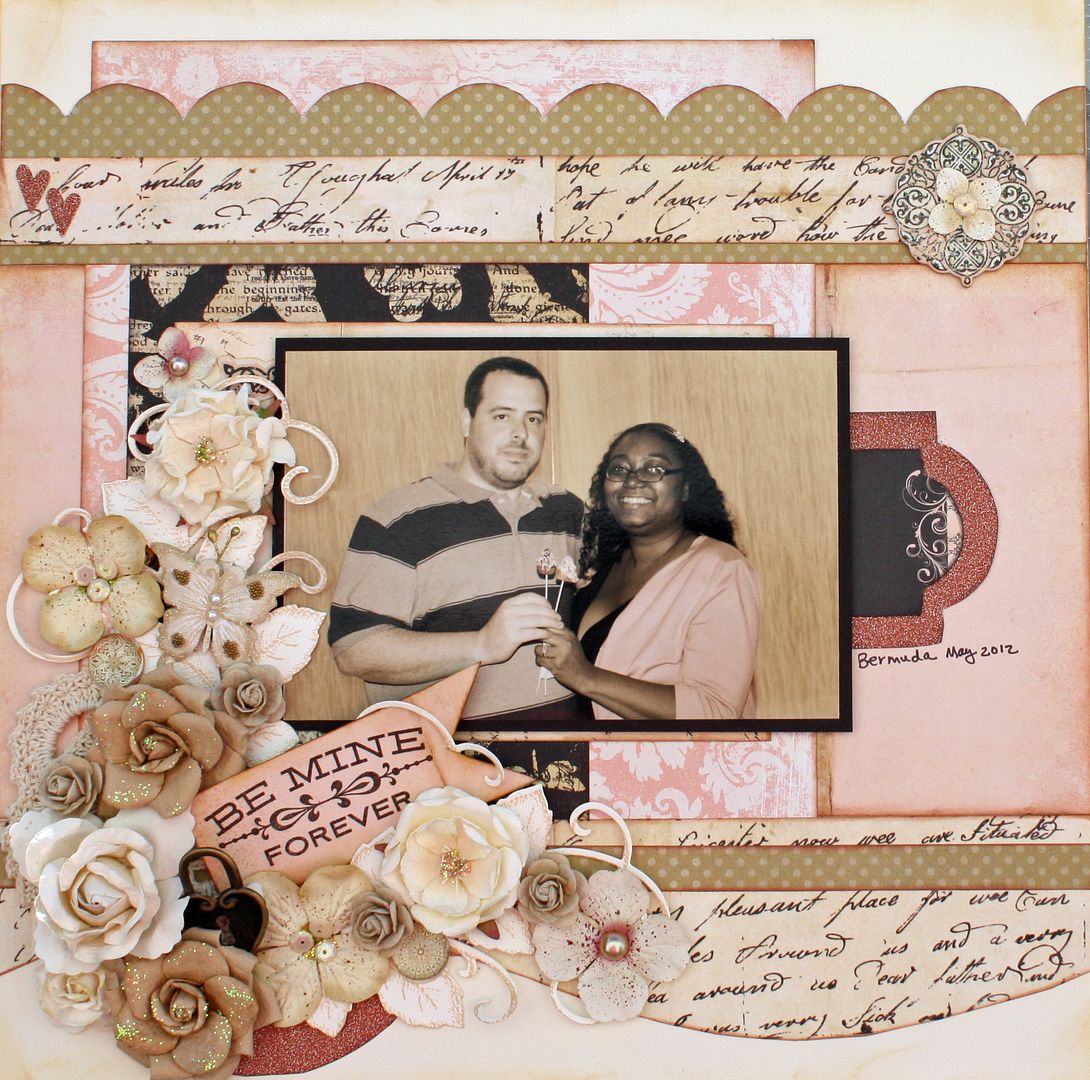
And here is my finished layout.
Templates used: Floral3; Scallops2; Mini Strips (1/2" & 1"); Brackets3; Tiny Floral3
As you can see my complete page is not quite the same as the design I made with my templates. While my initial design had space for two vertical photos, I ended up modifying it for one horizontal photo that I liked so much better with the papers I selected.
Thank you for hopping with us!
Be sure to check out all the awesome blogs in the hop this weekend to find so many ideas to inspire creativity.
- Kiwi Lane - http://kiwilane.com/blog
- Lissa Mitchell - http://mightycrafty.blogspot.com/
- Leslie Prinkki - http://www.scrapsofmine.blogspot.com
- Connie Wallenbrock - http://conniecancrop.blogspot.com
- Sandi Pressley - http://lifeatthebeach51.blogspot.com/
- Christine Meyer - http://scrappingwithchristine.blogspot.com
- Alicia O'Bryant -http://goldengoddessdesigns.blogspot.com/
- Suzanne - http://scrapwithsuzy.blogspot.com
- Roselyn Riley - http://prettylittlepackages.blogspot.com/ YOU ARE HERE!
- Arin Flinn - http://apieceoflifespie.com
YOUR CHANCE TO WIN!
A random winner from ONE of the participating blogs (including the Kiwi Lane blog), will be given a $25 gift certificate to the Kiwi Lane Shop, for leaving a comment and will be announced on the Kiwi Lane blog on Thursday, May 8th.
Also if you subscribe to my blog and leave a comment below I will also choose ONE random winner to receive a brand new FLORAL template set along with another mystery set. So please leave me a comment for your chance to win two KLD template sets.
Saturday, February 08, 2014
LOAD214
So I took the plunge and signed up for LOAD this year. The layout a day class/event by Lain Ehman. I just finished my first week 7 layouts done and I have to say it has been fun. The prompts she provides each day have made this experience even better almost making scrapbooking like a game. And I have been using up my old Studio Calico kits and getting long overdue photos scrapped. Very cool!
Here's on layout I made this past week where I had to use something very old from my stash. I used a Rebecca Sower metal tag from like 2005 or 2006. Nice to finally open the package lol.
Sunday, December 08, 2013
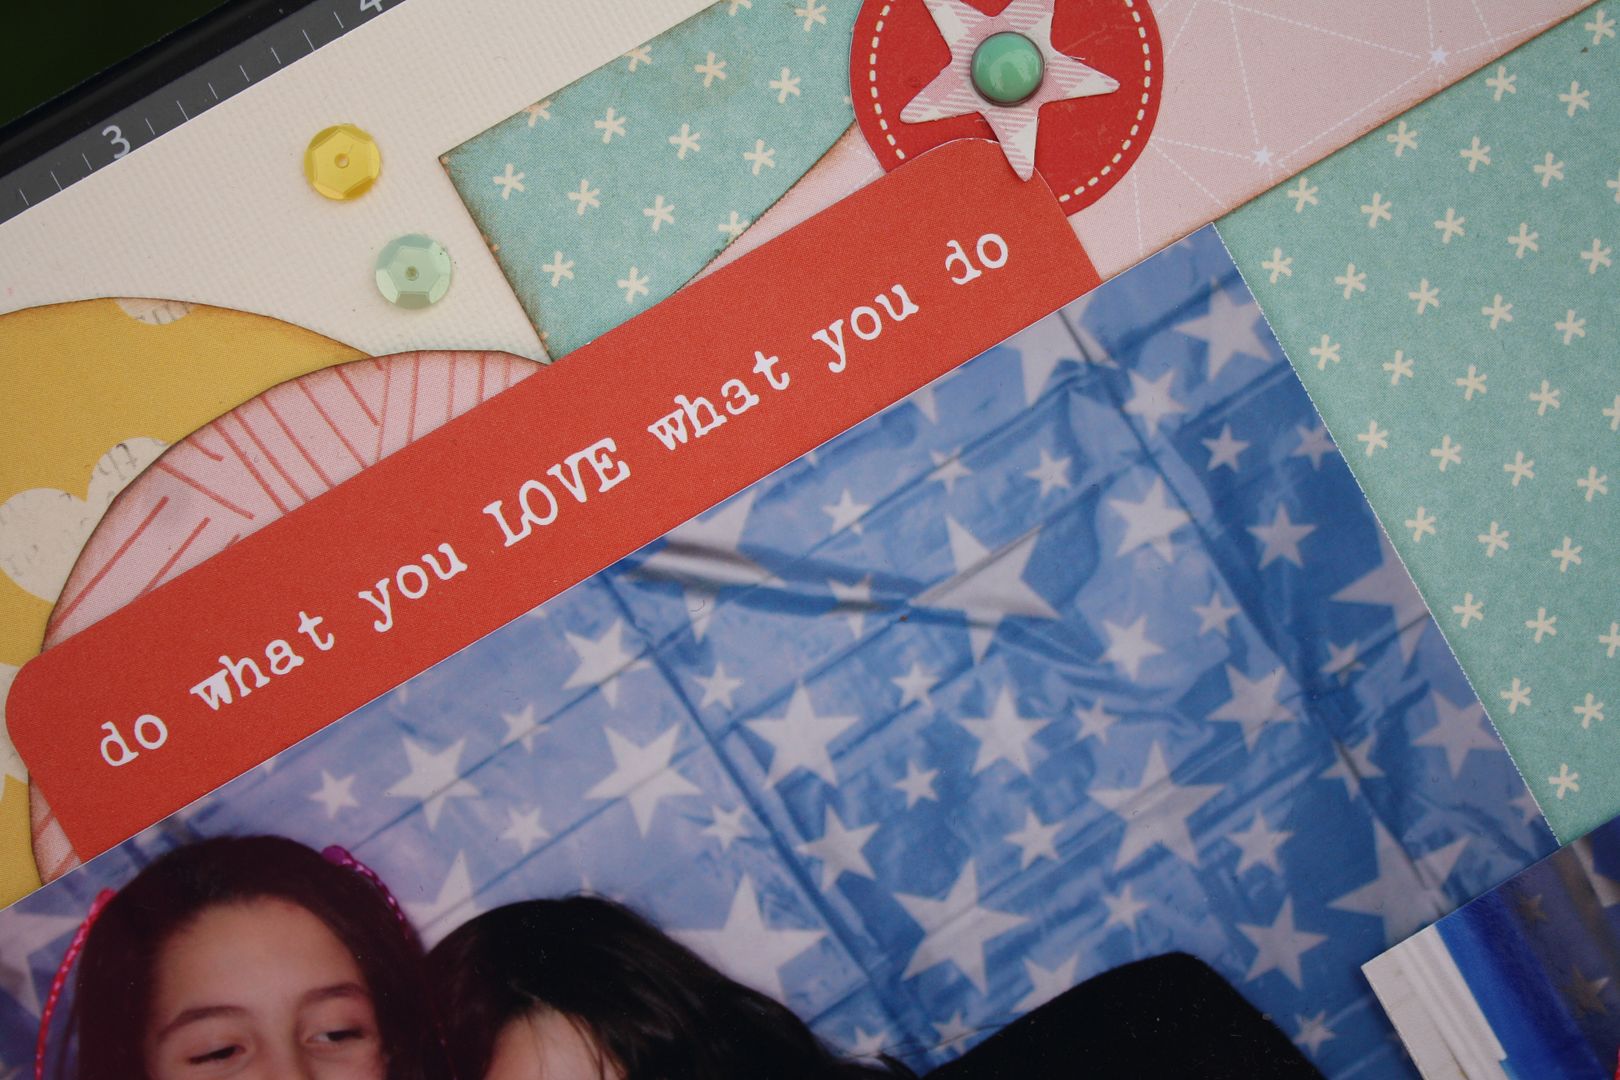
Clear scrapbook page using the Prima Optimist line
The Prima Optimist line is gorgeous with the contrast of bright colors with the chalkboard black. I found it so easy to create a dramatic layout using this line. I thought using a piece of acrylic would make the papers and colors stand out even more. I want my photo to feel like it was floating in color.
The online store Anna's Beachside Scrapbooking was kind enough to send me some papers flowers and embellishments from the line to create with. Many stores don't have it yet so head to her site to pick up some. She has great service and tons of Prima goodness.
Labels:
Kiwi Lane Designs,
prima,
prima flowers,
scrapbooking,
templates
Friday, September 13, 2013
Weekend Whimsy with Simple Stories and Kiwi Lane Designs
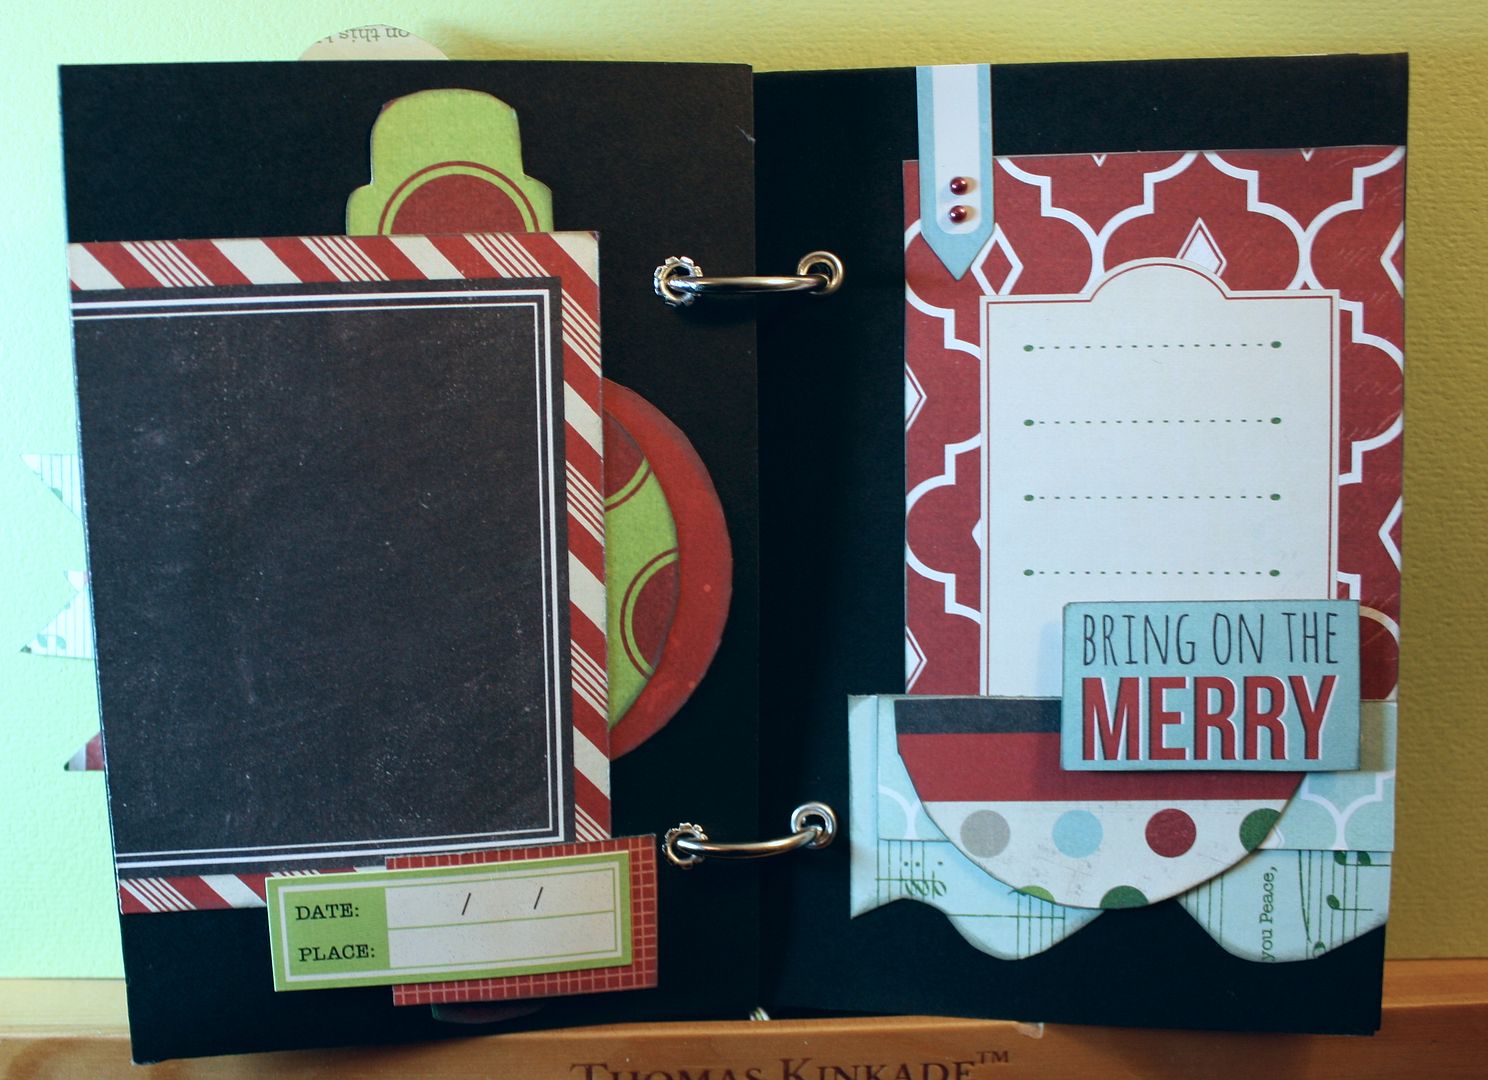
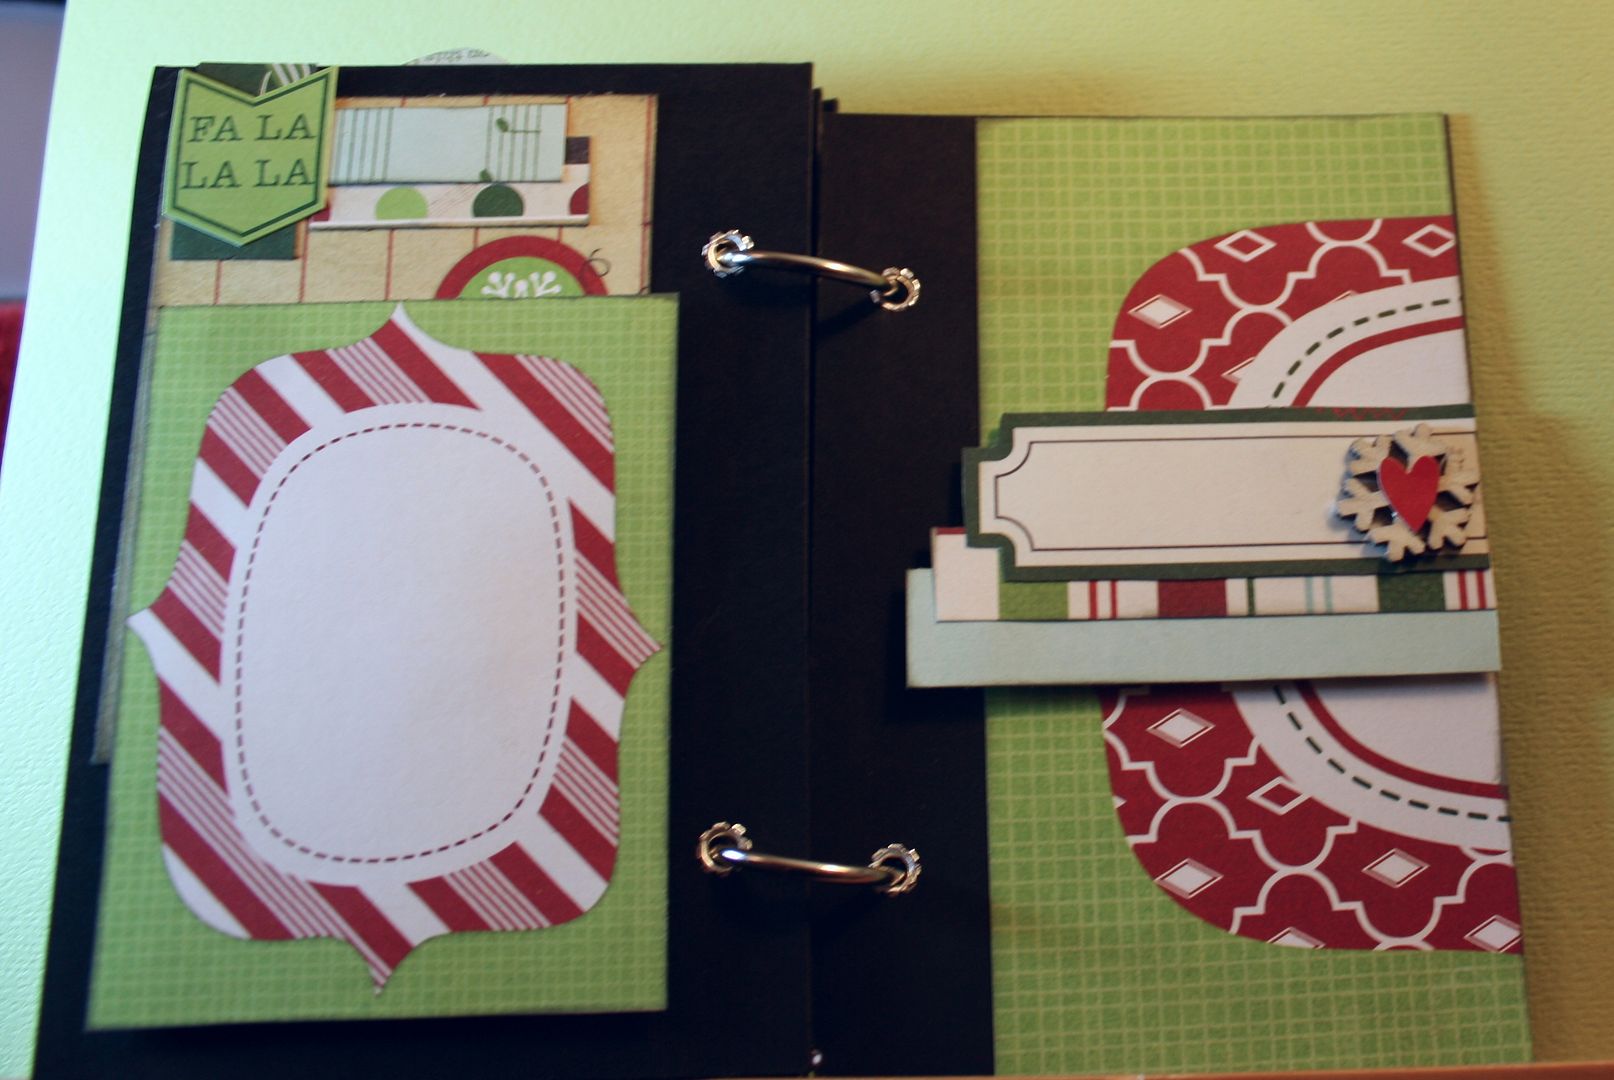
Please head over to the Kiwi Lane Designs blog to check out my Weekend Whimsy projects. I used the Simple Stories December Documented collection along with my Kiwi Lane Designs templates to make an altered cookie sheet chalkboard and a mini album. I had so much fun making these projects, I hope you will check them out. Also be sure to visit the Kiwi Lane Facebook and Simple Stories Facebook pages for more inspiration and ideas.
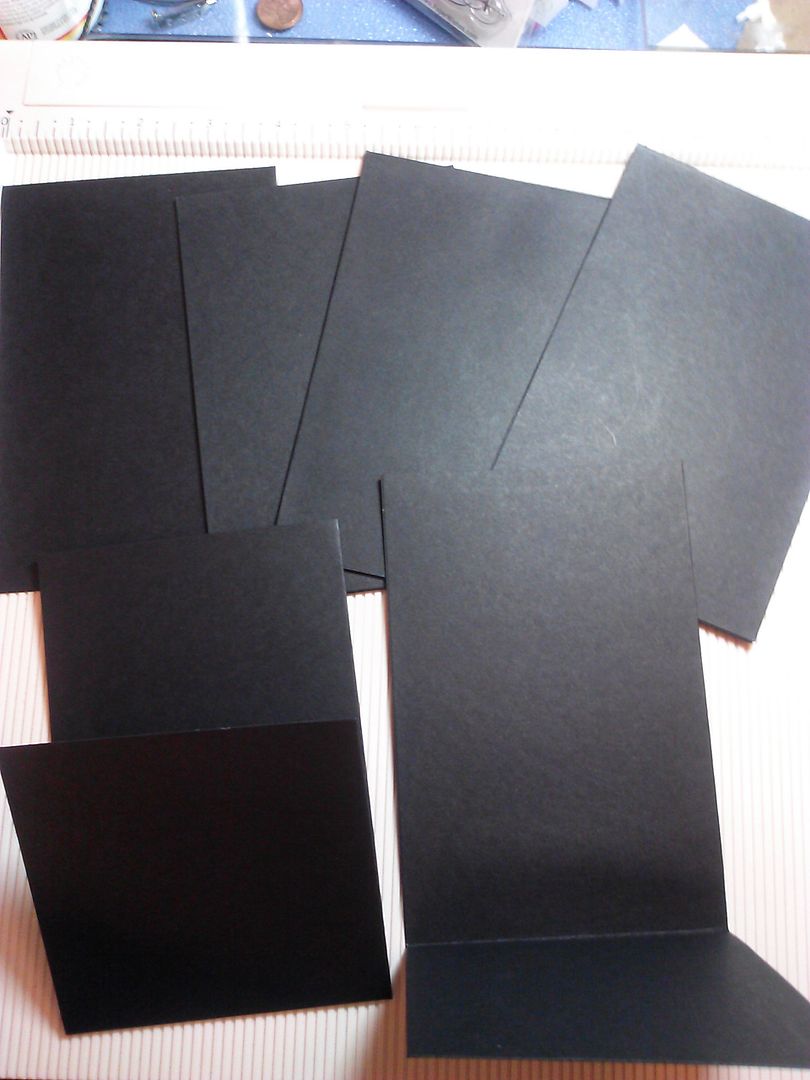
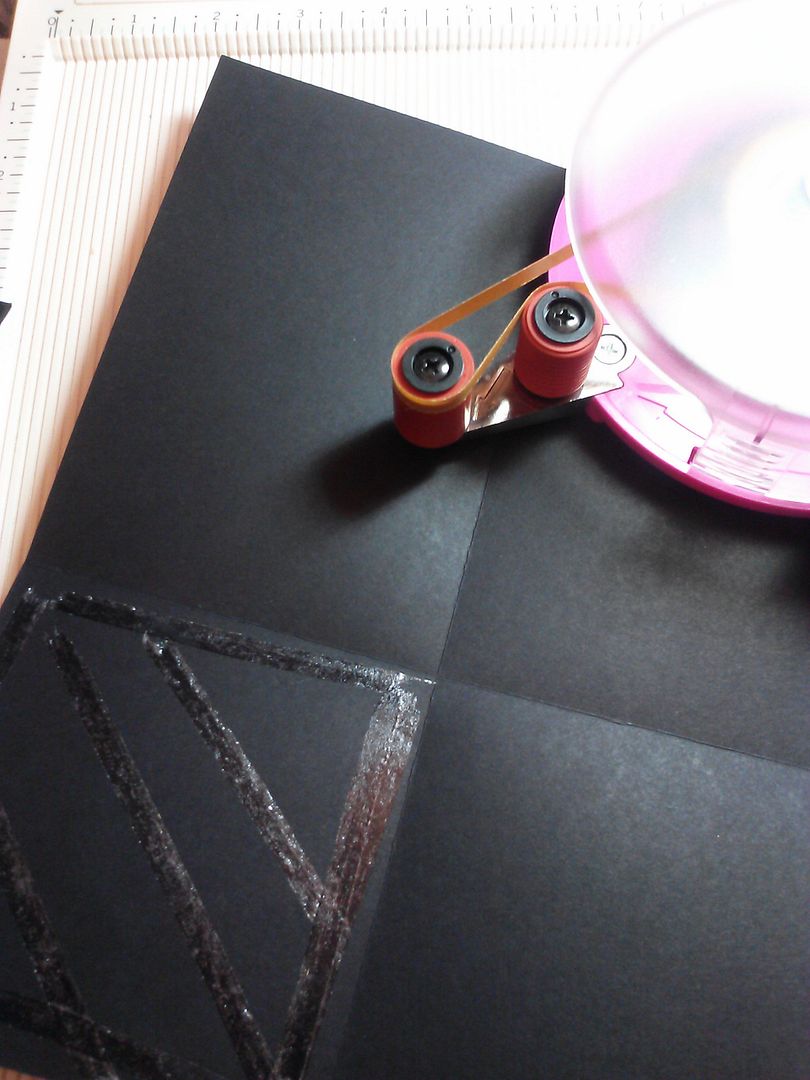
Making the pages - Cut your paper 8"W x 12" L - (these will be your front and back cover pages and any pages you that you DON'T want to have a pocket.) Score your paper along the 8" width at 4" then turn your paper and score it at the 6" mark along your 12" side. Glue each fold together, Be sure to use a bone folder to make things flat and well adhered. Now you should have a 4x6 rectangle that is very sturdy because it is 4 layers thick. Repeat as desired.
---------------------
Pocket Mini Album
This book is so simple and the perfect project to make on a crafty Saturday or Sunday. The dimensions of my album were 4x6 but you can easily make it larger just but using wider paper. To make this book you will need 12x12 cardstock - 1 sheet for the cover, 1 sheet for the back, and a sheet for each page you want to include in the album.
Making the pages - Cut your paper 8"W x 12" L - (these will be your front and back cover pages and any pages you that you DON'T want to have a pocket.) Score your paper along the 8" width at 4" then turn your paper and score it at the 6" mark along your 12" side. Glue each fold together, Be sure to use a bone folder to make things flat and well adhered. Now you should have a 4x6 rectangle that is very sturdy because it is 4 layers thick. Repeat as desired.
Making pocket pages - Cut your paper 8" W x 10" L. Score your paper along the 8" width at 4" then turn your paper and score it at the 6" mark along your 10" side. Fold the paper in half so that you have a 4"x10" page and then glue it together. Next use a strong adhesive like ScorTape or Red Line tape and tape alone each side of the 6" fold to create a pocket. (One side of your page will be a pocket, the other will be solid.) Repeat as desired.
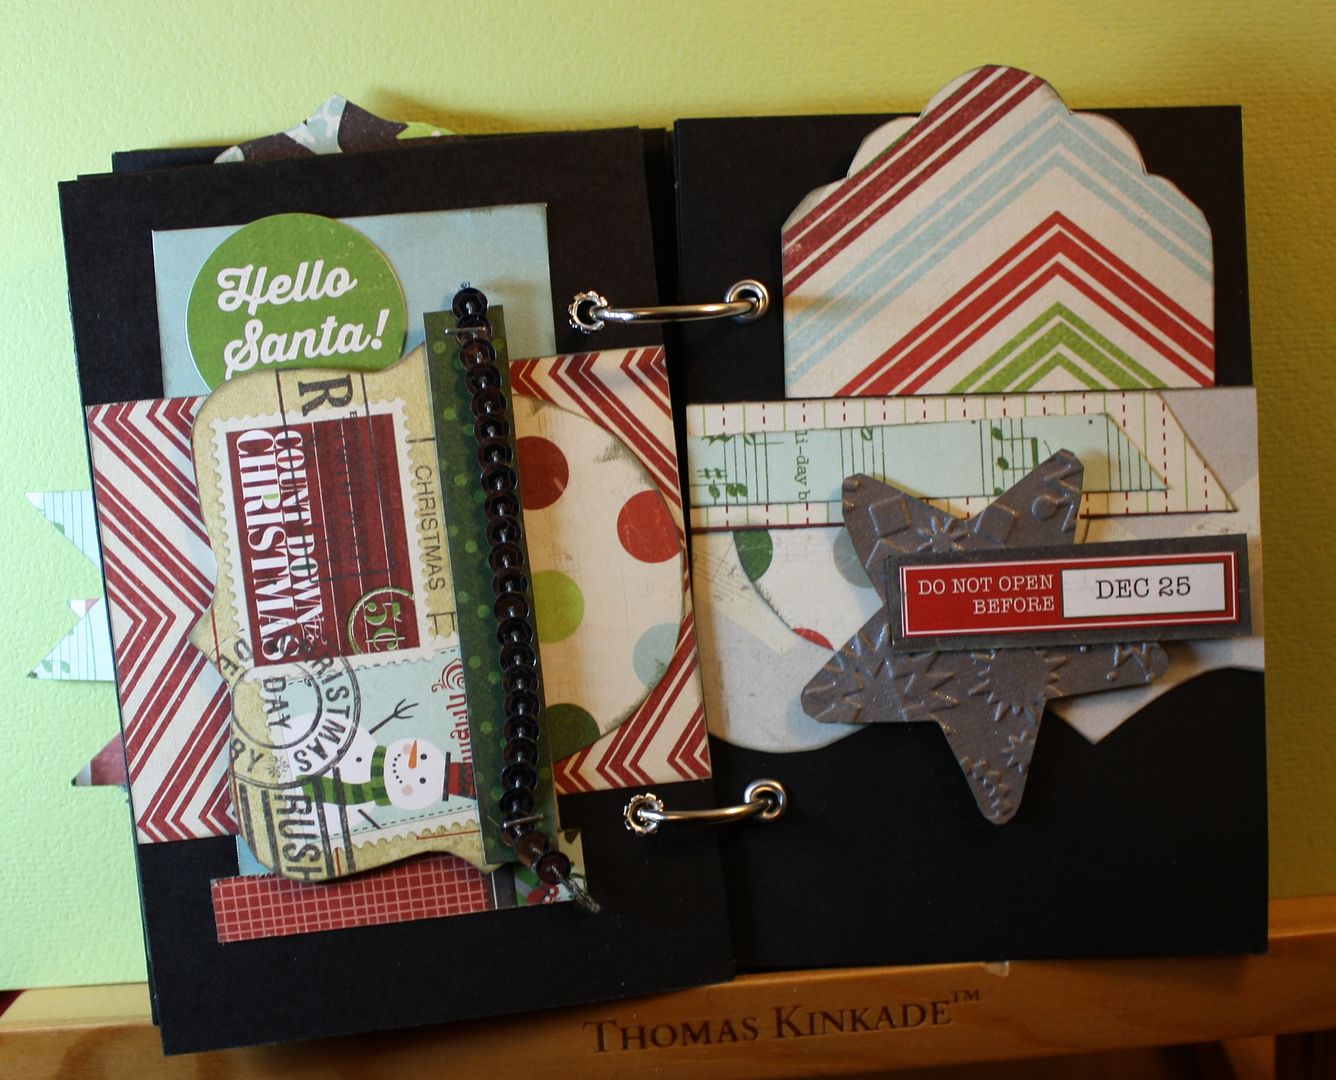
Binding - I simply punched two holes in each page (I used my Binderie punch), put an eyelet in each hole and held it together with binder rings - like the ones that come with the Kiwi Lane Templates. (Coil binding with a Bind It All or Cinch would work well, also binding it would ribbon would work too) Note: You can either decorate your pages first then punch the holes, or punch the holes then decorate, just remember that holes will be on each page as you create your design.
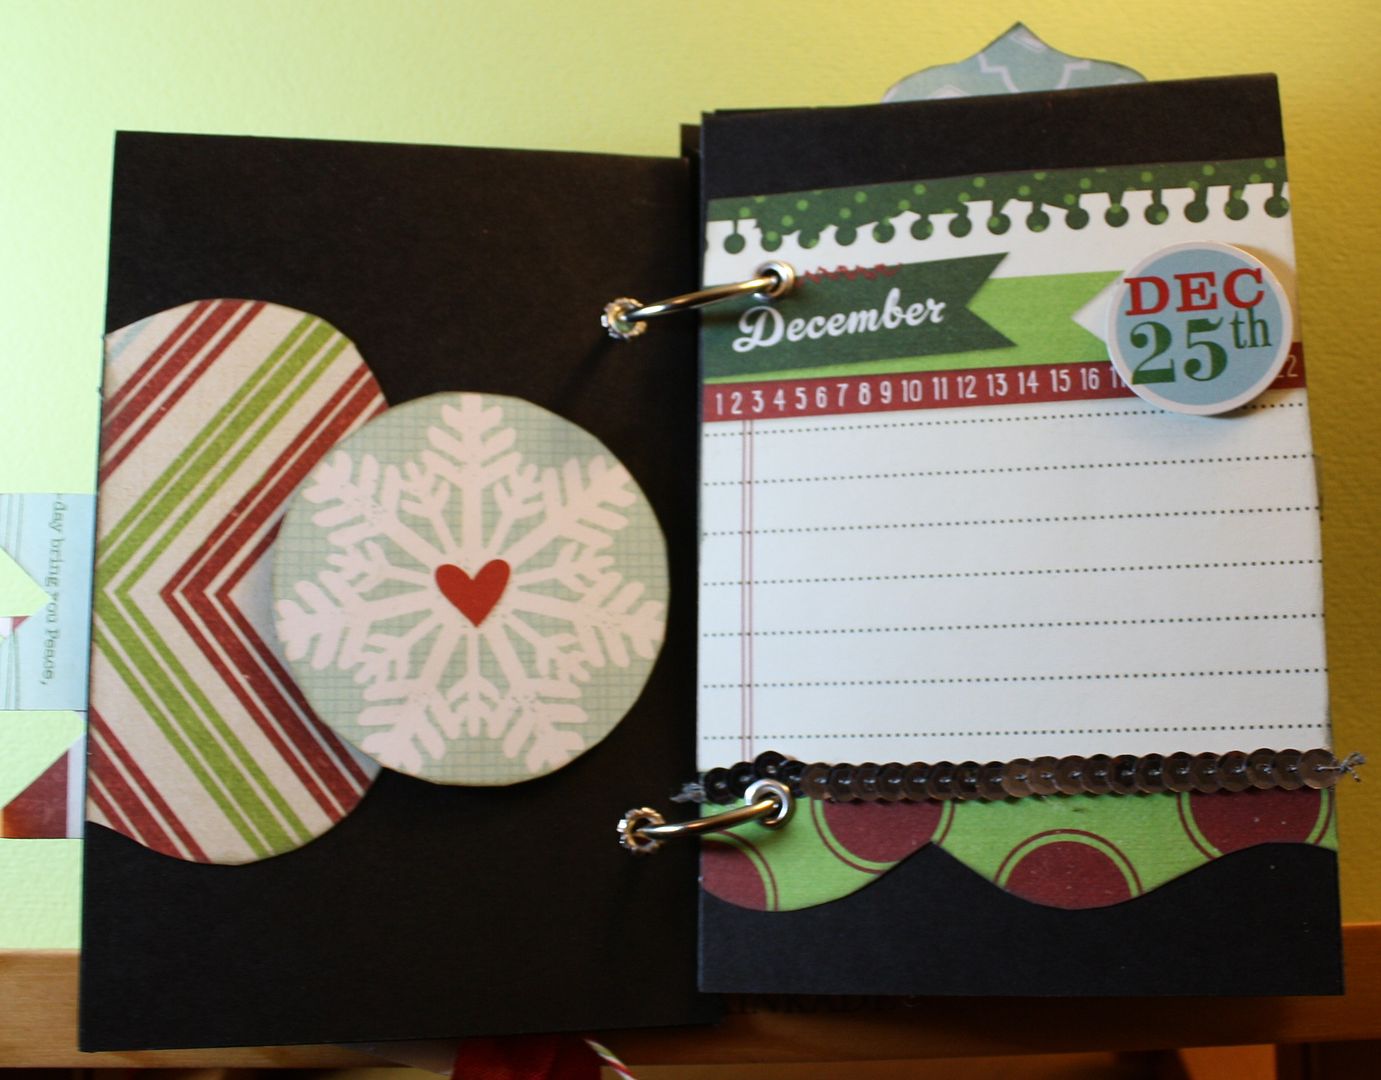
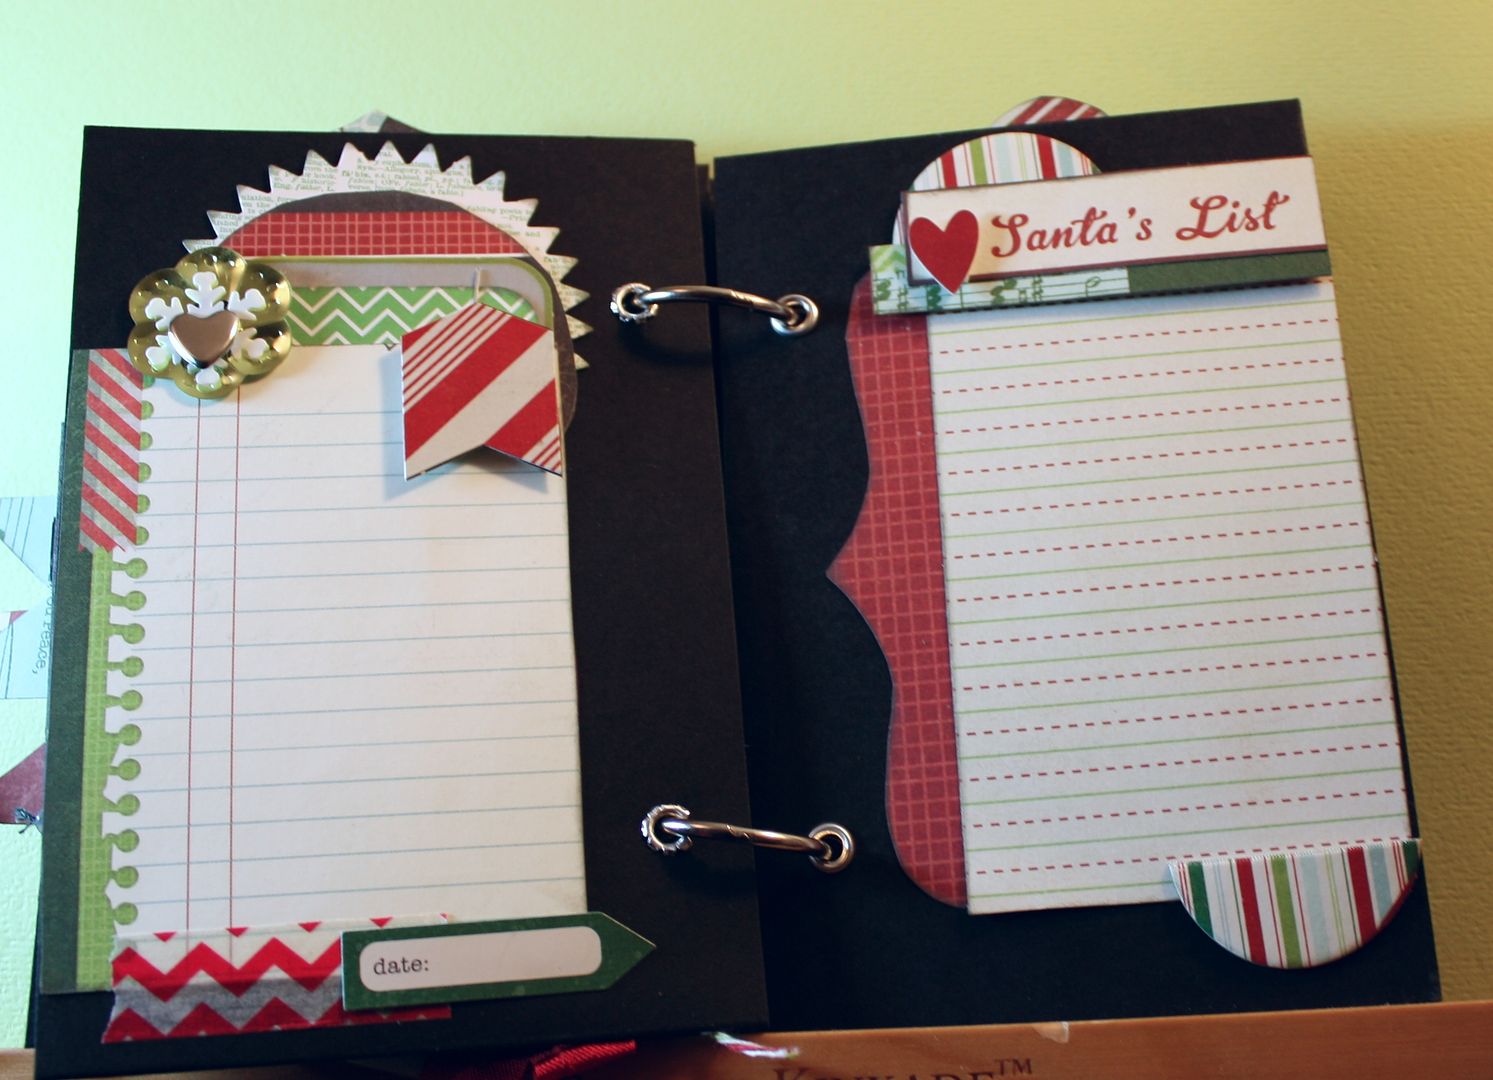
Decorating the pages - I used a combo of my templates (Sunnybrook Lane, Tiny Shapes, Tiny Tags, Journey, Tiny Brackets, Tiny Accents) elements from the papers, embellishments that matched the collection, and a few items from my stash to decorate my mini. The tags for the pockets were made with the Tags templates set...they fit in the pockets really well.
My husband has gotten into Instagram thanks to our nieces and he can use this book for pictures he takes during the holidays. It is the perfect size for small 2" or 3" square photos.
Thanks for reading!
Friday, September 06, 2013
Blog Hop Time with Kiwi Lane Designs
Welcome to my blog and my last blog hop as a Kiwi Lane Designs team member. It has been a great nine months creating stuff and sharing my love of these awesome templates. They totally changed the way I craft, and I am so thankful I found them.
Okay so let's get down to business. Today I am sharing three layouts with you made with templates - from quick and simple to more elaborate. I want you all to see that no matter your scrapping style these templates can work for you. I used the RINGS template on all three layouts so you can see how one template can be used in different ways.
My first layout is super simple. I used components from a kit club I subscribed to and was able to make a nice quick and easy page that still made my photos pop. The circles on this layout were made using the interior of the RINGS template set. I used them on the top and bottom to "frame" my photos.
(Templates used: Mini Aspen Court; Rings; Tiny Shapes)
My second layout is a fairly simple design as well, but I did a little more detail work. I used a pen to make dots around the flower template (TINY ACCENTS) and around the tag template (TINY TAGS) as well as a few dots on the border. On this layout I used the RINGS2 template with watercolor paper that I misted for a bold spot of color. I love how this layout turned out, but I have yet to decide what photo to use...everyone says it reminds them of a baby layout. Maybe I will gift this into a page for my friend who has a new baby.
(Templates used: Rings; Brackets; Tiny Accents; Scallops, Strips, Tiny Tags)
Finally in my last layout I went all out vintage style (which I love). I had so much fun creating this layout with all the details and embellishments, and my templates made it come together so easily. If you look at the bottom of the flower cluster you will see a sparkly bit of the RINGS2 template peeking out. Again I used it to add color interest to my page.
(Templates used: Rings; Scallops; Strips; Clara Lane; Tags; Tiny Tags)
Thank you so much for joining me. Be sure to leave a comment to be entered in the giveaway. Kiwi Lane Designs is giving away some awesome Simple Stories stuff to a lucky winner. Good Luck!'
THE BLOG HOP LIST
- Kiwi Lane http://kiwilane.com/here/blog/
- Staci Jones http://scrapbookingischeaperthantherapy.blogspot.com/
- Tammy Smith http://lifeupdownandsideways.blogspot.com/
- Erin Colby: http://oursliceofcheese.blogspot.com
- Deborah Johnson http://scrappinthelittlethings.blogspot.com/
- Kristy Mackeen: http://mamasanity.blogspot.com/
- Scrappin' Madge- http://www.thescrappinlounge.com
- Claire Heartburn http://lemonpaperdesigns.blogpot.co.uk
- Leslie Prinkki http://www.scrapsofmine.blogspot.com
- Melissa Dehne http://www.abitofscrappygoodness.blogspot.com/
- Charissa Miller http://www.akihasmommascraps.com
- Roselyn Riley http://prettylittlepackages.blogspot.com - YOU ARE HERE!
Thursday, August 08, 2013
Crafting with Jinger Adams and Kiwi Lane Designs
I am featured on the Kiwi Lane Designs blog today sharing a layout and a card using the Jinger Adams Collection Sweet Tart line and the Rings, Tiny Tags, Spook Alley, and Wildflower templates sets. (The Rings and Tiny Tags sets are ones I use on practically every layout. A must have in your crafting arsenal.) I invite everyone to come check out what I made with Jinger Adam's bright and glittery collection and my designer templates. Then be sure to head over to Jinger's facebook page and see all the lovely products she has to offer.
Tuesday, July 23, 2013
Tuesday Tip with Kiwi Lane and Downtown Tape
Today you get to be witness to my first forays into the joys of creating with washi tape on the Kiwi Lane Designs blog. I learned a lot and by the end of it all, I think washi has found a permanent place in my crafting arsenal. The beautiful colors and patterns of Downtown Tape washi won me over. The templates I used this month were Happy Trails, Paradise, Wacky and Tiny Wacky. They worked perfectly with my summer and vacation photos. So be sure to check on the Kiwi Lane Designs blog for some scrapbooking inspiration as well as the Downtown Tapes facebook page.
Washi Tape Gift Card Holder Instructions
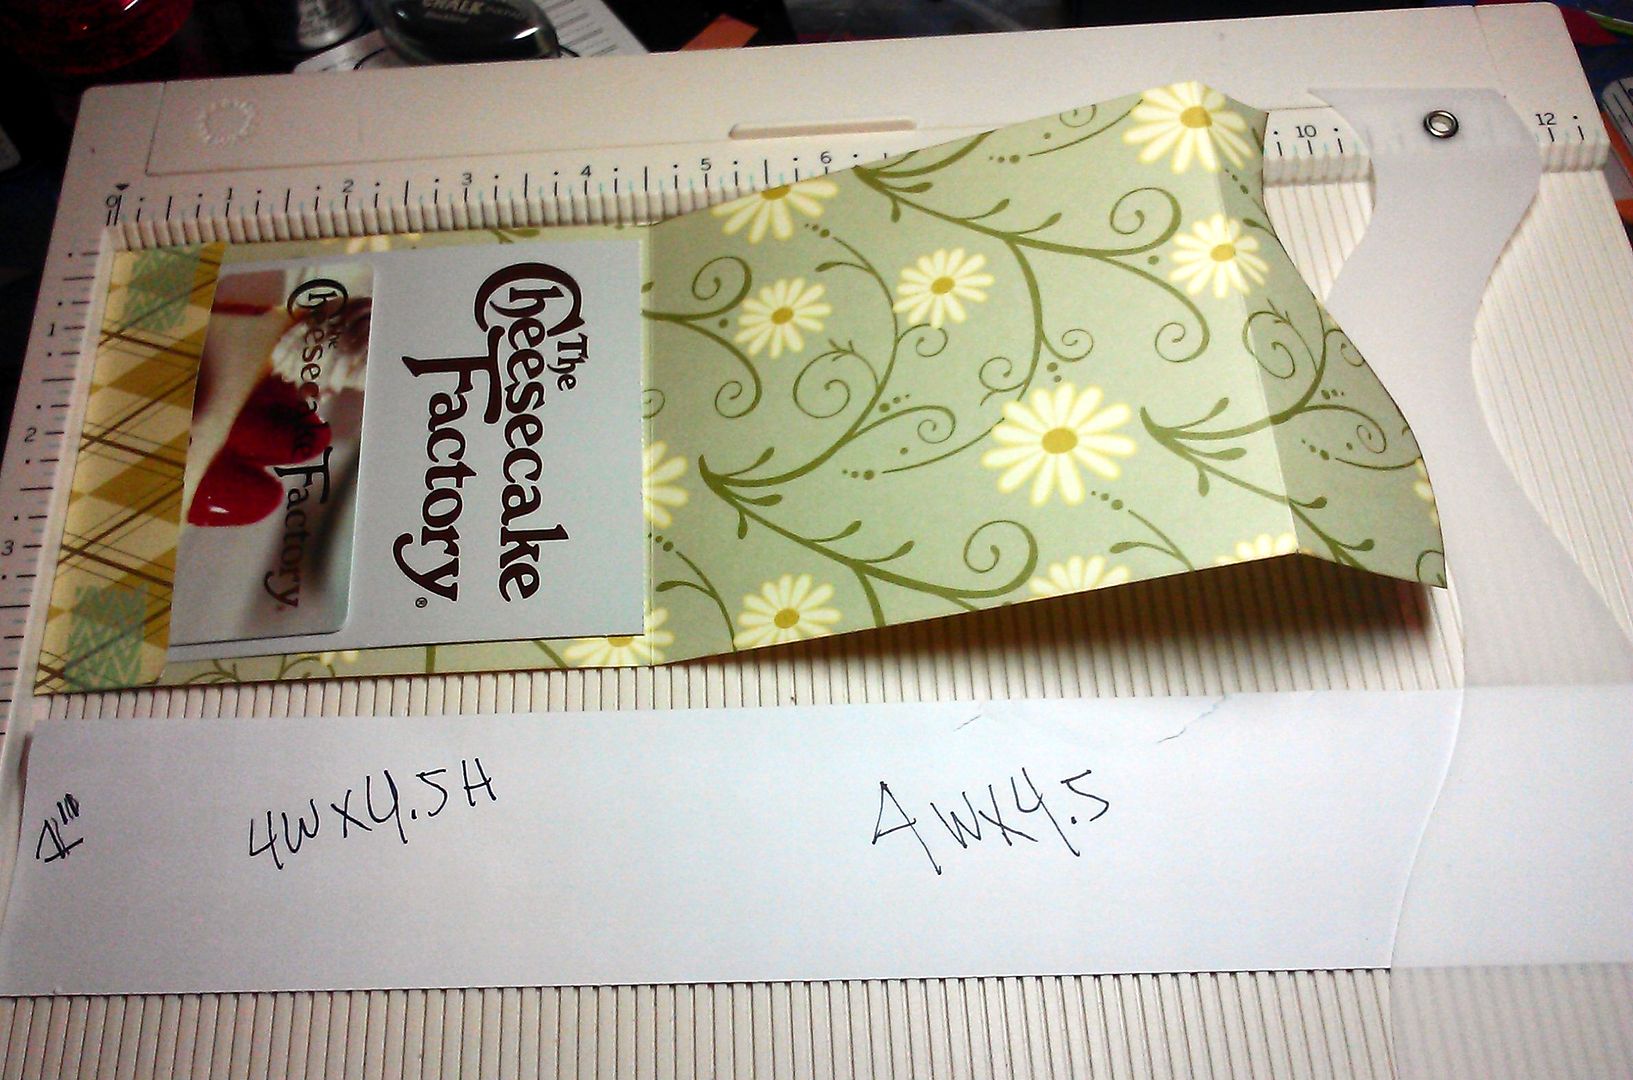
Super simple to make. All you need is a scoring tool, a paper trimmer, a KLD template, adhesive, and some washi. (these instructions are for a standard size gift card)
Cut a piece of card stock or heavy weight pattern paper to 4"W x 12"L
Score your paper at 1" from the bottom edge. Fold it up and seal ends with washi tape to make a pocket.
Place the paper back on the score board and score at the 4.5" mark and fold over to make a card.
Next put the folded card back on the score board and score at the 4.5" mark.
Place a Happy Trails template (or any template of your choosing) along the open 4" edge of the card and trace. This will create a decorative edge along the bottom of the card.
Now fold the decorative edge back, toward the front of the card and glue in place.
Decorate as desired.
----------------------
Be sure to check out my completed GIFT CARD HOLDER at Kiwi Lane Designs blog.
Thanks for reading!
Washi Tape Gift Card Holder Instructions
Super simple to make. All you need is a scoring tool, a paper trimmer, a KLD template, adhesive, and some washi. (these instructions are for a standard size gift card)
Cut a piece of card stock or heavy weight pattern paper to 4"W x 12"L
Score your paper at 1" from the bottom edge. Fold it up and seal ends with washi tape to make a pocket.
Place the paper back on the score board and score at the 4.5" mark and fold over to make a card.
Next put the folded card back on the score board and score at the 4.5" mark.
Place a Happy Trails template (or any template of your choosing) along the open 4" edge of the card and trace. This will create a decorative edge along the bottom of the card.
Now fold the decorative edge back, toward the front of the card and glue in place.
Decorate as desired.
----------------------
Be sure to check out my completed GIFT CARD HOLDER at Kiwi Lane Designs blog.
Thanks for reading!
Tuesday, June 25, 2013
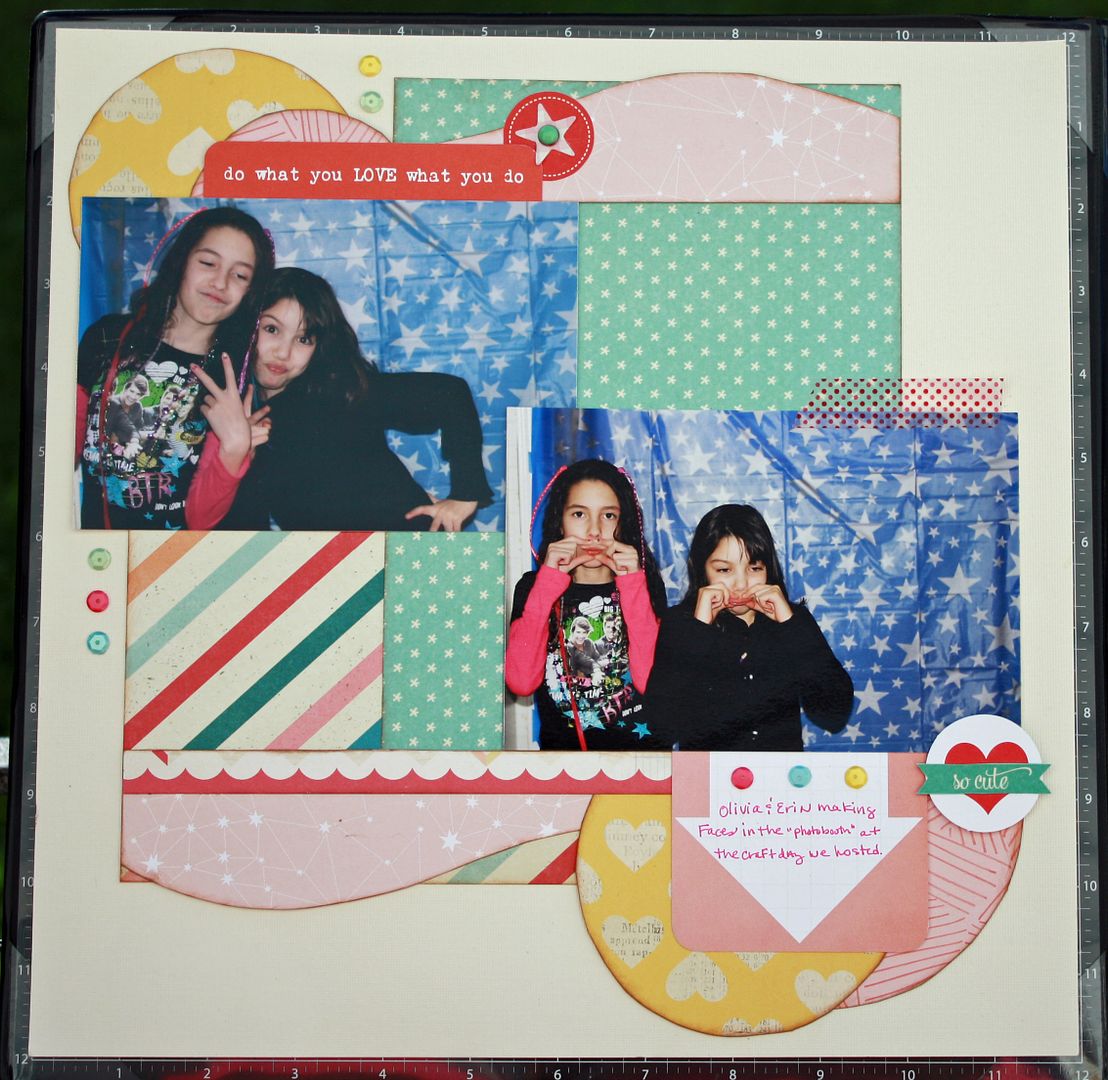
Tip Time with Kiwi Lane and MME!
Today on the Kiwi Lane Designs Blog I am sharing part two of my mini series on layered elements for pages. I will be focusing on layered borders with dimension. With bright and fun papers from My Mind's Eye My Girl line and the Scallops, Brackets, and Accents designer templates I created a layout and a premade border strip. Be sure to stop by the blog and check it. Then head over to the My Mind's Eye Facebook page and show them some love too.
Tuesday, May 14, 2013
Loving Layers with Kiwi Lane and Technique Tuesday
Today on the Kiwi Lane blog I share some quick and easy tips to create layers and clusters on layouts using this month's featured template sets Aspen Court, Playtime and Adventure. I am also excited to be working with some awesome stamps from one of my favorite stamp companies Technique Tuesday. So be sure to stop by the Kiwi Lane Designs blog and faceook page for some crafty fun.
Saturday, May 04, 2013
Getting crafty for NSD!
I am slow...but I did accomplish a little today.
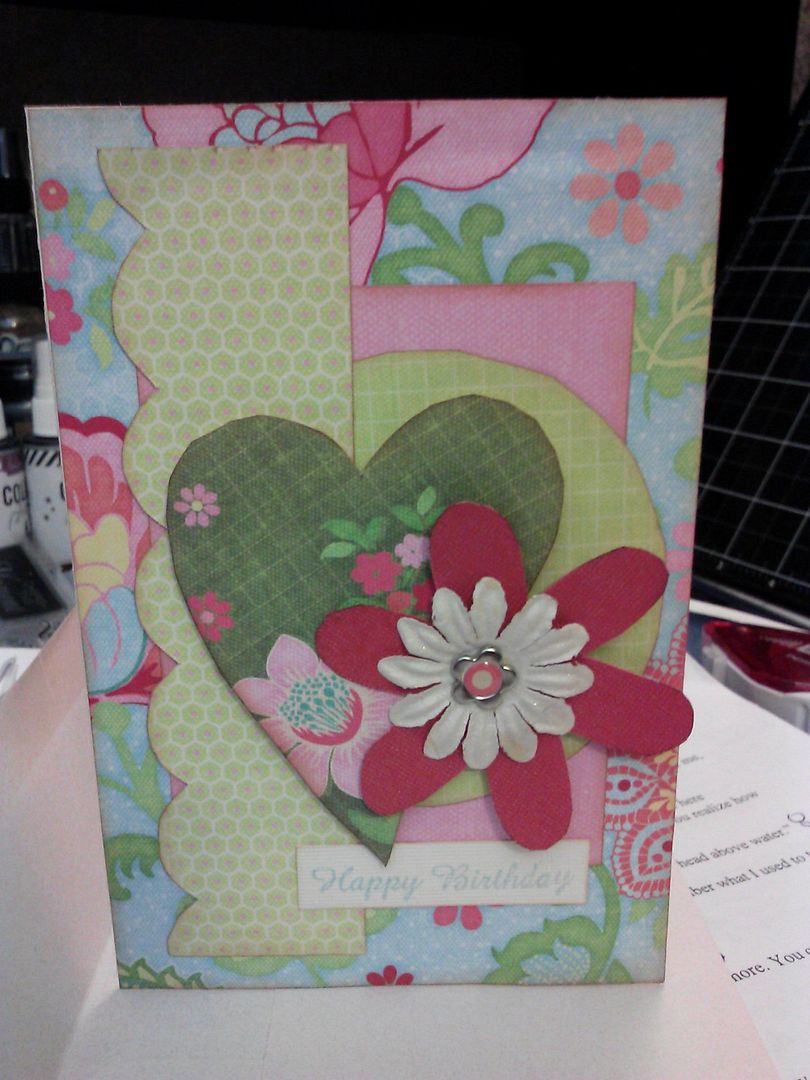
Used my Kiwi Lane Designs templates with watercolor paper and my acrylics to make this really simple card.
Birthday card for my mom....
Used my Kiwi Lane Designs templates with watercolor paper and my acrylics to make this really simple card.
Birthday card for my mom....
Labels:
cardmaking,
flowers,
Kiwi Lane Designs,
scrapbooking,
stamping,
templates
Friday, April 05, 2013
April Kiwi Lane Blog Hop
My first experience using Kiwi Lane Designs templates was last summer. I bought the complete set of mini templates at an expo and that night I used the designer templates to create a 8" album for my mother-in-law's birthday party. That night at a crop I completed practically and entire album. The creation process was so much easier with the templates and I was finally able to complete the book. When I gave my mother-in-law the album she loved it, especially the pages I used the Kiwi Lane templates on. I was hooked after that.
Now many templates later I am still hooked and I am using them to create my pages of my mother-in-law's birthday party. Using the Anna Griffin Maude Asbury line and the Chestnut Drive borders 1A and 3B (also used 1" strips), I made this two page spread with a few pics of the party.
Thanks for stopping by my blog. Don't forget to leave a comment, here and on all the blogs in our hop, to
get a chance to win a $25 gift certificate to use at Kiwi Lane Designs. Good Luck!
BLOG HOP LIST
1. Kiwi Lane http://kiwilane.com/here/blog/
2. Katrina Hunt http:// paperscissorsandglue.blogspot.c om/
3. Charity Becker http:// menemenetekeluniversity.blogspo t.com/
4. Jen Collins http://jande14.blogspot.com/
5. Marisa Torp http:// mojoandmore.blogspot.com
6. Staci Jones http:// www.scrapbookingischeaperthanth erapy.blogspot.com/
7. Stephanie Umpleby http://sucw.blogspot.com
8. Stephanie Dang http:// www.paperandi.blogspot.com
9. Roselyn Riley http:// prettylittlepackages.blogspot.c om YOU ARE HERE
10. Charissa Miller http://akihasmommascraps.com
Friday, March 08, 2013
Quick Quotes + Kiwi Lane Designs = Perfect Combination
It's March and I have spring break on the brain. I'm not hitting the beach this year, but I still can get a mental vacation by looking through some of my old vacation pictures.
Today on the Kiwi Lane blog, I am sharing a mini album I made with the Quick Quotes Stowaway line and mini Paisley Place,Tiny Wildflowers, and Cascade Trails. Making a mini album was so fast and easy thanks to my templates and the very beach appropriate Quick Quotes papers. So head on over to the Kiwi Lane blog to see my full album and get some scrapbooking inspiration. And then don't forget to visit the Quick Quotes Facebook page.

Today on the Kiwi Lane blog, I am sharing a mini album I made with the Quick Quotes Stowaway line and mini Paisley Place,Tiny Wildflowers, and Cascade Trails. Making a mini album was so fast and easy thanks to my templates and the very beach appropriate Quick Quotes papers. So head on over to the Kiwi Lane blog to see my full album and get some scrapbooking inspiration. And then don't forget to visit the Quick Quotes Facebook page.
Sunday, February 24, 2013
Before & After - My Baby Layout
My mom gave me this photo to scrap of me as a baby. It is one of her favorites. I don't like how HUGE my head is in the picture. I guess it is true when they say "a face only a mother could love". LOL
So I started designing the layout like this. I like to play with my templates on my cutting mat to get my design ideas flowing.
Then I selected some papers from the October Afternoon Woodland Park line and started tracing and cutting. In the end, I changed a few things from my original design idea, but basically it came out the same as my design "sketch" I made with my templates.
Templates used - Scallop mini 3A & 1B; Aspen Court mini 3B; Tiny Sweetheart 3T; Rings1; Winter3; Bracket 3T; 2" Strip mini; Tiny Tags 1T; photo mats 5.5x7.5, 5x7, & 4x5
So I started designing the layout like this. I like to play with my templates on my cutting mat to get my design ideas flowing.
Then I selected some papers from the October Afternoon Woodland Park line and started tracing and cutting. In the end, I changed a few things from my original design idea, but basically it came out the same as my design "sketch" I made with my templates.
Templates used - Scallop mini 3A & 1B; Aspen Court mini 3B; Tiny Sweetheart 3T; Rings1; Winter3; Bracket 3T; 2" Strip mini; Tiny Tags 1T; photo mats 5.5x7.5, 5x7, & 4x5
Tuesday, February 12, 2013
It's my turn again at the Kiwi Lane Designs blog. Be sure to head over there and check out my projects using the oh so pretty We R Memory Keepers "Crazy For You" paper collection and Clara Lane, Sweetheart, Tiny Sweetheart and Tiny Accents designer template sets. Tons of pink and pretty!
Project Life Card
While my Project Life for 2013 is off to a slow (very slow) start, my creativity has been in overdrive. I made 20 of these little 3x4 cards for a Project Life card swap. Used some October Afternoon Woodland Park papers and my Kiwi Lane templates. Now to actually start doing some Project Life pages LOL.
Labels:
Kiwi Lane Designs,
Project Life,
scrapbooking,
swap
Friday, February 01, 2013
Thanks for stopping by the Kiwi Lane Designs blog hop. I hope you are getting tons of creative inspiration from all the participating blogs.
Could it actually be true? Did I make a page without any flowers? Looks like I did. LOL Well almost.
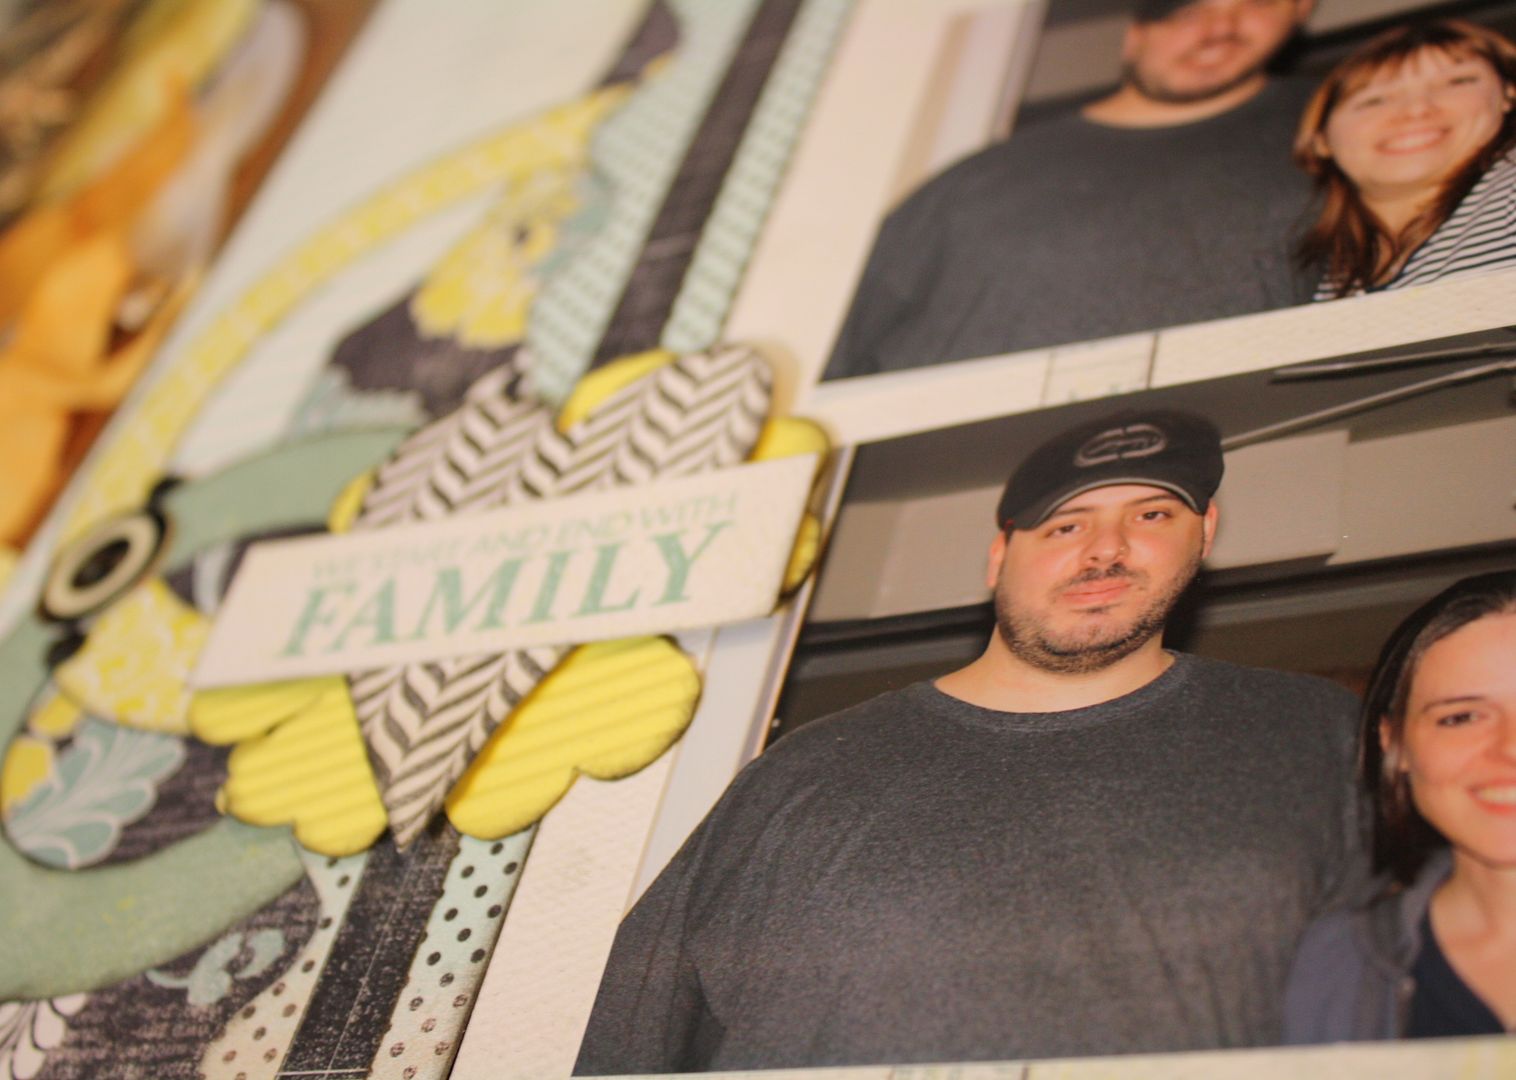
I couldn't help but use the cute flower template from Tiny Sweetheart to anchor one of my stamped titles. I used my Fiskars crimper (circa 2004) to add some texture to the Tiny Sweetheart Flower then I put a Tiny Sweetheart Heart on top with a pop dot, then added a strip with my stamped phrase.
I used the 1" mini strip to create a nice even box for my stamped words. I am a bit particular about straightness and I love how the Strip template sets help me keep things perfectly aligned, whether I am using them to create text boxes or if I am laying them on a page to perfectly space my embellishments. The Strip Templates are some of my most used.
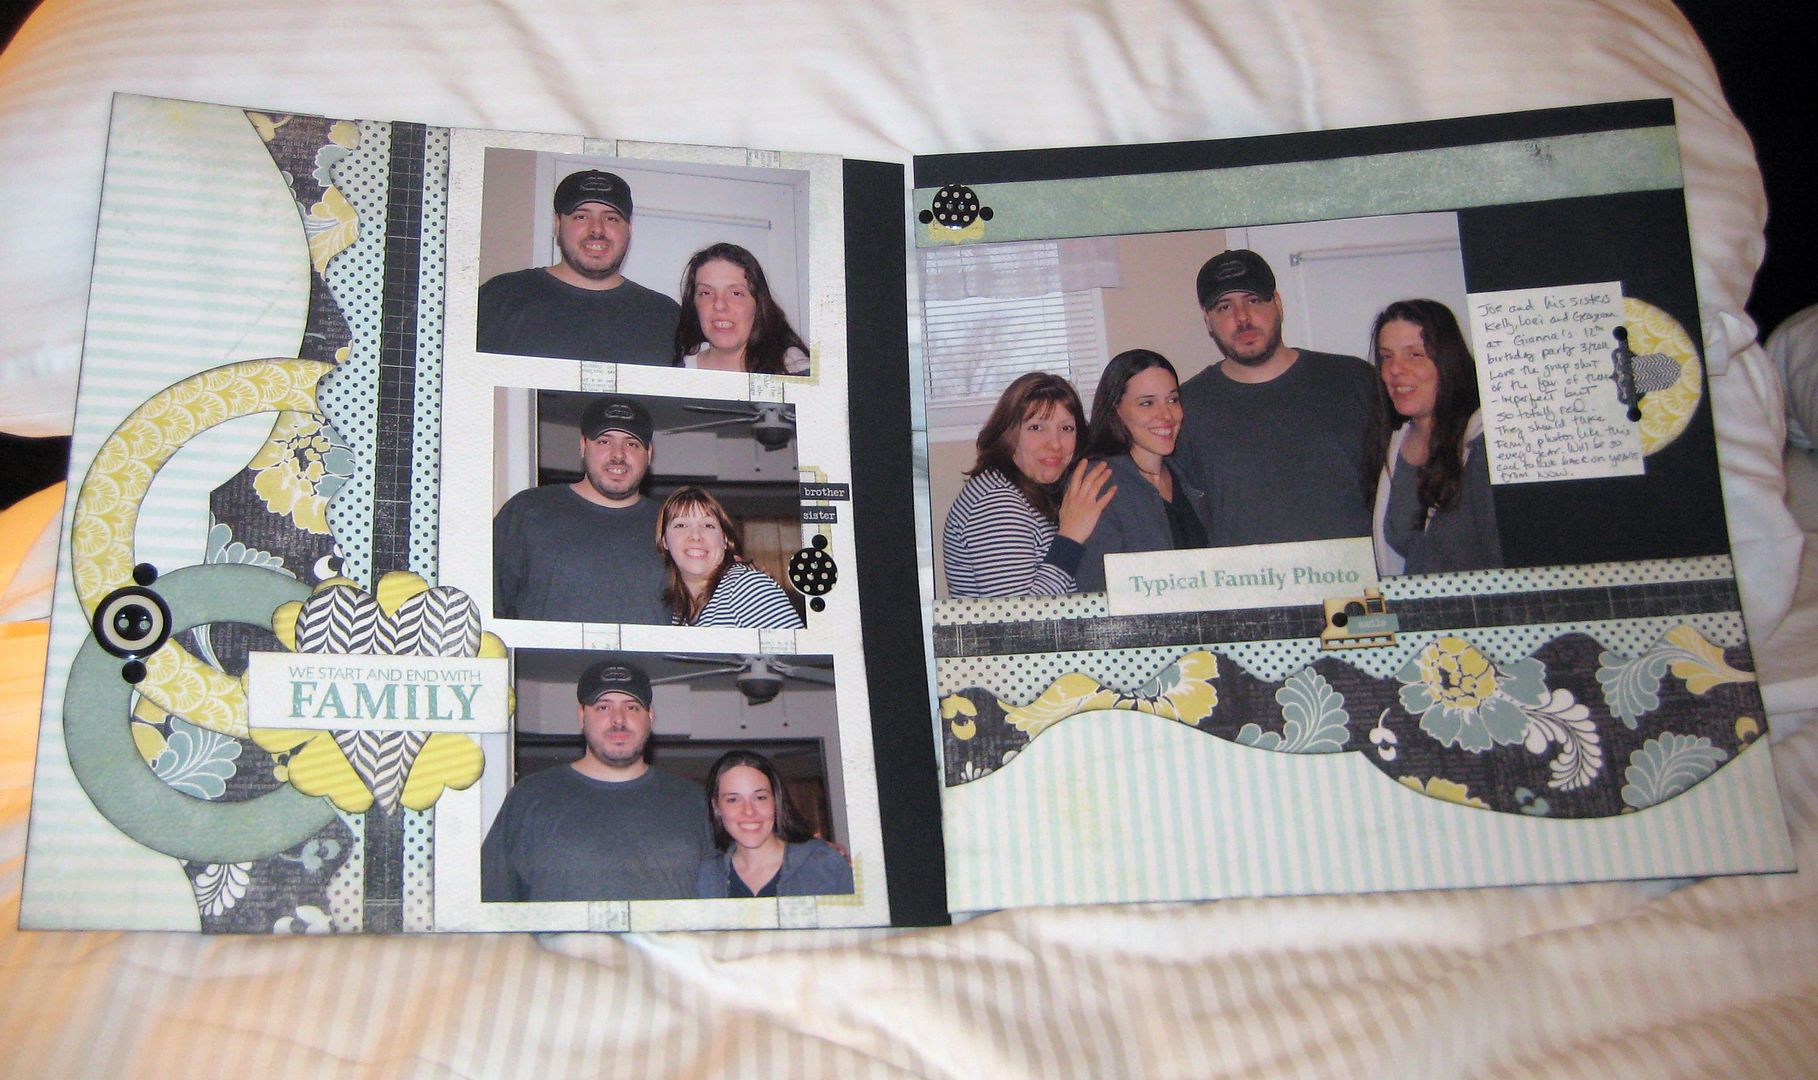
Authentique's "Renew" line combined with Kiwi Lane Designer Templates Clara Lane 2A/2B and Sunnybrook Lane 1A/1B were the perfect "frames" for this layout of my husband and his sisters. I made a collage using Picasa, and printed it out at home. I cut the pictures apart and easily pulled together this two page layout with the help of my templates.
I know I say this a lot, but I am still so amazed at how much faster and easier creating pages is when I am using my templates. This simple layout would have taken me a week to come up with before I discovered Kiwi Lane Designs Templates.
(Don't you love the backdrop for the photo of my layout? I am at a weekend crop and I couldn't resist taking a picture against the fluffy hotel pillows!)
Templates used for creation and visualization - Clara Lane 2A/2B; Sunnybrook Lane 1A/1B; 12" Strips - 3", 1", 1/2"; Rings 1,2,3; Tiny Sweetheart 2T, 3T
Thanks for stopping by my blog, be sure to keep hopping along to the rest of the stops in our creative journey. Don't forget to leave a comment, here and on all the blogs in our hop, to get a chance to win a $25 gift certificate to use at Kiwi Lane Designs. Good Luck!
BLOG HOP LIST
http://kiwilane.com/here/blog/
http://www.catscrapcreations.blogspot.ca
http://www.scrapbookingischeaperthantherapy.blogspot.com/
http://www.myclutteredcorner.com/
http://abitofscrappygoodness.blogspot.com/
http://errantscraps.blogspot.com
http://www.akihasmommascraps.com
http://www.sherrithompson.blogspot.com
http://www.mamasanity.blogspot.com
http://faithandscraphappiness.blogspot.ca
http://prettylittlepackages.blogspot.com/ YOU ARE HERE!
http://scrappingobsessions.blogspot.com
http://www.scrapsofmine.blogspot.com
----------
Subscribe to:
Posts (Atom)