Showing posts with label Sunnybrook Lane. Show all posts

Friday, September 13, 2013

Weekend Whimsy with Simple Stories and Kiwi Lane Designs

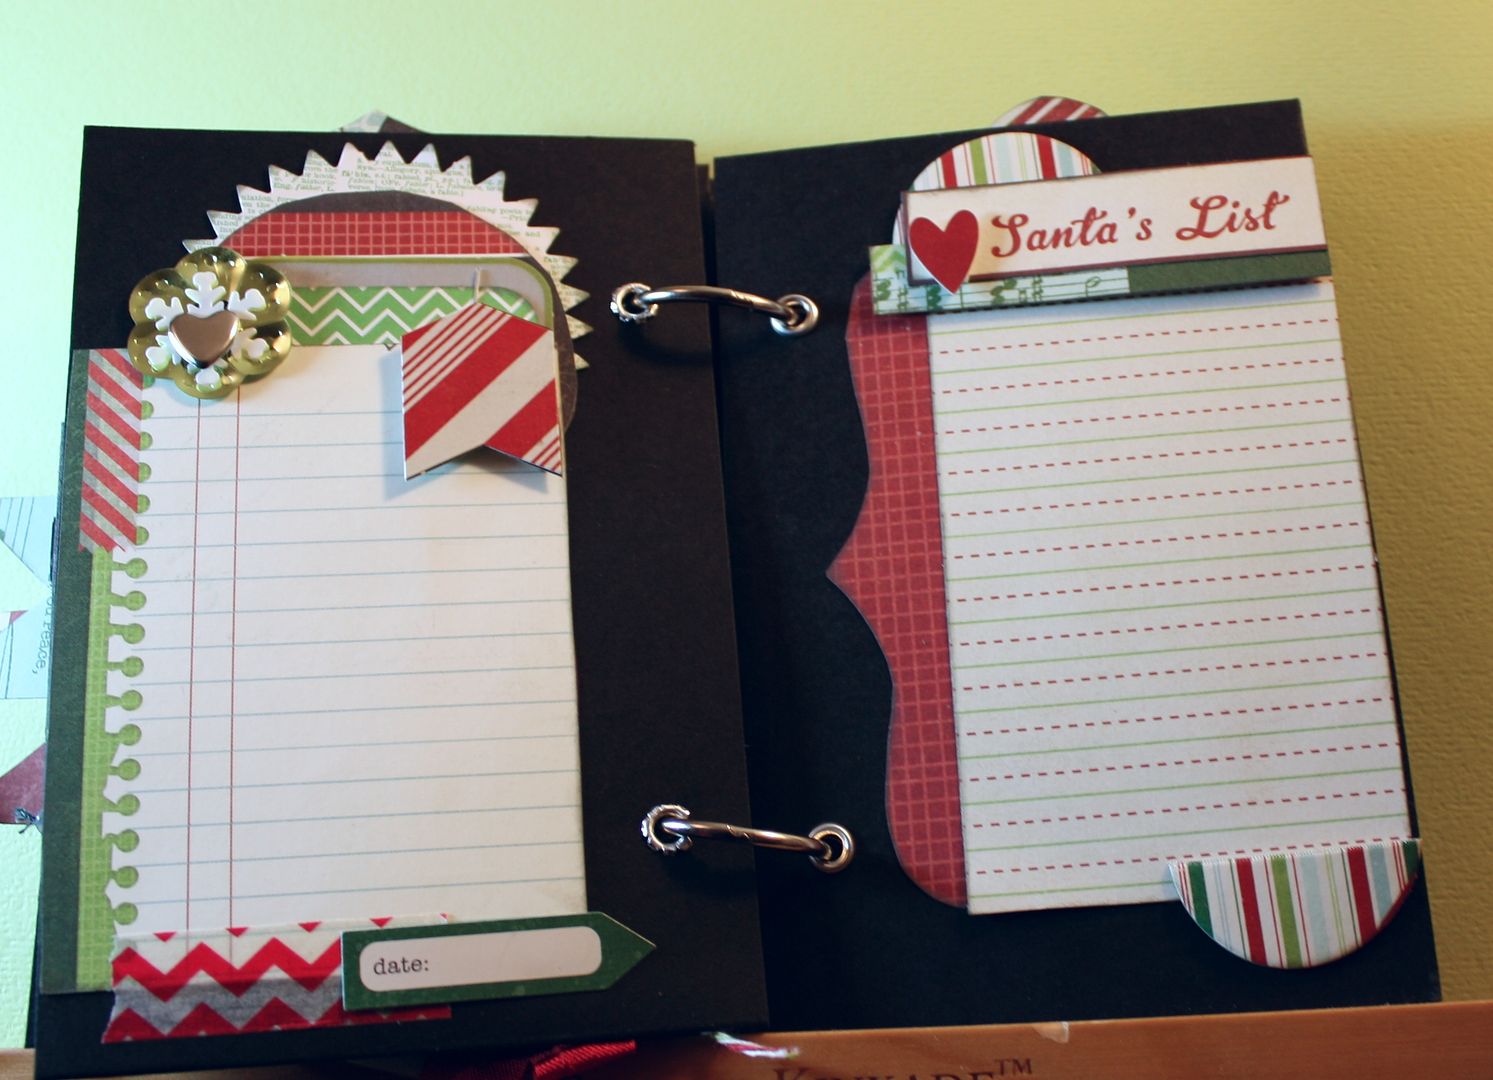
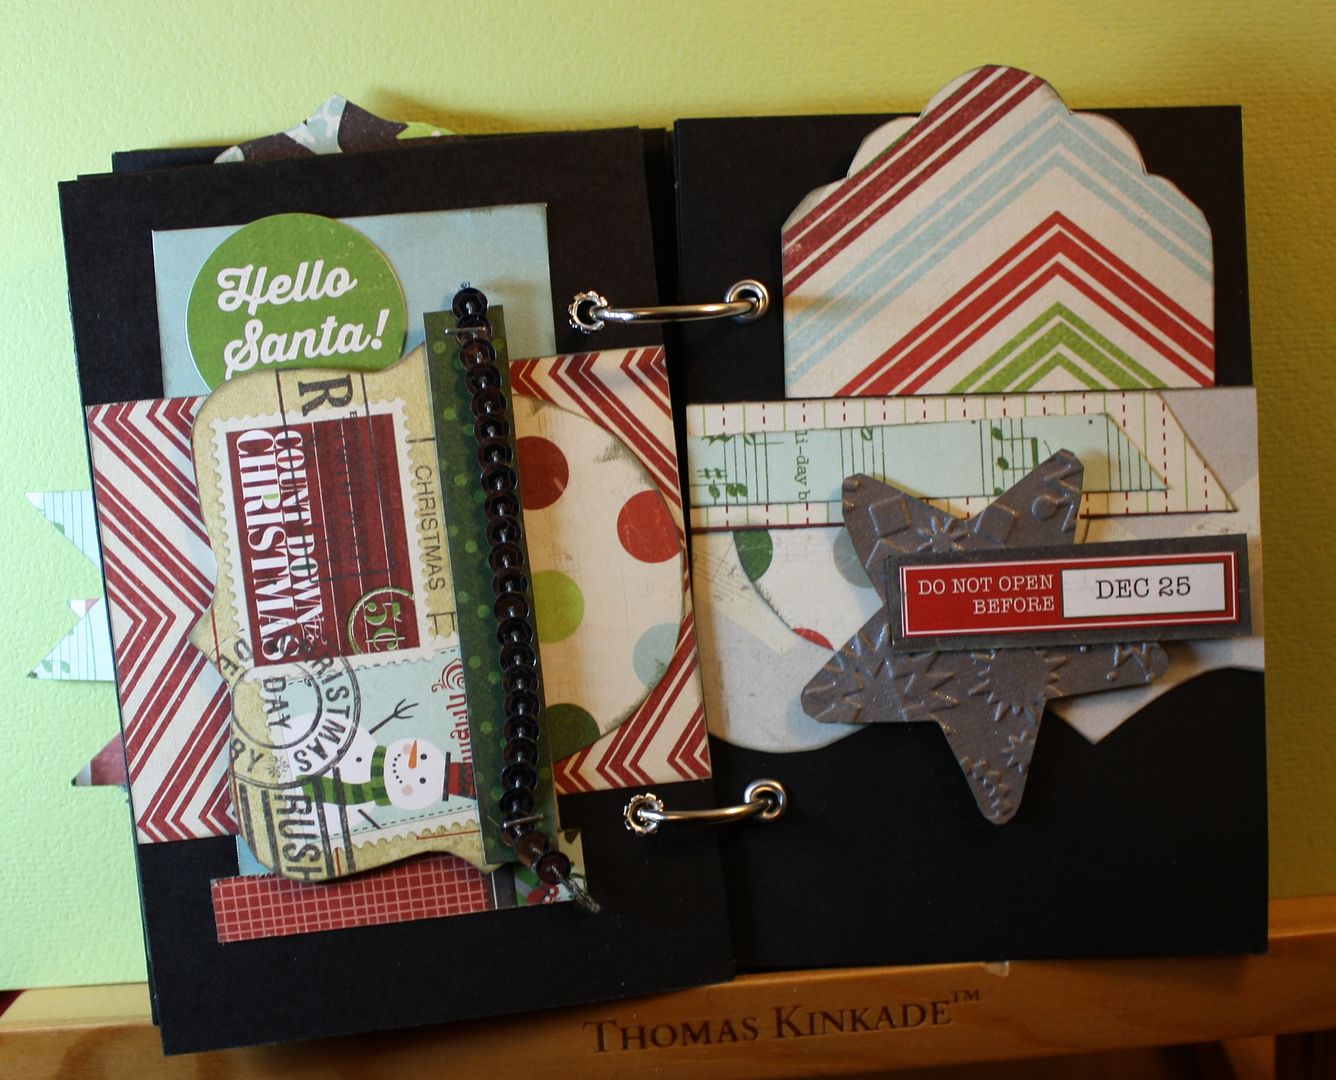
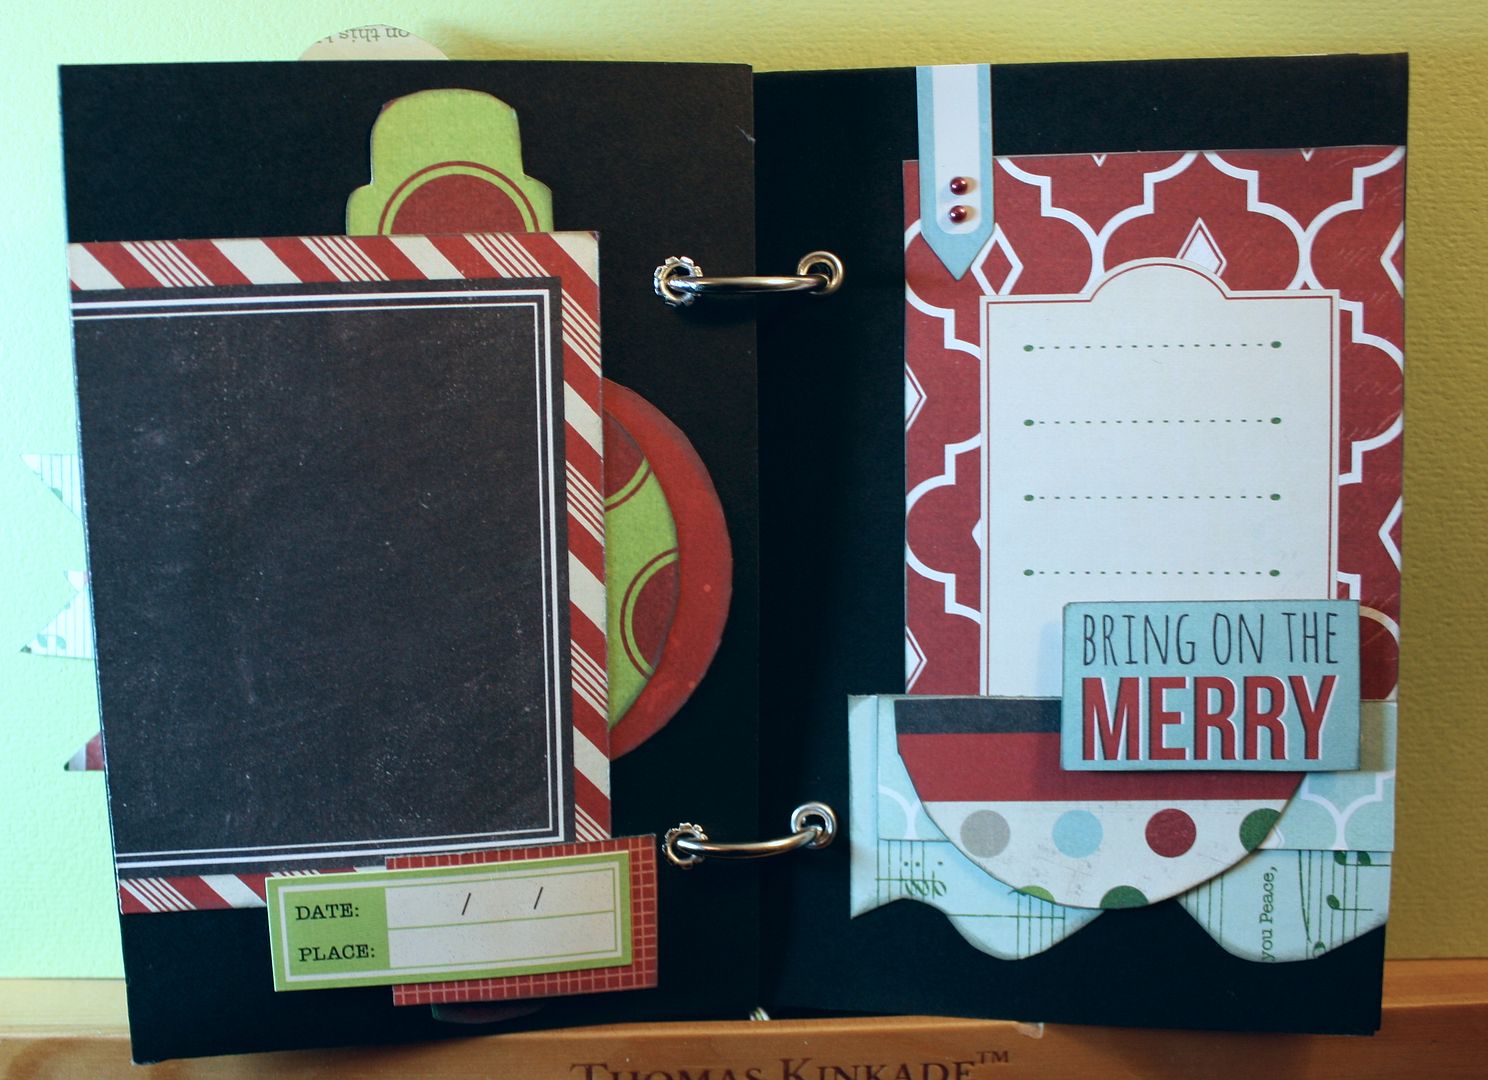
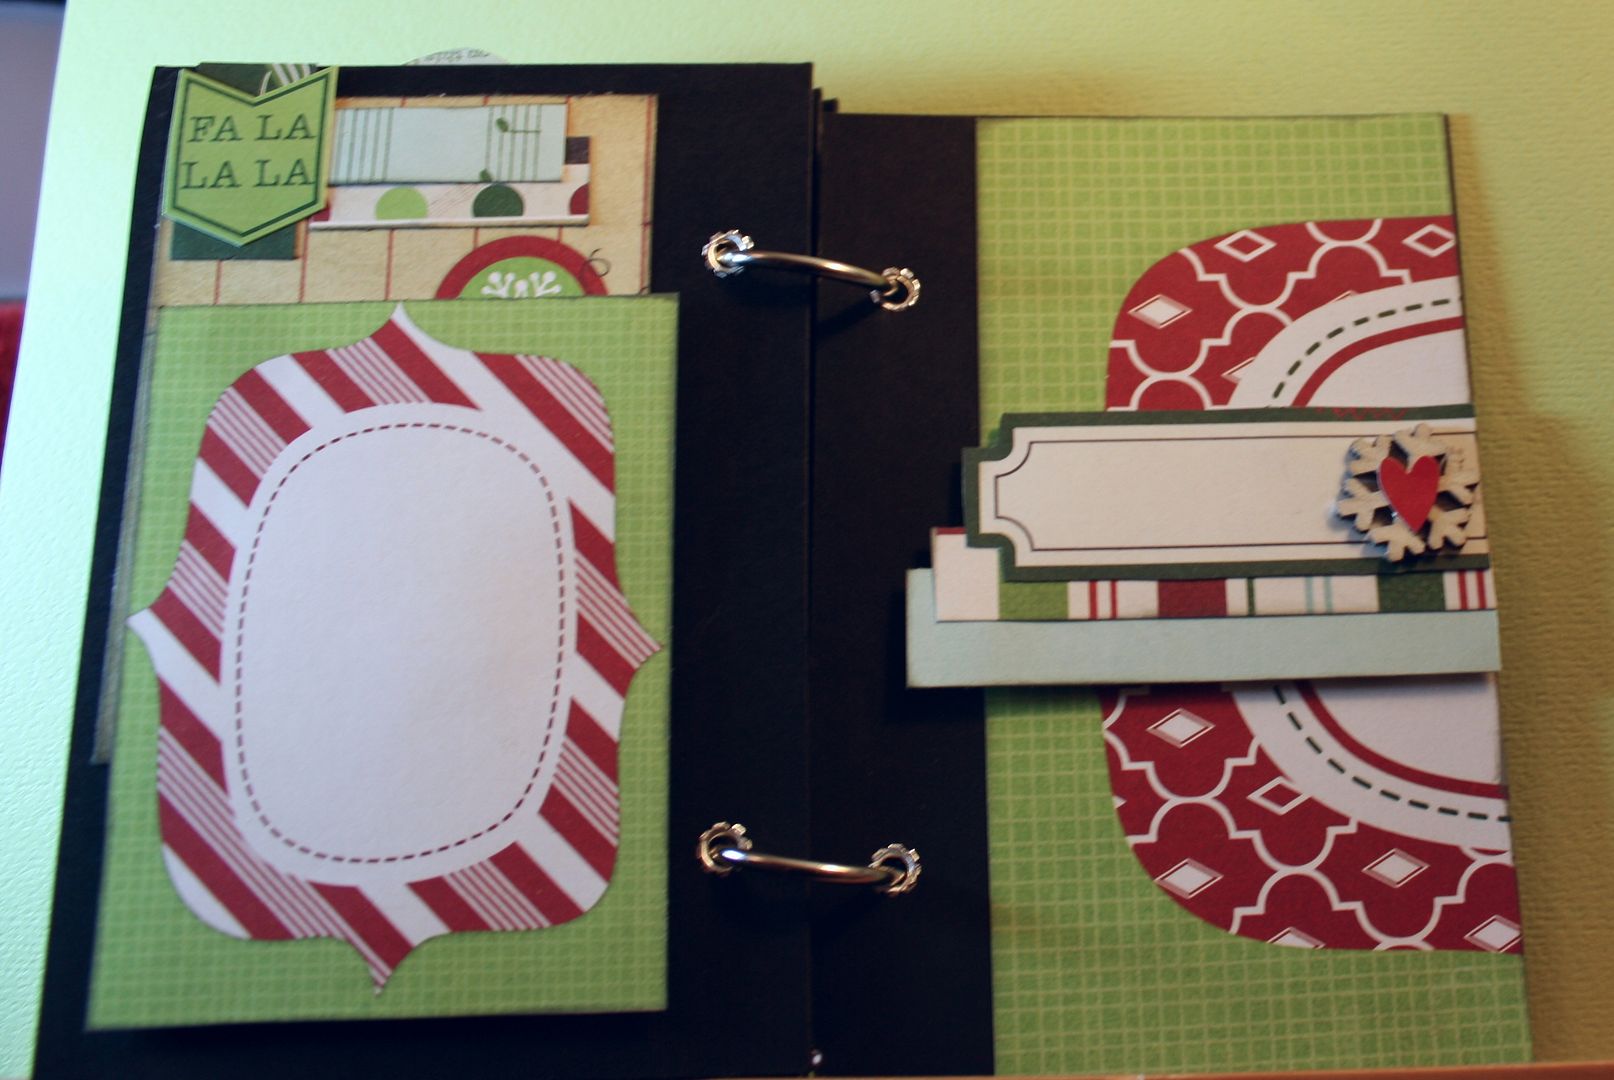
Please head over to the Kiwi Lane Designs blog to check out my Weekend Whimsy projects. I used the Simple Stories December Documented collection along with my Kiwi Lane Designs templates to make an altered cookie sheet chalkboard and a mini album. I had so much fun making these projects, I hope you will check them out. Also be sure to visit the Kiwi Lane Facebook and Simple Stories Facebook pages for more inspiration and ideas.


---------------------

Pocket Mini Album
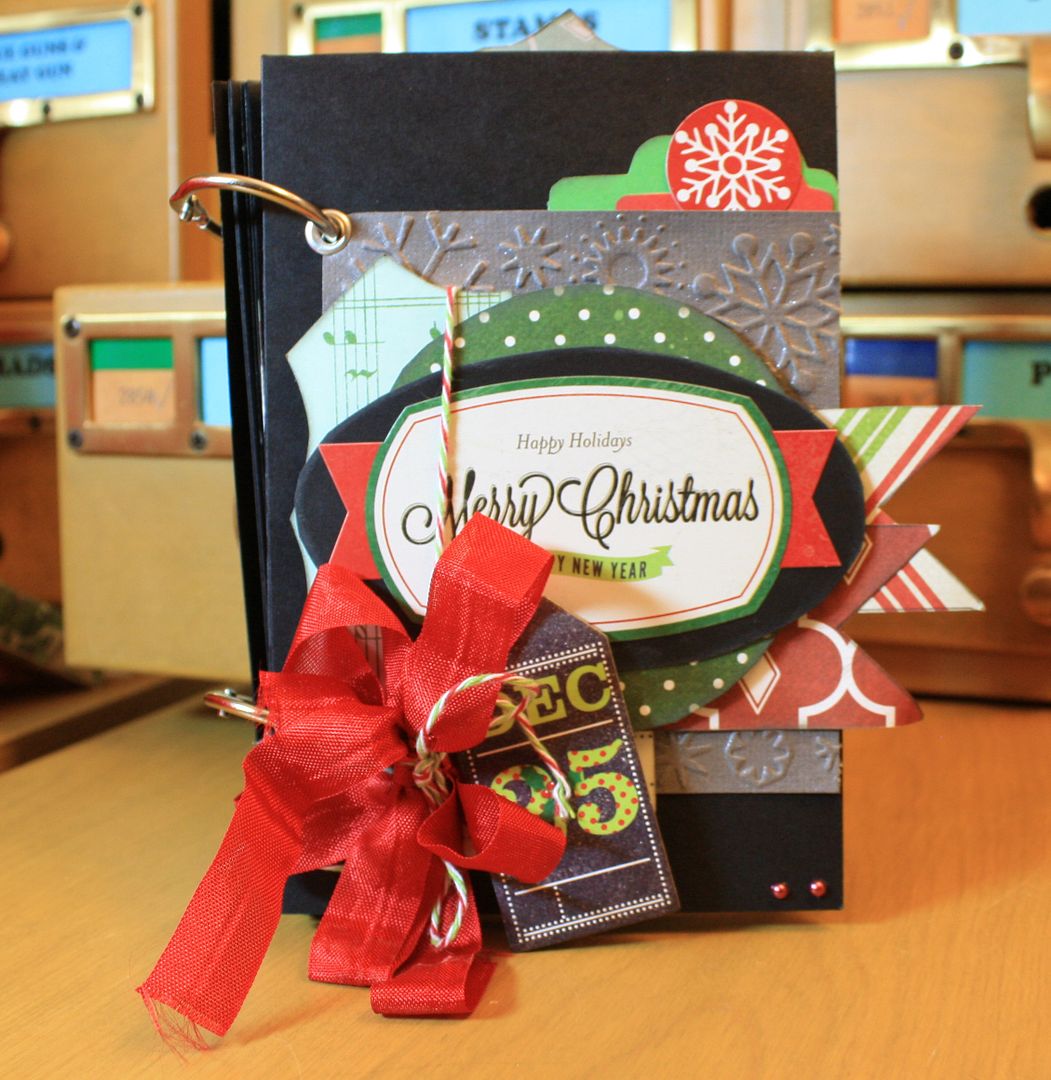


This book is so simple and the perfect project to make on a crafty Saturday or Sunday. The dimensions of my album were 4x6 but you can easily make it larger just but using wider paper. To make this book you will need 12x12 cardstock - 1 sheet for the cover, 1 sheet for the back, and a sheet for each page you want to include in the album.

Making the pages - Cut your paper 8"W x 12" L - (these will be your front and back cover pages and any pages you that you DON'T want to have a pocket.) Score your paper along the 8" width at 4" then turn your paper and score it at the 6" mark along your 12" side. Glue each fold together, Be sure to use a bone folder to make things flat and  well adhered. Now you should have a 4x6 rectangle that is very sturdy because it is 4 layers thick. Repeat as desired.
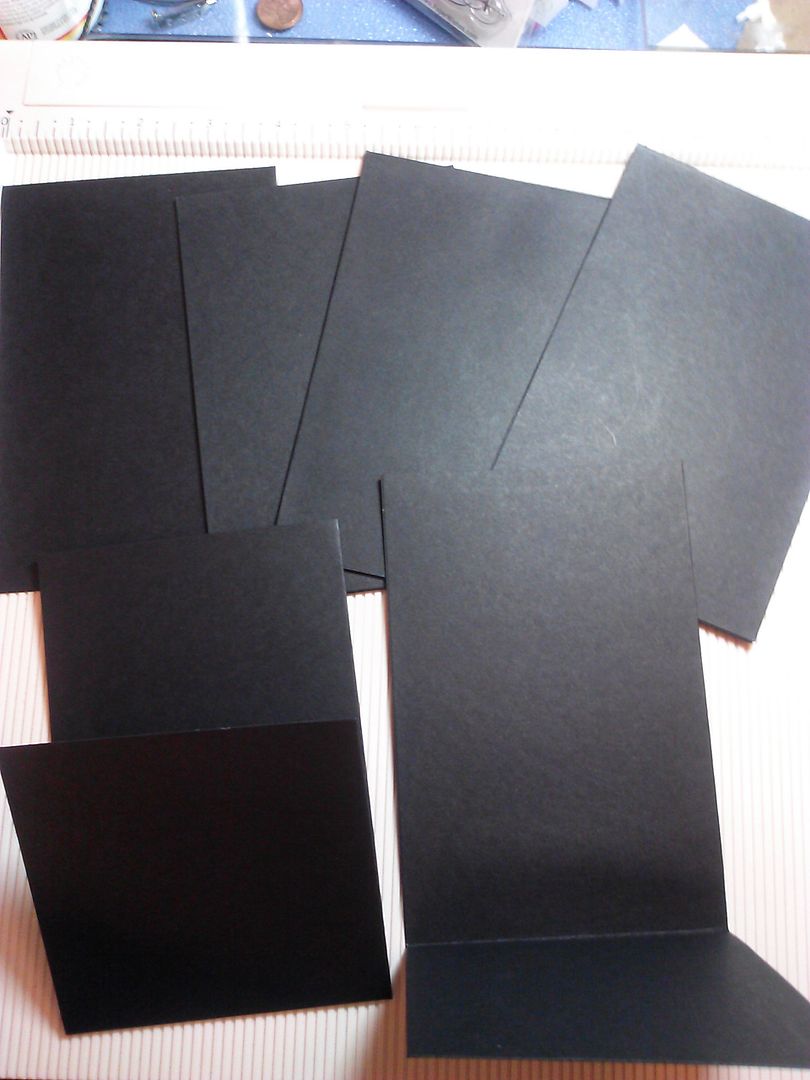
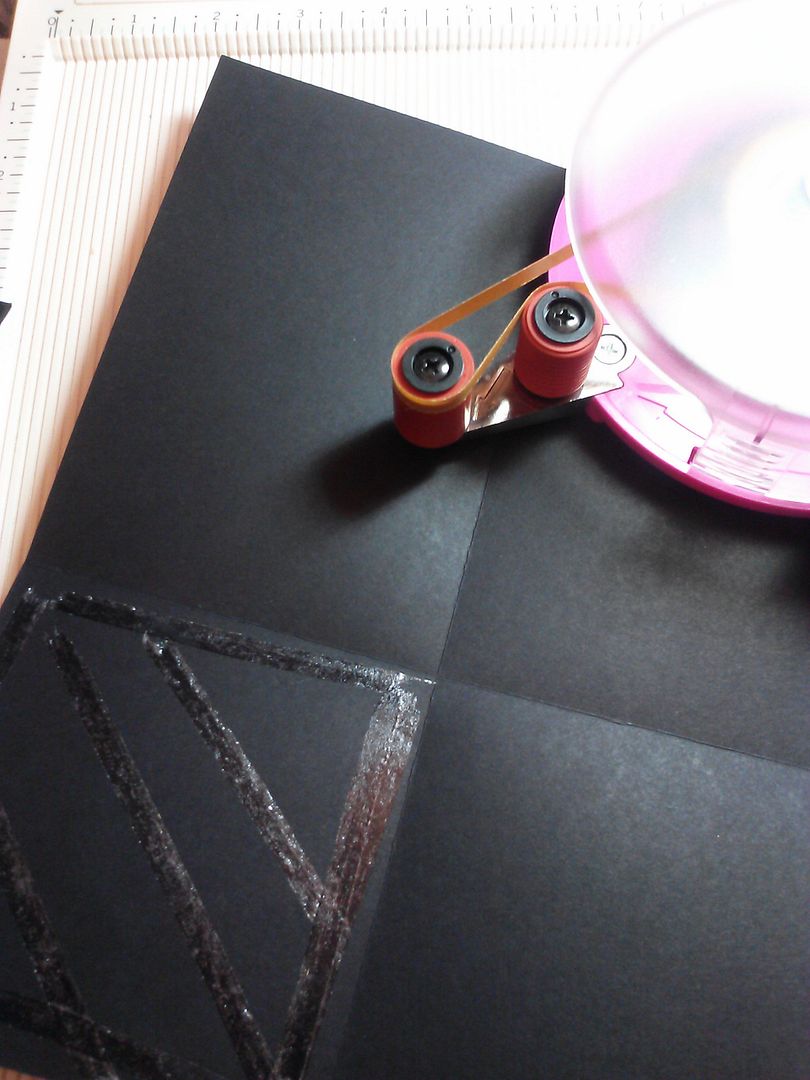


Making pocket pages - Cut your paper 8" W x 10" L. Score your paper along the 8" width at 4" then turn your paper and score it at the 6" mark along your 10" side. Fold the paper in half so that you have a 4"x10" page and then glue it together. Next use a strong adhesive like ScorTape or Red Line tape and tape alone each side of the 6" fold to create a pocket. (One side of your page will be a pocket, the other will be solid.) Repeat as desired.

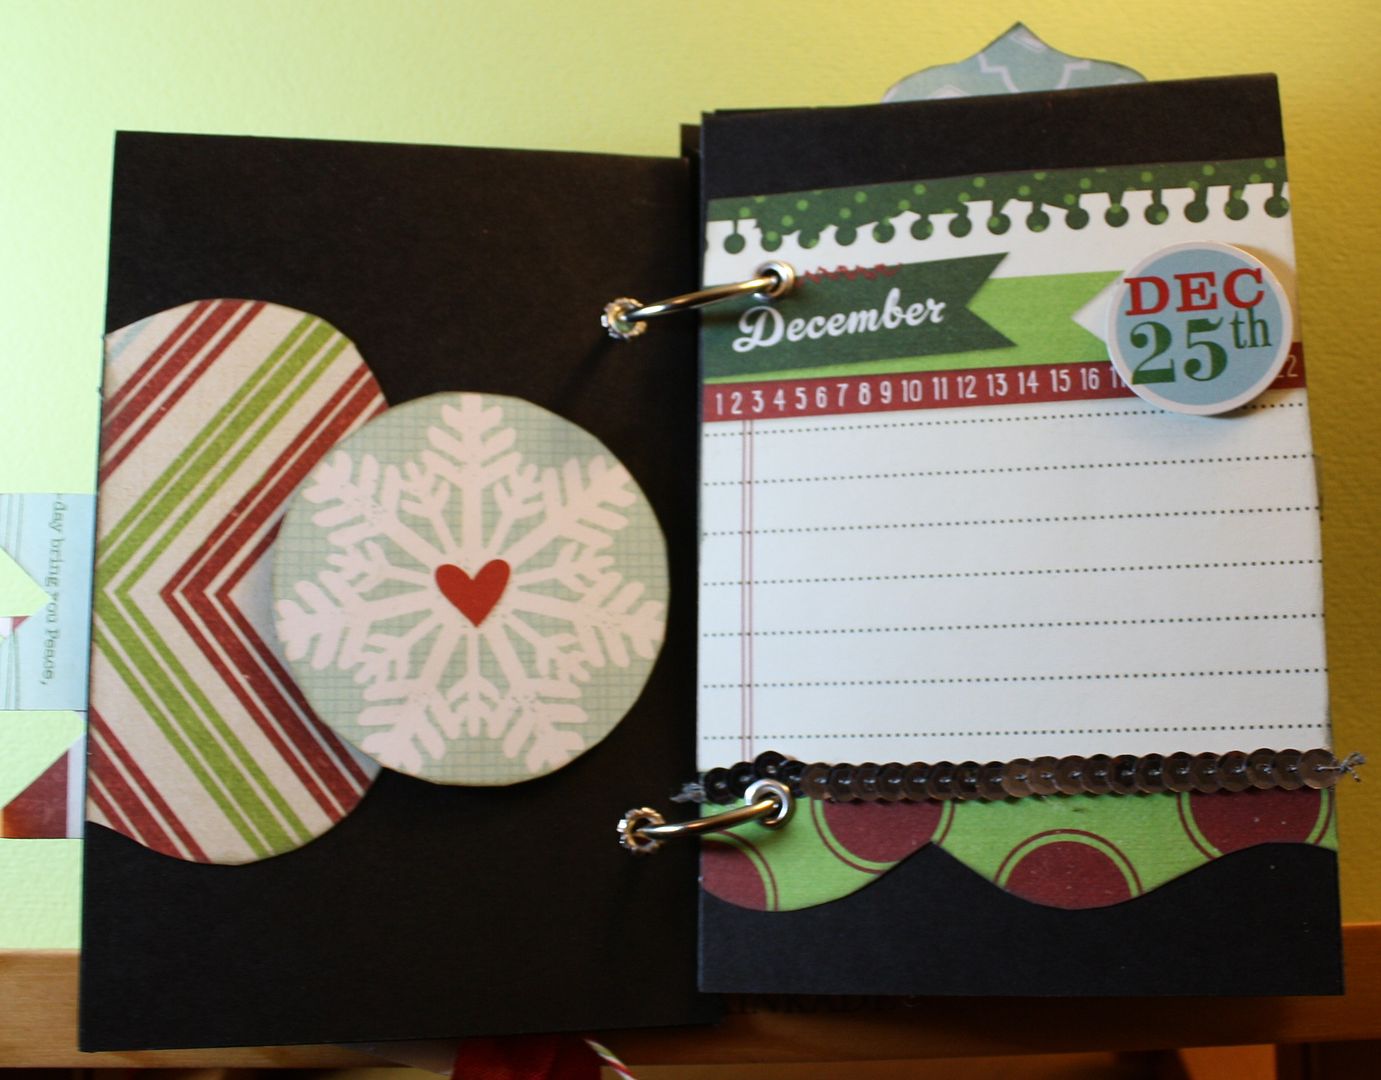
Binding - I simply punched two holes in each page (I used my Binderie punch), put  an eyelet in each hole and held it together with binder rings - like the ones that come with the Kiwi Lane Templates. (Coil binding with a Bind It All or Cinch would work well, also binding it would ribbon would work too) Note: You can either decorate your pages first then punch the holes, or punch the holes then decorate, just remember that holes will be on each page as you create your design.

Decorating the pages - I used a combo of my templates (Sunnybrook Lane, Tiny Shapes, Tiny Tags, Journey, Tiny Brackets, Tiny Accents) elements from the papers, embellishments that matched the collection, and a few items from my stash to decorate my mini. The tags for the pockets were made with the Tags templates set...they fit in the pockets really well. 

My husband has gotten into Instagram thanks to our nieces and he can use this book for pictures he takes during the holidays. It is the perfect size for small 2" or 3" square photos.



Thanks for reading!

Friday, February 01, 2013


Thanks for stopping by the Kiwi Lane Designs blog hop.  I hope you are getting tons of creative inspiration from all the participating blogs.

Could it actually be true? Did I make a page without any flowers? Looks like I did. LOL Well almost.

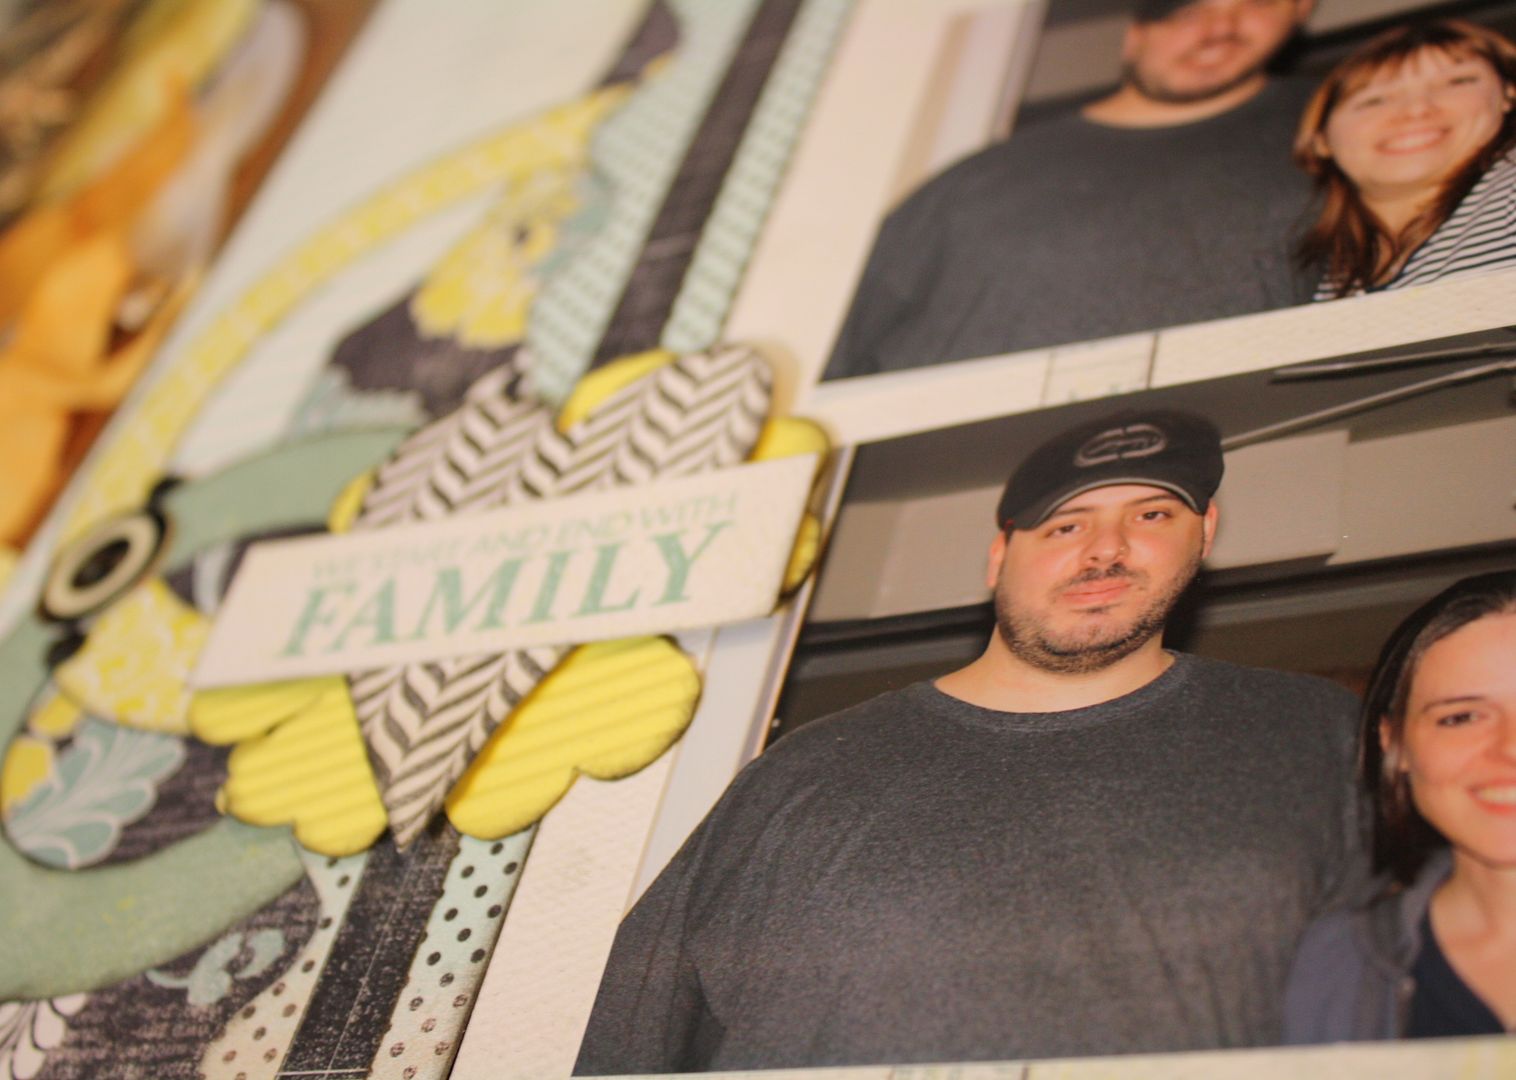
I couldn't help but use the cute flower template from Tiny Sweetheart to anchor one of my stamped titles. I used my Fiskars crimper (circa 2004) to add some texture to the Tiny Sweetheart Flower then I put a Tiny Sweetheart Heart on top with a pop dot, then added a strip with my stamped phrase.

I used the 1" mini strip to create a nice even box for my stamped words. I am a bit particular about straightness and I love how the Strip template sets help me keep things perfectly aligned, whether I am using them to create text boxes or if I am laying them on a page to perfectly space my embellishments. The Strip Templates are some of my most used.

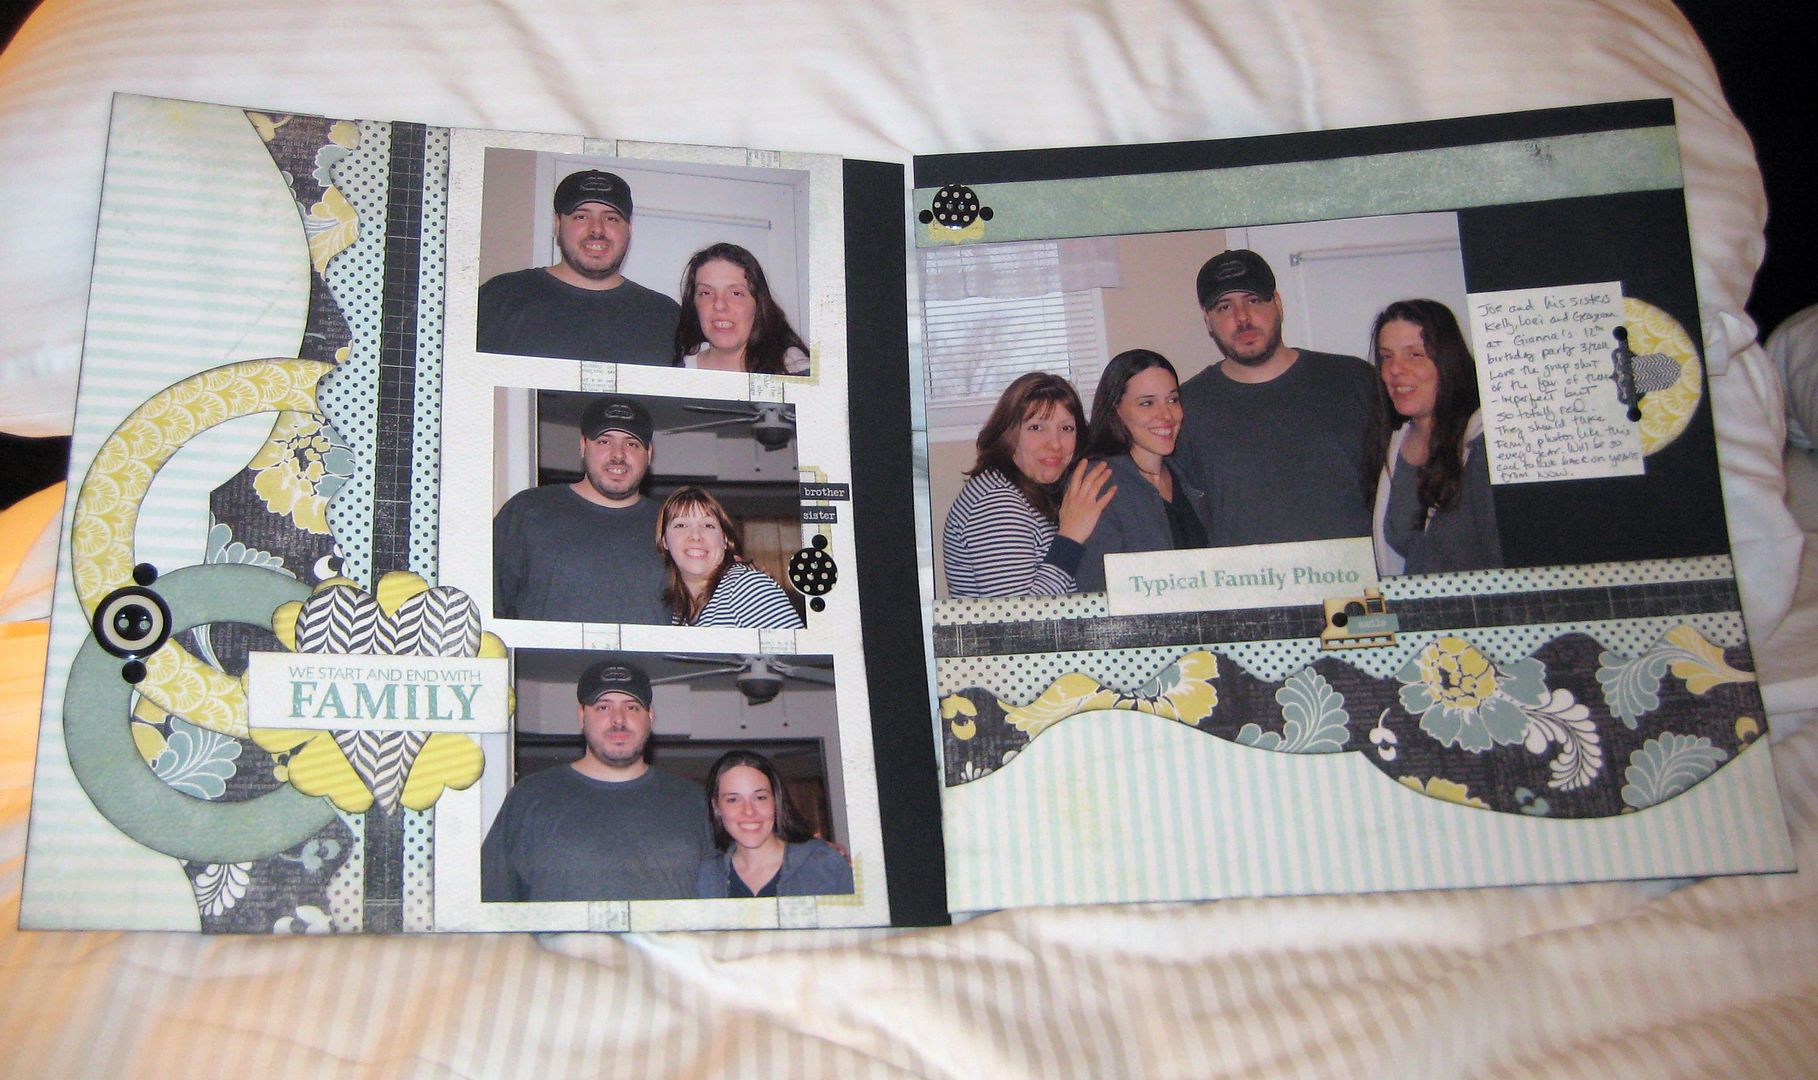
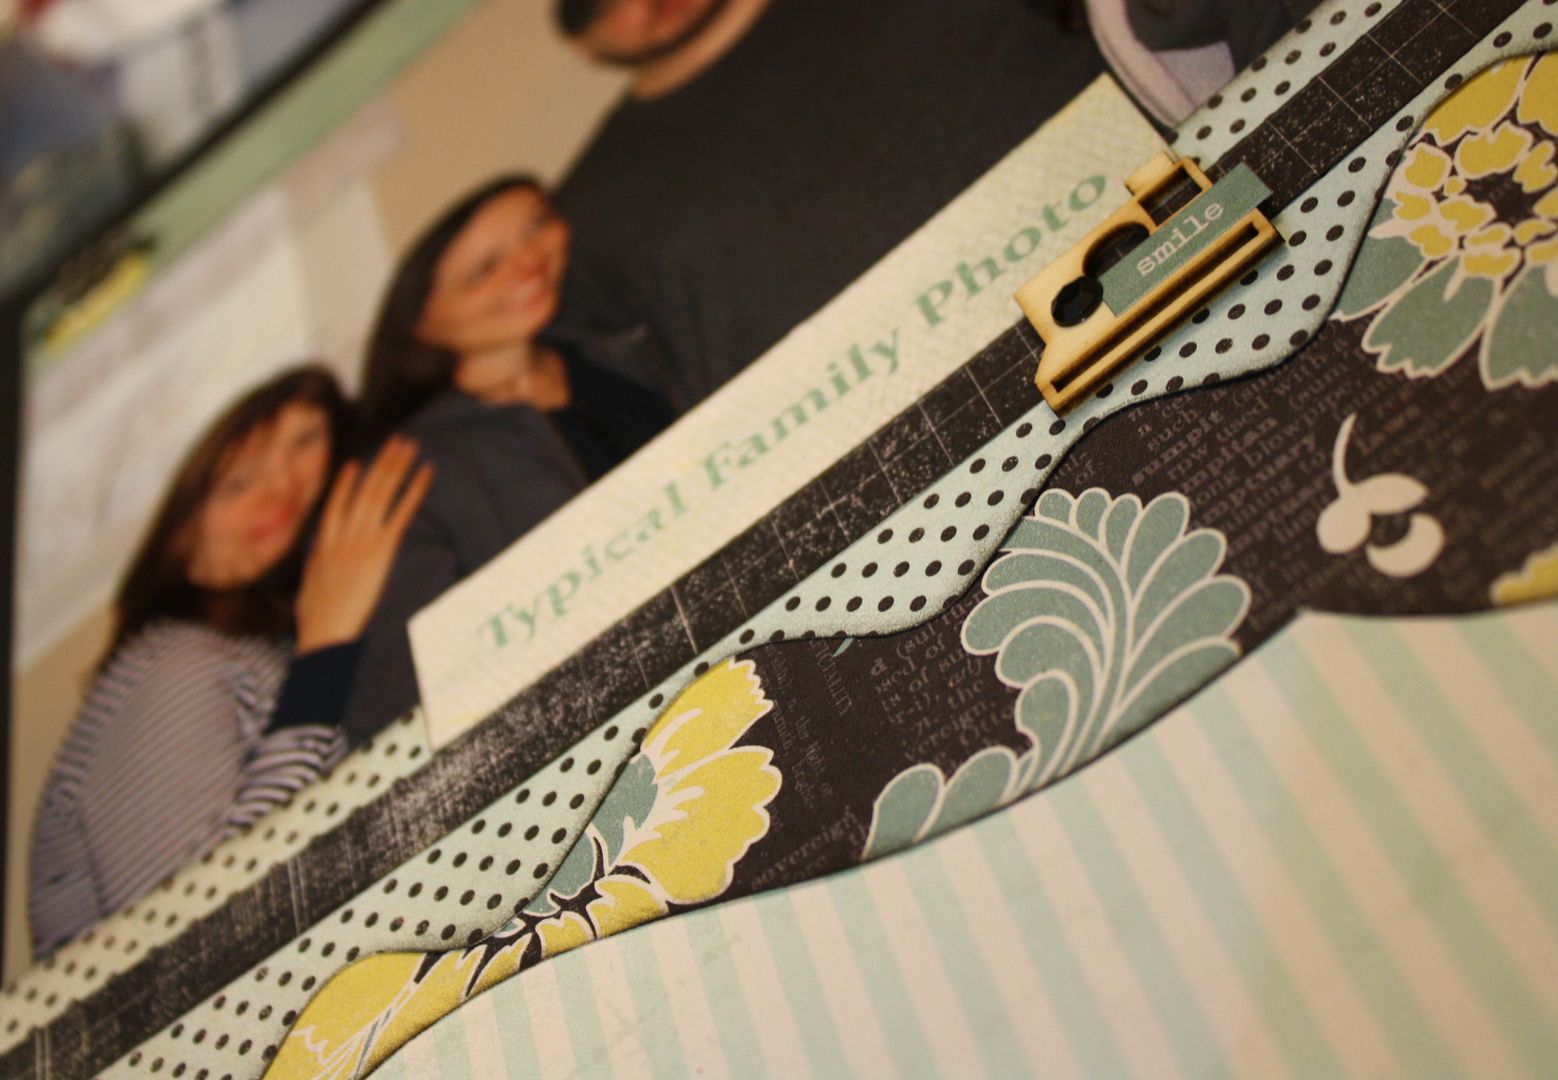
Authentique's "Renew" line combined with Kiwi Lane Designer Templates Clara Lane 2A/2B and Sunnybrook Lane 1A/1B were the perfect "frames" for this layout of my husband and his sisters. I made a collage using Picasa, and printed it out at home. I cut the pictures apart and easily pulled together this two page layout with the help of my templates. 

I know I say this a lot, but I am still so amazed at how much faster and easier creating pages is when I am using my templates. This simple layout would have taken me a week to come up with before I discovered Kiwi Lane Designs Templates.


(Don't you love the backdrop for the photo of my layout? I am at a weekend crop and I couldn't resist taking a picture against the fluffy hotel pillows!)

Templates used for creation and visualization - Clara Lane 2A/2B; Sunnybrook Lane 1A/1B; 12" Strips - 3", 1", 1/2"; Rings 1,2,3; Tiny Sweetheart 2T, 3T

Thanks for stopping by my blog, be sure to keep hopping along to the rest of the stops in our creative journey. Don't forget to leave a comment, here and on all the blogs in our hop, to get a chance to win a $25 gift certificate to use at Kiwi Lane Designs. Good Luck!

BLOG HOP LIST
----------